

- Plan ItBack
- Design ItBack
- Build ItBack
- Homes
- ProductsBack
- CostsBack
- Self Build Cost Calculator
Estimate your project costs instantly with Build It's interactive self-build cost calculator
Calculate Now - Costs & Finance
- Contracts & Warranties
- Build It Estimating Service
Get an accurate, detailed cost breakdown of your project
Submit plans
- EventsBack


 Login/register to save Article for later

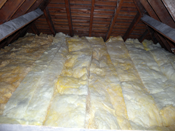
Your attic is one of the best places to start looking to make savings on your energy bills.
According to the Energy Saving Trust, upgrading an untreated loftspace with 270mm of insulation could cost as little as £50 on a DIY basis (installed costs are around £250). Bill savings can be up to a staggering £145 per year for an average three-bedroom home.
Making the upgrade is a no-brainer, then. Happily enough, installing loft insulation yourself can be a very straightforward task – especially if you’re working at floor level.
Our step-by-step guide walks you through the process, with expert advice on how to roll out your insulation in a safe and effective away.
Loft insulation project guide:
You will need |
|
|
|
 Step 1:
 Step 1:
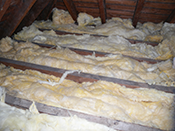
 Remove any debris between the joists and ensure that the area is relatively clean. Seal any gaps where pipes and cables enter the loft through the ceiling. Use the boards to move around on for all the steps in this guide
Step 2:
 Step 2:
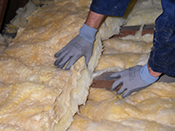
Unpack a roll of insulation. Starting at the eaves, slowly roll out the insulation between the joists. Leave a small gap (25mm) at the eaves to allow for ventilation. Feed the insulation underneath any pipes or cables
Step 3:
 Step 3:
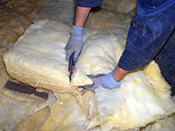
Once the first piece is down, move to the the opposite eave. Roll out the insulation towards your first piece. When they meet, make a straight cut with your knife and butt the two ends up together
Step 4:
 Step 4:
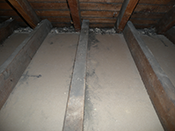
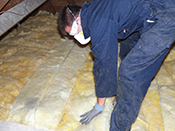
Cover the whole area of the loft in between the joists. Once you have insulated between the joists, repeat the process across the joists, over the top of the insulation you have already put down
Step 5:
 Step 5:
Continue to cover the whole area, using the same method as in step 2 and 3. Try to avoid laying your board on top of the finished insulation layer, as squashing it down could reduce its efficiency
Step 6:
 Step 6:
Finish the whole space, continuing to lay perpendicular to the rafters. Work towards the loft hatch, as this allows you to more easily avoid clambering on top of the newly laid insulation once you’ve finished
Top tips
- Lofts can be tricky places to move around in, and falls do happen. Take a couple of scaffold boards up with you to create a safe working platform. These will help you to avoid bursting through the ceiling!
- Always wear the appropriate personal protective equipment (PPE). Paper overalls, rubber gloves, goggles and a dust mask are an absolute minimum if you want to avoid an uncomfortable week of itch scratching
- If you don’t have permanent lighting installed, run an extension lead up to the loft to power a portable light or two
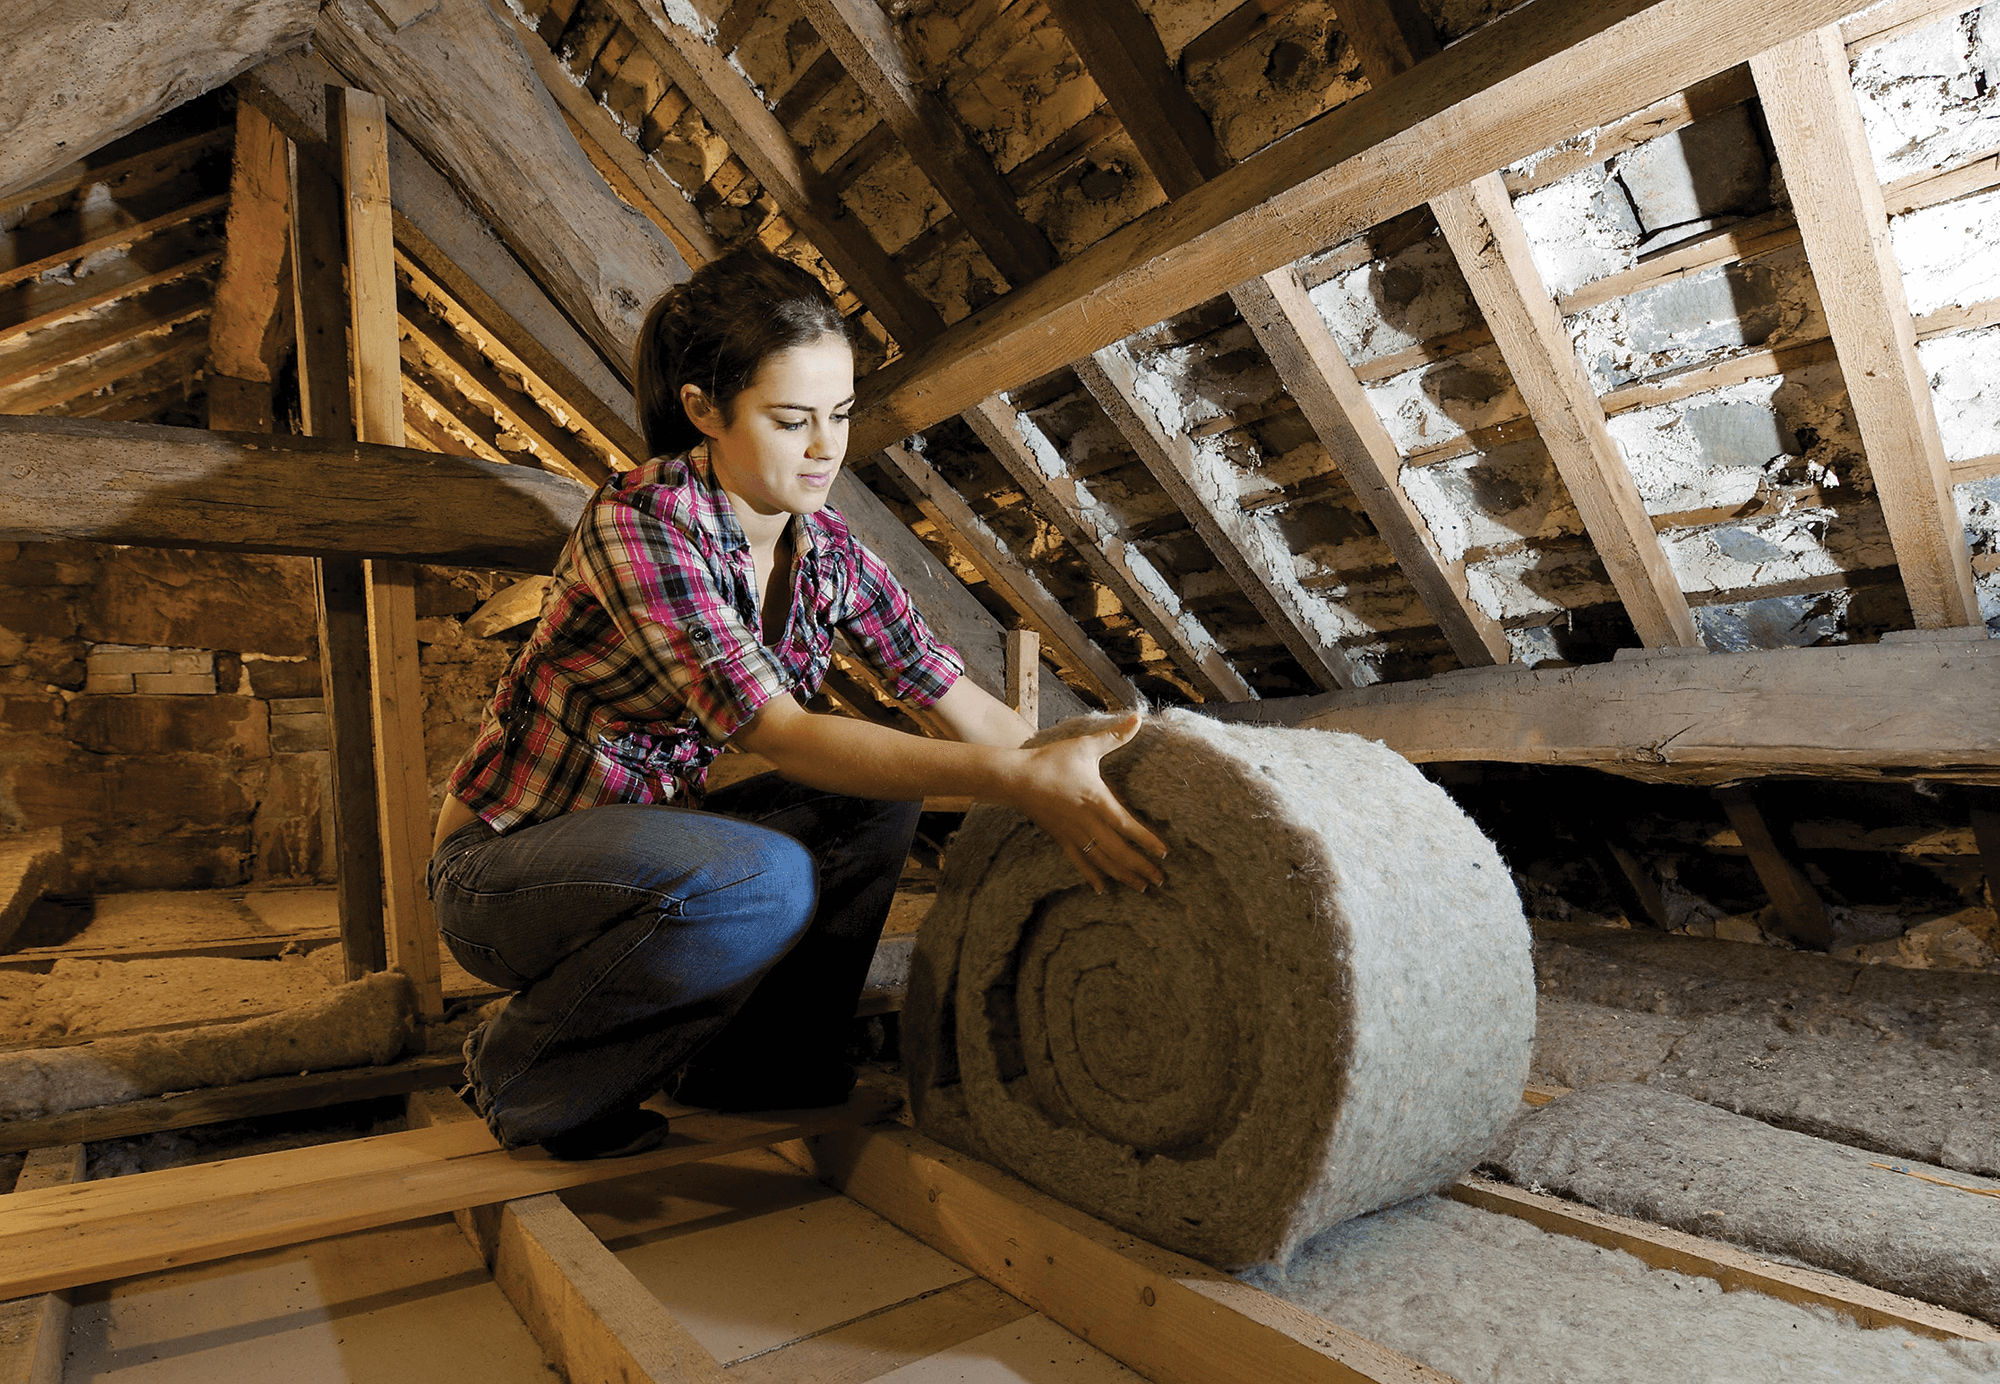
This step by step guide is supplied courtesy of TradesSupermarket. Main image: Thermafleece loft insulation is made with natural sheep’s wool


Comments are closed.