Build It’s Self Build Education House
Over the last three decades, we’ve featured thousands of amazing bespoke homes in the pages of Build It magazine. Sharing your project stories and learning points provides the next generation of self builders and renovators with inspiration and invaluable advice they can take into their own schemes.
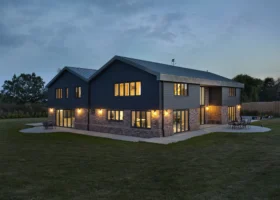
To celebrate our 30th birthday in 2019, we took that to the ultimate level by actually building our own house. Our goal was to create a unique educational hub that will not only inspire, but also arm you with the tools you need to complete your own dream home – so you have a real-life reference point on which to base your decisions and budgets.
INTERACTIVE EDUCATION HOUSE TOUR >
Identifying our plot
For many self builders, it can take longer to find the right plot than it does to design and construct the house itself. But things are changing, thanks in no small part to the growing popularity of custom build. With this route, an enabler – who could be a developer, small builder, landowner or the local council – creates viable, shovel-ready plots with planning permission (and often other uncertain elements, such as utilities) already in place and ready to tap into.
- LocationGraven Hill Bicester
- Type of projectSelf build
- StyleContemporary
- Project routeArchitect designed, self project-managed with support from main contractor
- Construction methodInsulating concrete formwork (ICF) walls & structural insulated panel (SIPs) roof
- House size250m2
- Plot size330m2
- Project cost£517,892
- Project cost per m2£2,072
- Building work commencedNovember 2018
- Building work took10 months
This is a great option for those who want cost certainty at the start of their projects – and we think it’s part of the future of bespoke home building in this country. That’s a big reason why we chose to create the Education House at the UK’s largest custom build development, Graven Hill, near Bicester in Oxfordshire.
Every self build site at Graven Hill comes with a Plot Passport, detailing what you need to know about it before you buy. This includes the maximum house size, where it can sit on the plot, permitted roof ridge heights and any restrictions on materials.
We’re in a zone that offers lots of design freedom, but still had to work within parameters such as an 8.1m ridge height and an above-ground internal floor area of 160m2. Fit within that, and we’d be able to access fast-track planning approval in just 28 days, rather than the usual eight weeks-plus.
Developing the design
Appointing the right design team is a crucial early step on any project – and it helps if you can rely on a strong recommendation. Opinder Liddar from lapd Architects has been an expert contributor to Build It magazine for nearly a decade, and the practice’s office is based just a few miles from our Graven Hill plot. So we didn’t need to look too far from home.
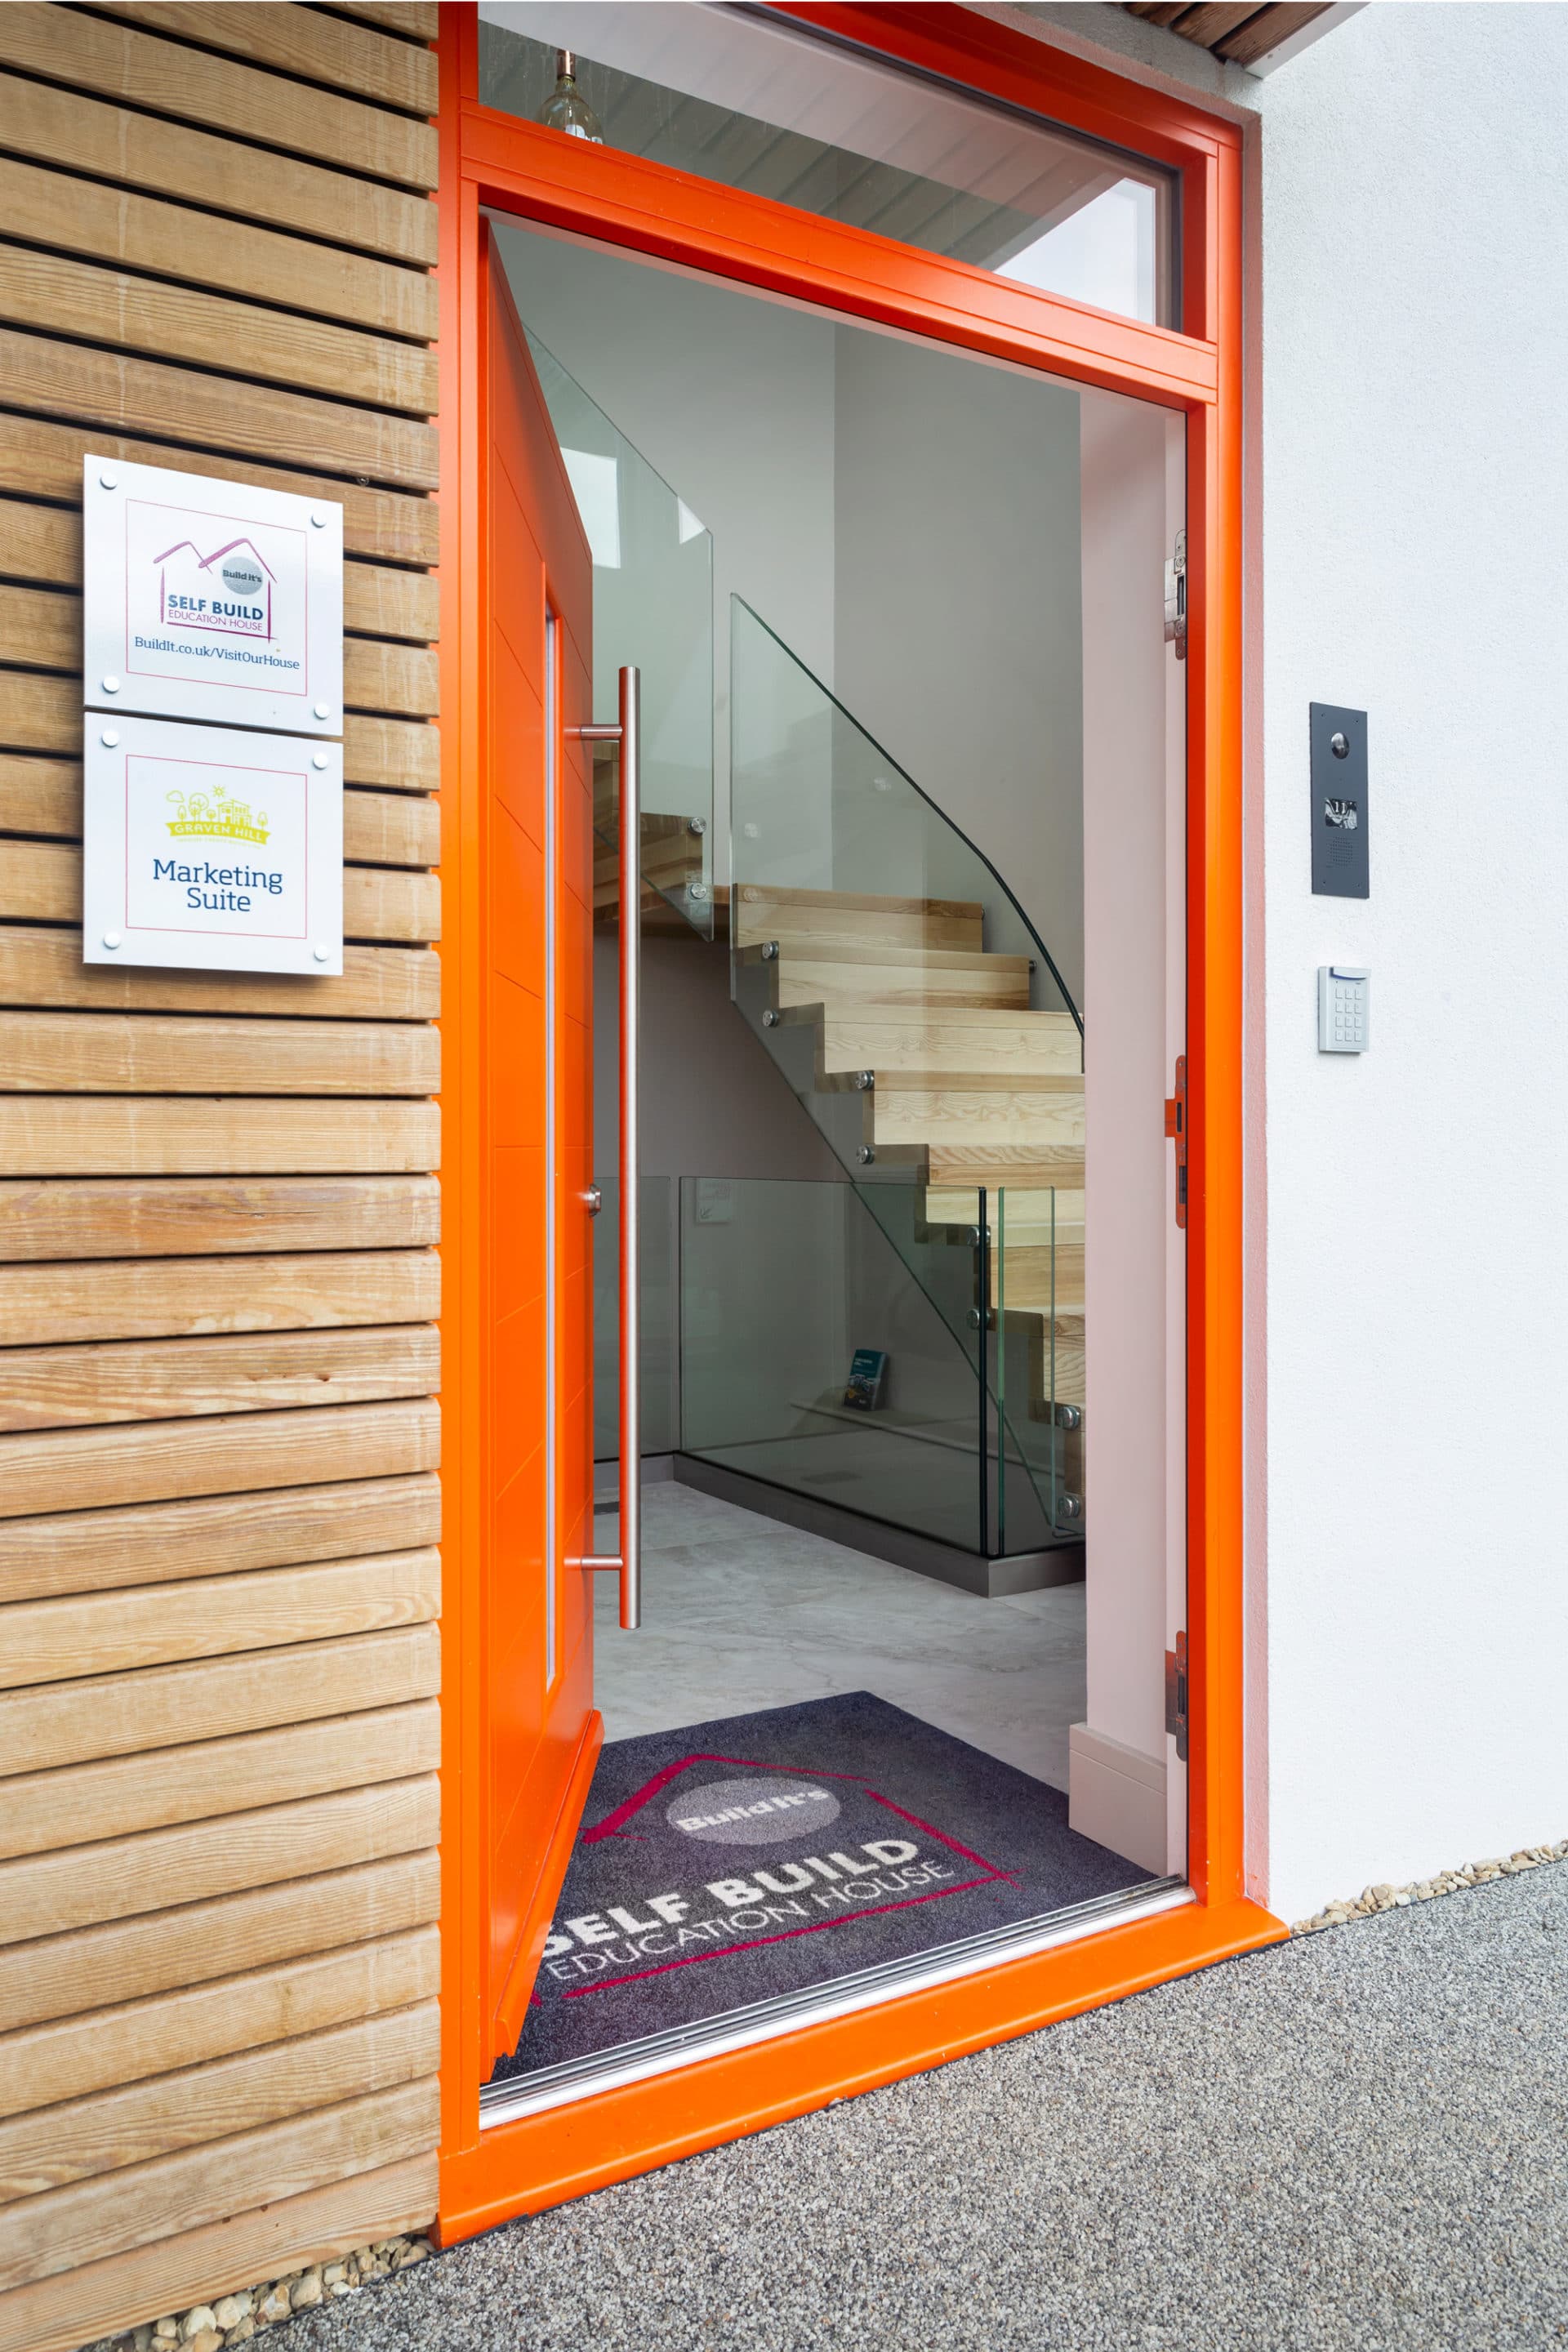
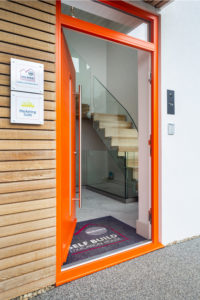
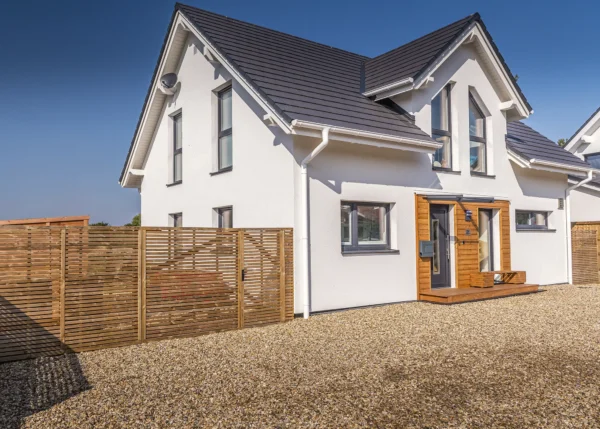
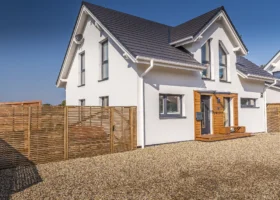
Our FunkyFront entrance door in Traffic Orange makes a wow-factor statement
Like any self builder, we had some clear goals in mind: we wanted to achieve a wow-factor, high-performance home that represented good value for money. We’ve not built the cheapest house in the world; instead, we’re showcasing the bells and whistles – such as the latest heating systems, feature staircases and smart home tech – so you can see them first-hand and decide which elements matter most to you when allocating chunks of your self build budget.
We also wanted to demonstrate how you can build future-proofing into a new home, so that it works for you in the long-term, whatever your budget. Sustainability, running costs and minimising long-term maintenance were key goals, too. And we needed to achieve all of that while conforming to our Graven Hill plot parameters.
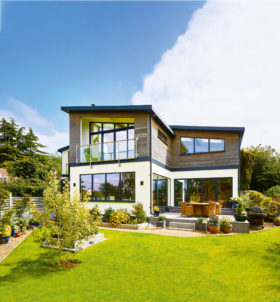
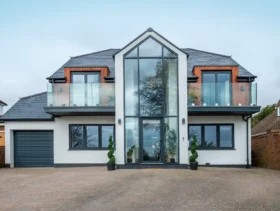
Within a few weeks of our first design meeting, Opinder sent through his initial concept sketches for the Education House. He’d done a fantastic job of interpreting the brief, while also drawing on his own creativity and experience. Highlights included dramatic apex and corner glazing to maximise natural light and views, roof overhangs for solar control, vaulted ceilings and a layout focussed on the kind of practical open-plan living most self builders want.
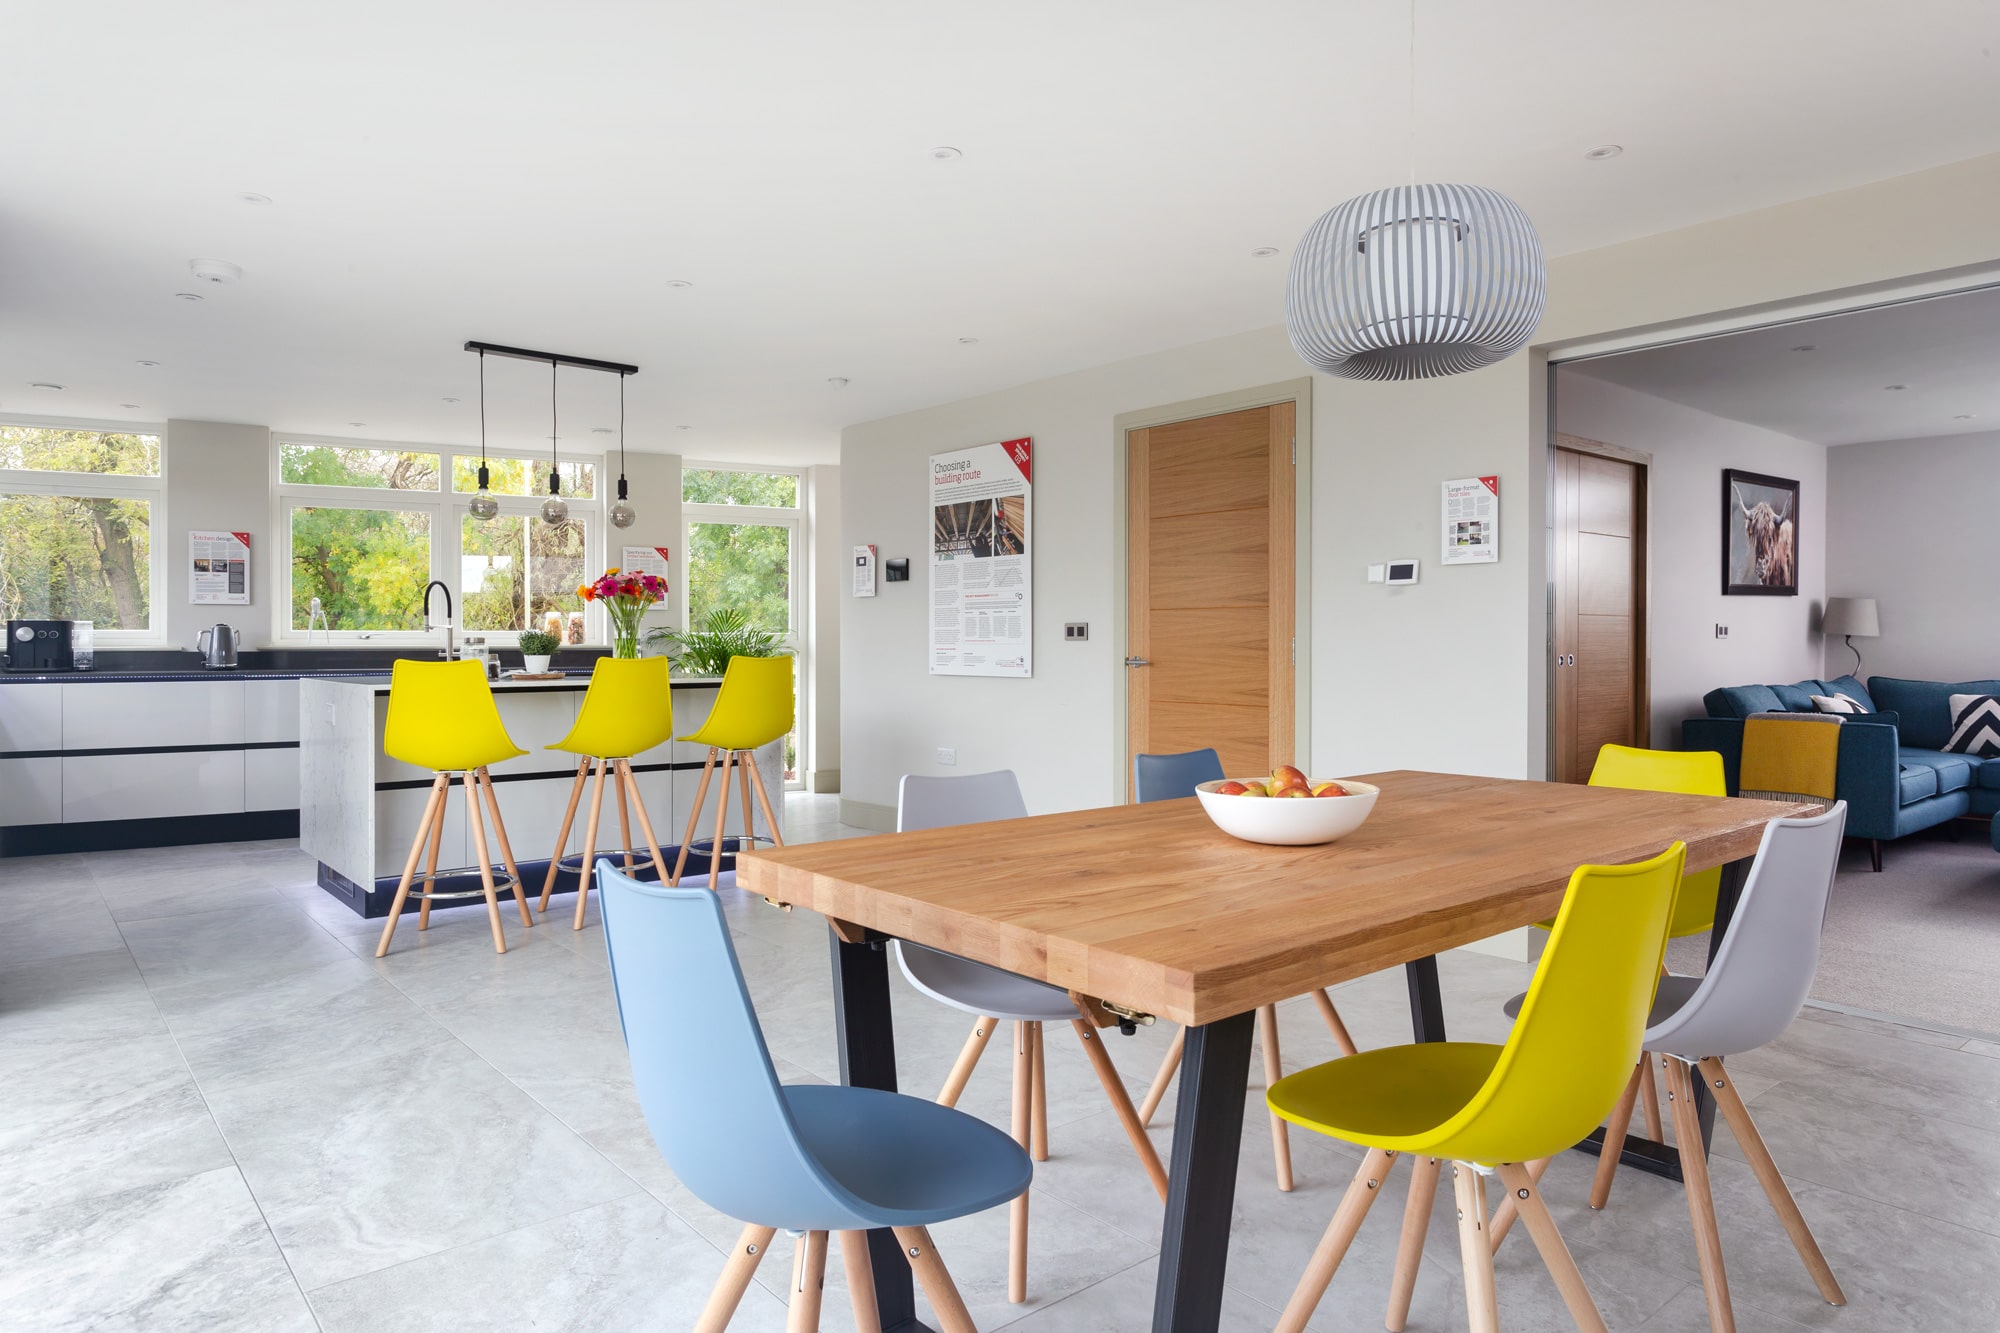
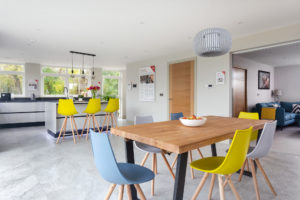
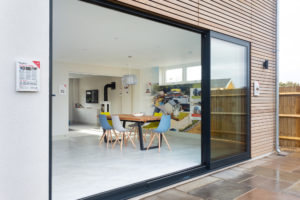
A glazed pocket sliding door enables a broken-plan arrangement in the kitchen-dining-living zone
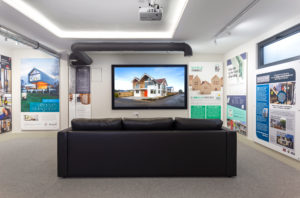
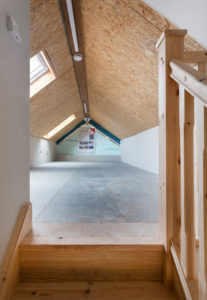
By this point, we’d also made the decision to include a basement – partly because it represented a cost-effective investment on our plot, where the clay soil would have necessitated expensive engineered foundations. This zone hosts the plant room (now a staple of new build houses), a home cinema and an exhibition area for visitors to learn more about our key decisions and suppliers. Combined with a ready-to-convert loft, it provides plenty of flexible, future-proof space.
Over the next couple of months, we worked collaboratively with Opinder to shape the original sketch into the final design, which sailed through the planning process. One key thing to emerge from this stage is that you need to make a surprising amount of decisions very early on. Even before we went in for planning, we were already starting to have in-depth conversations with potential suppliers as we identified our main construction system, heating options, electrics, window types and more. This stood us in good stead for the technical design phase and Building Regs plan checks.
Our building route
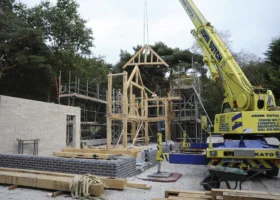
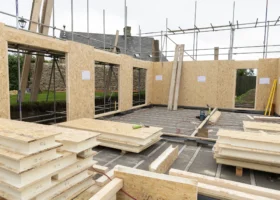
There are a number of conventionally-built homes to visit around the UK, so we wanted to do something different with the Education House. For the main superstructure, we decided to combine two modern, high-performance systems that can deliver impressive levels of energy efficiency: insulated concrete formwork (ICF) for the walls, with a structural insulated panel (SIPs) roof. Part of the reasoning behind using ICF was that it’s very straightforward to waterproof, making it a cost-effective option for basement projects.
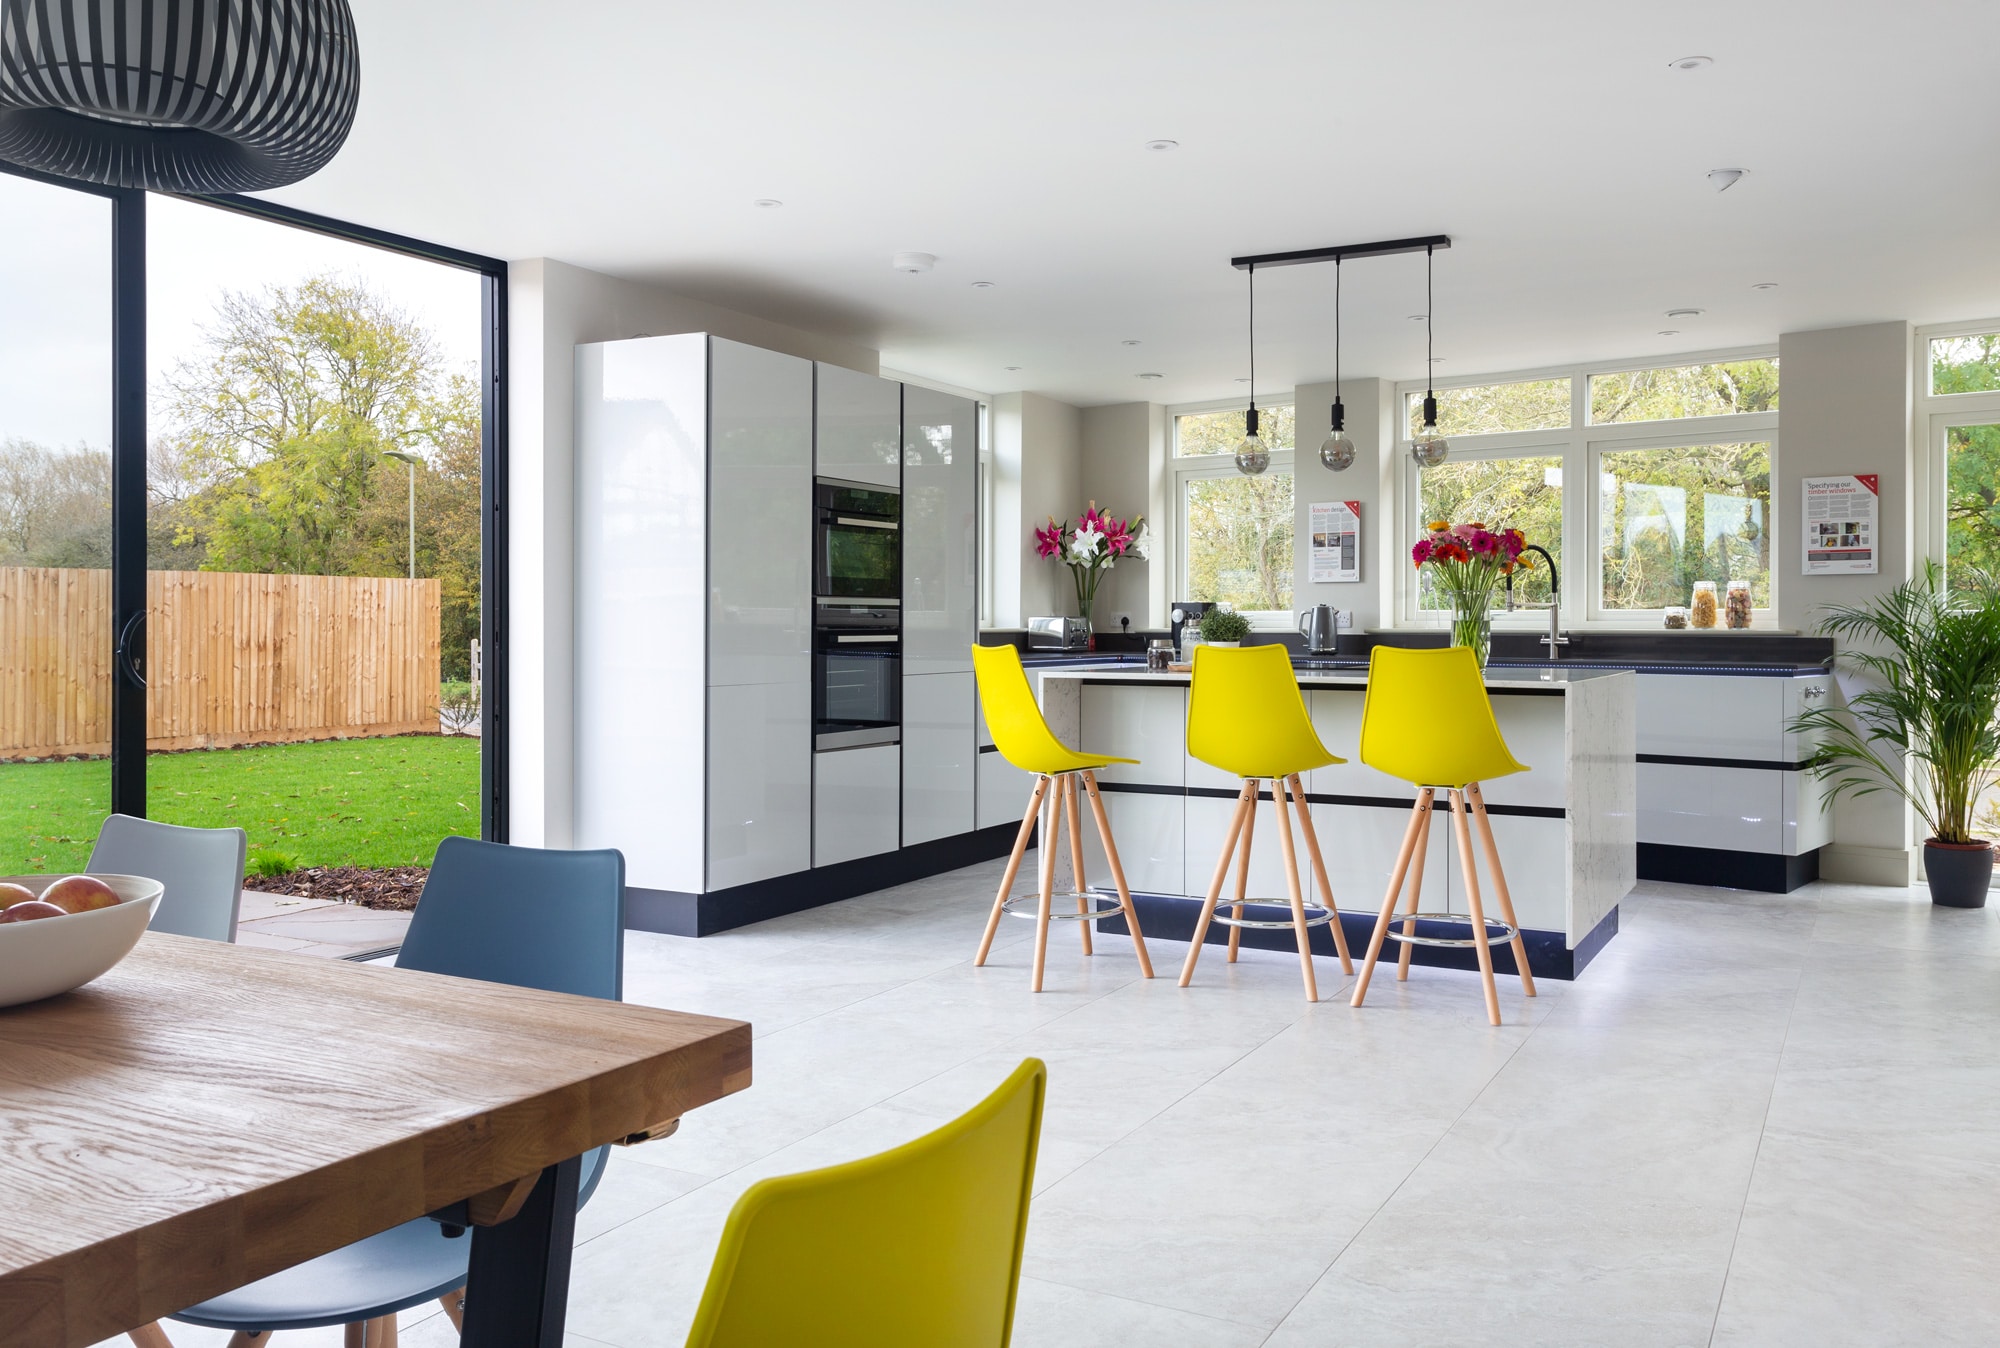
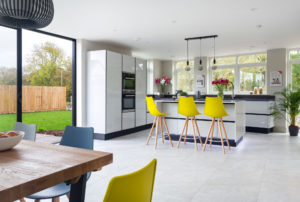
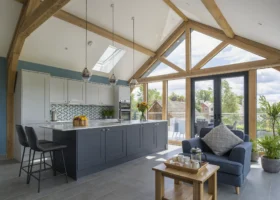
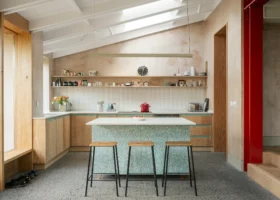
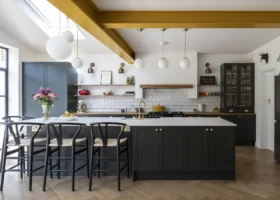
High-quality worktops and LED feature lighting complete the look in the clean-lined handleless kitchen
Plus, it gave us consistency from the floor slab upwards. Provided by ICF Supplies, our Nudura system works a bit like LEGO for adults: you stack a series of lightweight, hollow polystyrene blocks to storey height, and fit them with steel reinforcement to the engineer’s specification.
Once everything’s aligned and braced, the blocks are pumped full of concrete to create super-strong, pre-insulated walls – ready to install the floor structure and move on to the next storey.
Building the house shell proceeded in two main stages, with the bulk of the basement works done by Christmas 2018. This zone was waterproofed in early 2019 with a combination tanking and a modern cavity drainage membrane (CDM) system that channels any water that gets through the first line of defence around perimeter drains and into a sump pump, before it’s directed safely outside of the building.
This was critical work, so we needed to use an installer who could offer an insurance-backed guarantee to satisfy our structural warranty.
The rest of the superstructure was delivered over the first few months of 2019, with a few delays due to the British weather (frost and high winds were our bugbears). We also needed to iron out some technical details for our SIPCO-supplied SIPs roof, largely down to our choice of an open-plan layout on both the basement and ground floors.
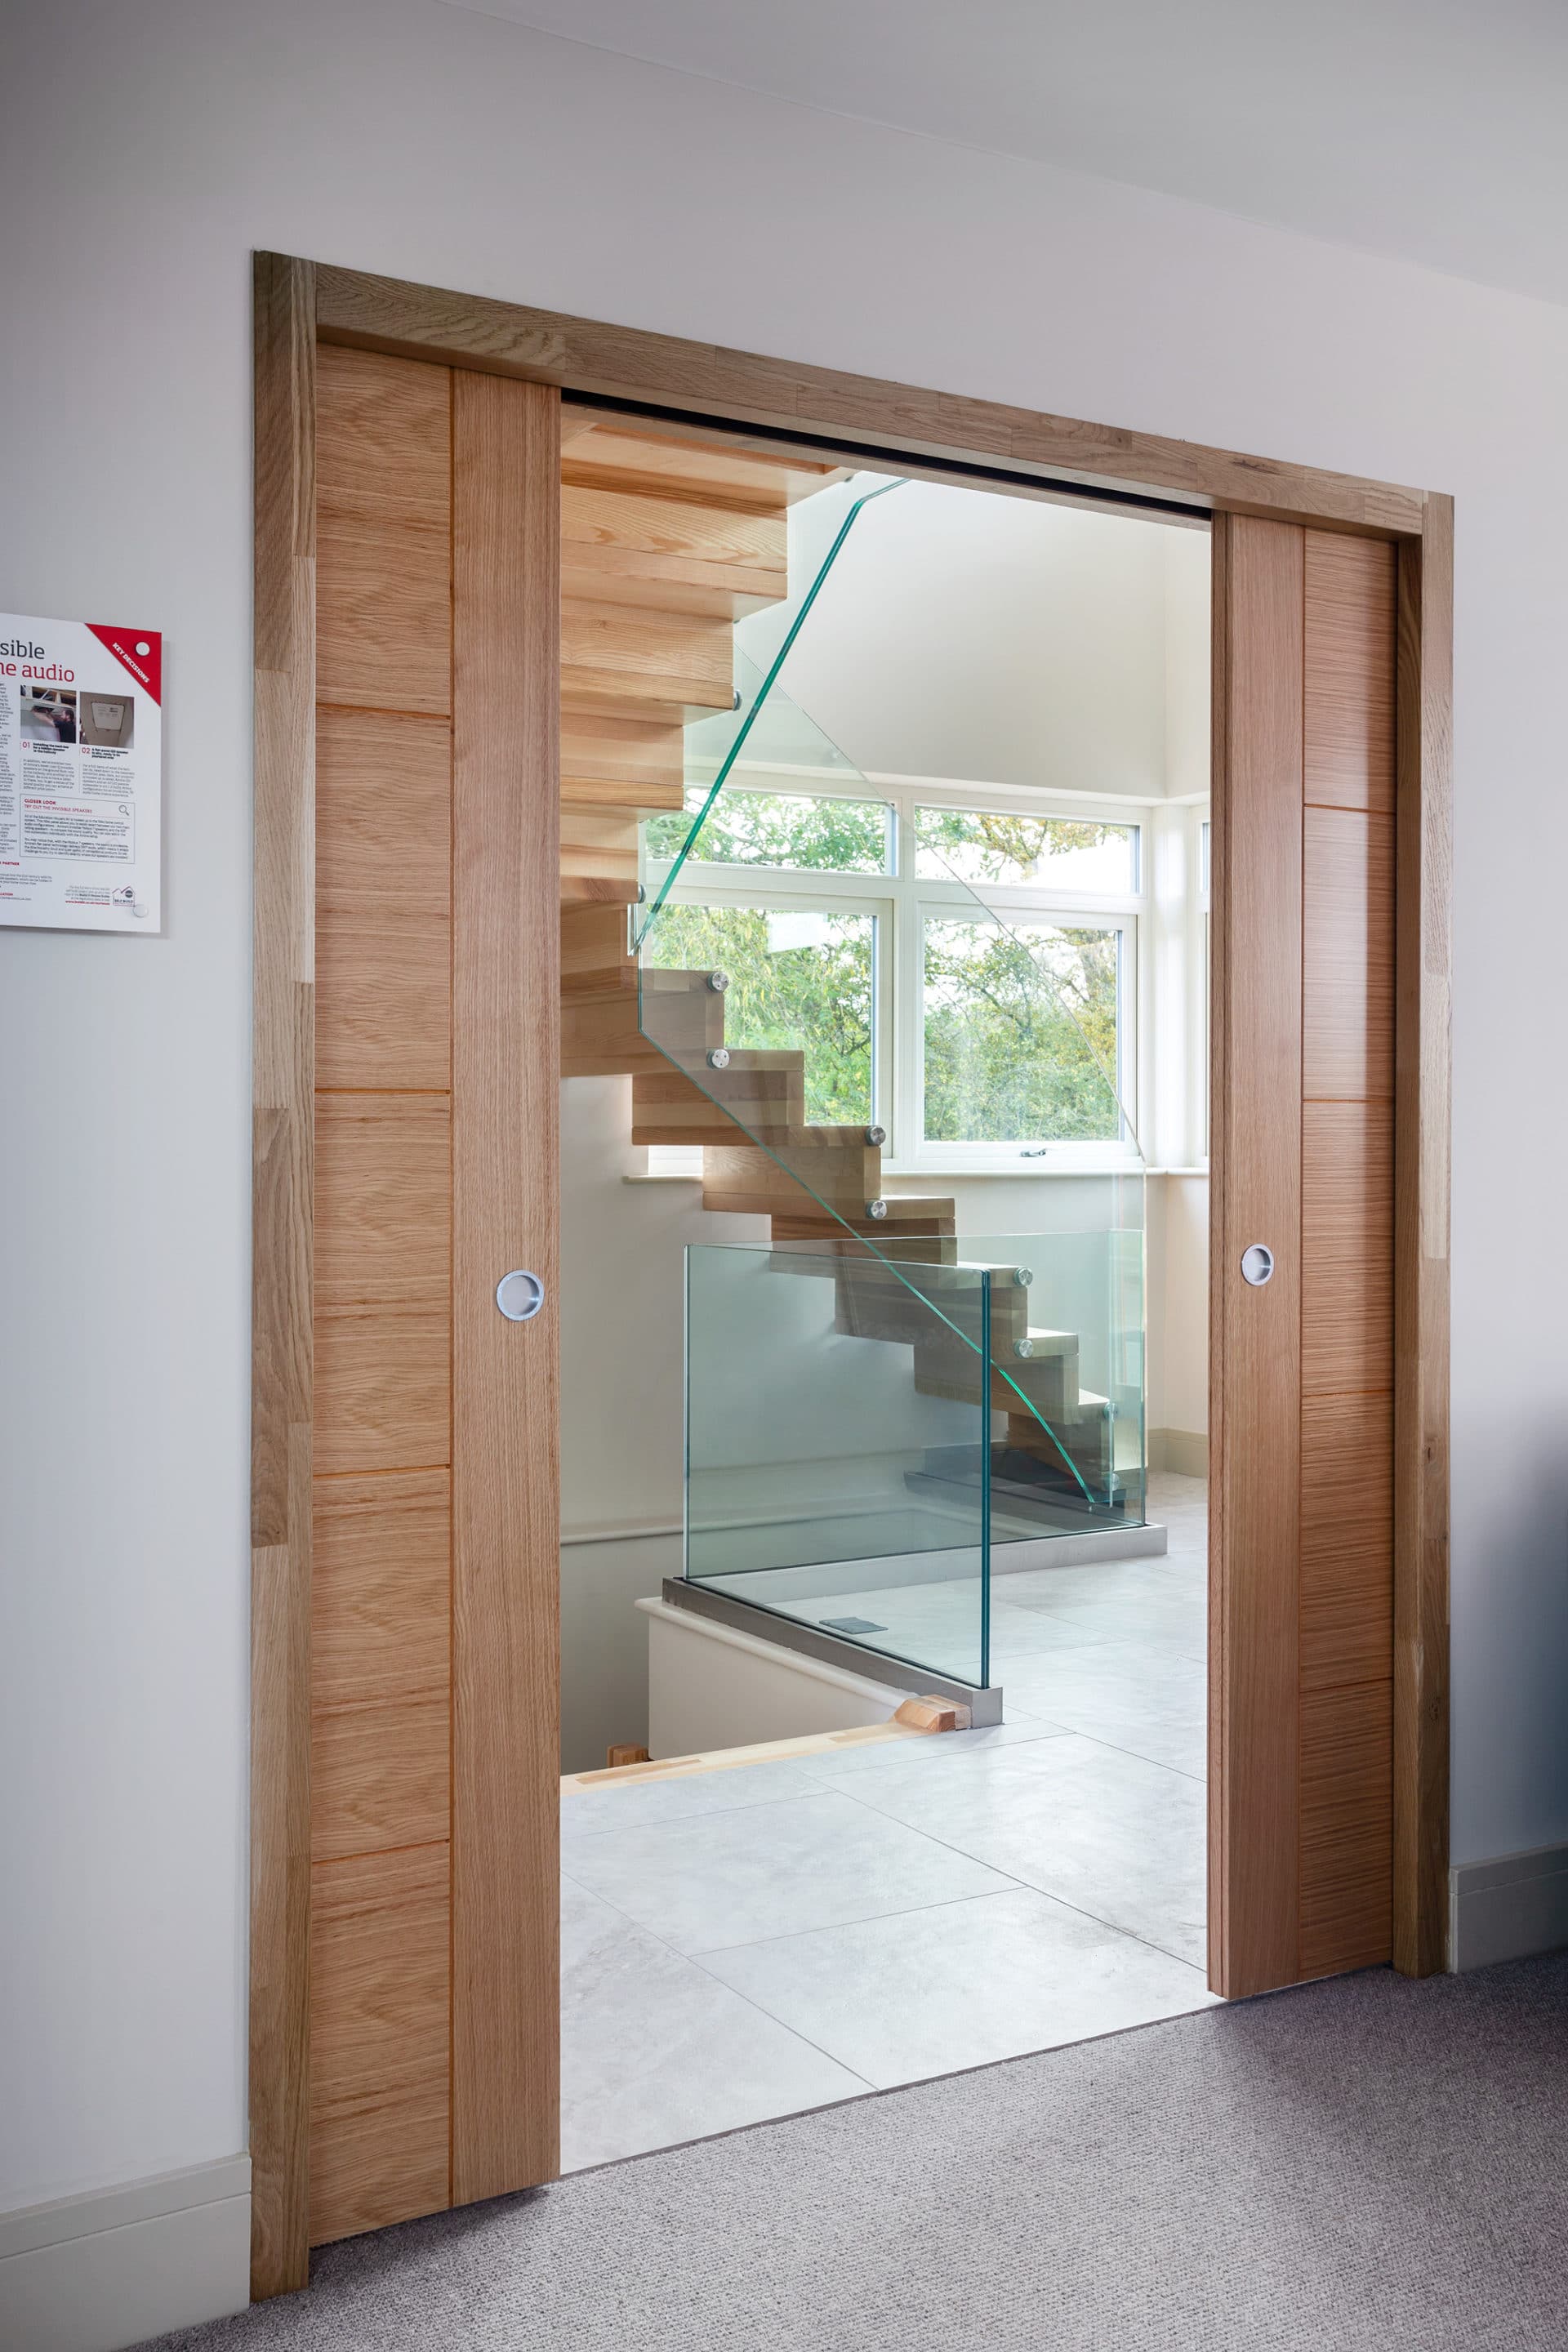
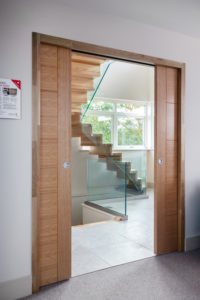
Pocket doors provide easy access and save valuable floor space
But come mid-April 2019, the panels were craned on and we had our first glimpse of what the finished house might look like.
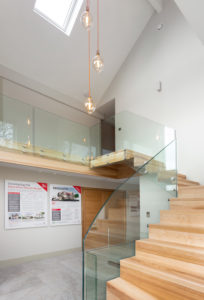
SIPs was a natural fit for our project. Offering excellent insulation performance and strength in an ultra-thin profile, it’s helped us get the best bang for our buck by maximising headroom in our conversion-ready loft space – as well as enabling distinctive features like the vaulted ceilings in the main hallway and front bedroom.
We set out with the loose aim of hitting an air leakage target of under 3m2/hr/m3. This is much better than the Building Regulations limit (10), and the threshold we needed to hit for our heat pump ventilation system to work effectively.
ICF and SIPs can provide decent airtightness performance out of the box, reducing the need for on-site intervention compared to some traditional methods. But while the structure was still open, we backed this up by applying membranes and spray foams at the main structural junctions, as well as airtightness tapes around windows, service penetrations etc.
Ultimately, and without trying too hard, our as-built air test (where a giant fan was strapped into the front door to do pressure tests) came back with a result of 1.83m2/hr/m3. Perhaps the seemingly dark art of airtightness isn’t quite the mystery it’s made out to be after all.
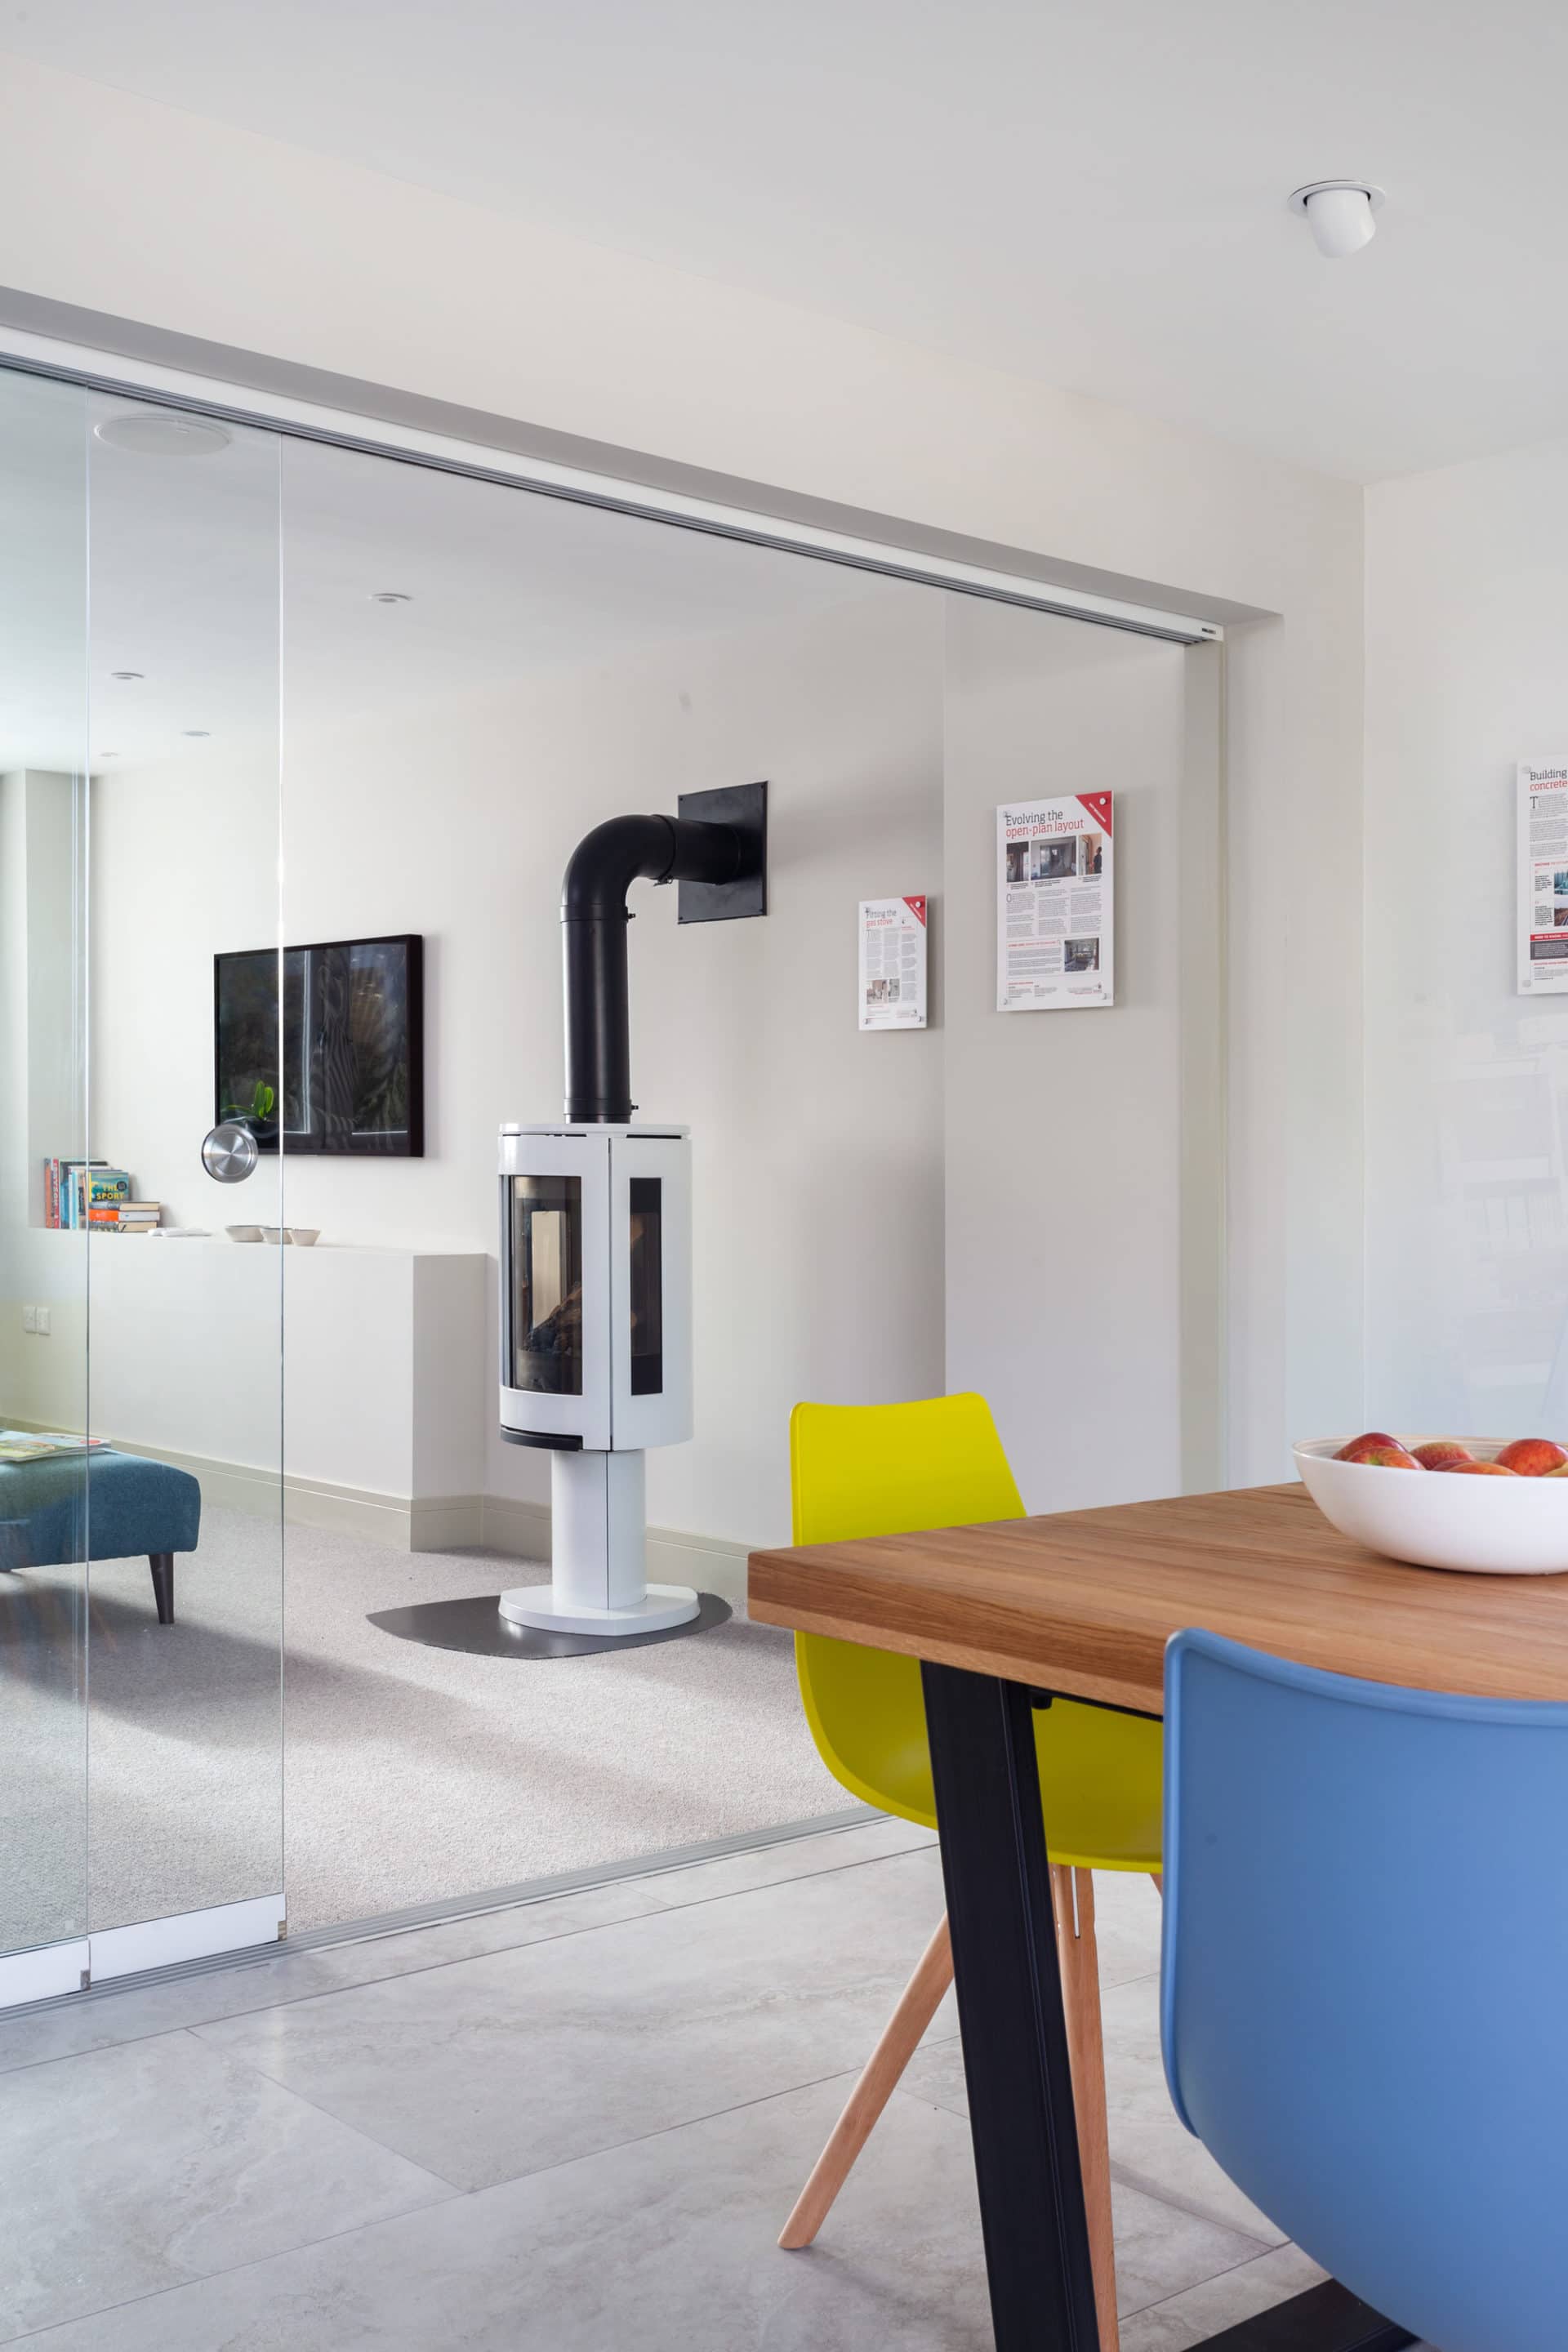
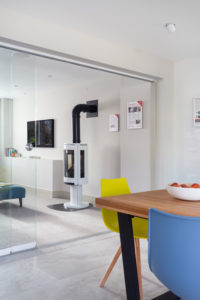
The contemporary gas stove is Jotul’s GF 373. It uses a balanced flue to allow for a sealed air supply
Specifying modern, high-performance materials, installing them properly and doing the basics of sealing up obvious leakage points can net a very good result that most self builders will be happy with.
External finishes
With the shell built, we brought in main contractor Drewett and Hunt, recommended by lapd, to help oversee the rest of the works. When you’re working a full-time job in London, getting over to site every day isn’t easy, so their experienced backup helped keep things moving. The final piece of the puzzle in getting our house 99% watertight was installing the windows and glazing.
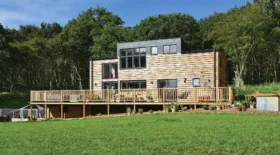
We opted for factory-painted, engineered softwood frames for our windows, French doors (one set leading out onto a walk-on balcony, the others opening inwards for a Juliet) and the main FunkyFront entrance – all from Kloeber.
Properly treated, slow-grown softwood can deliver impressive results, offering a very similar lifespan to hardwood and great thermal performance. And contrary to what you might expect from watching episodes of Grand Designs, the whole process from product selection to installation went like clockwork.
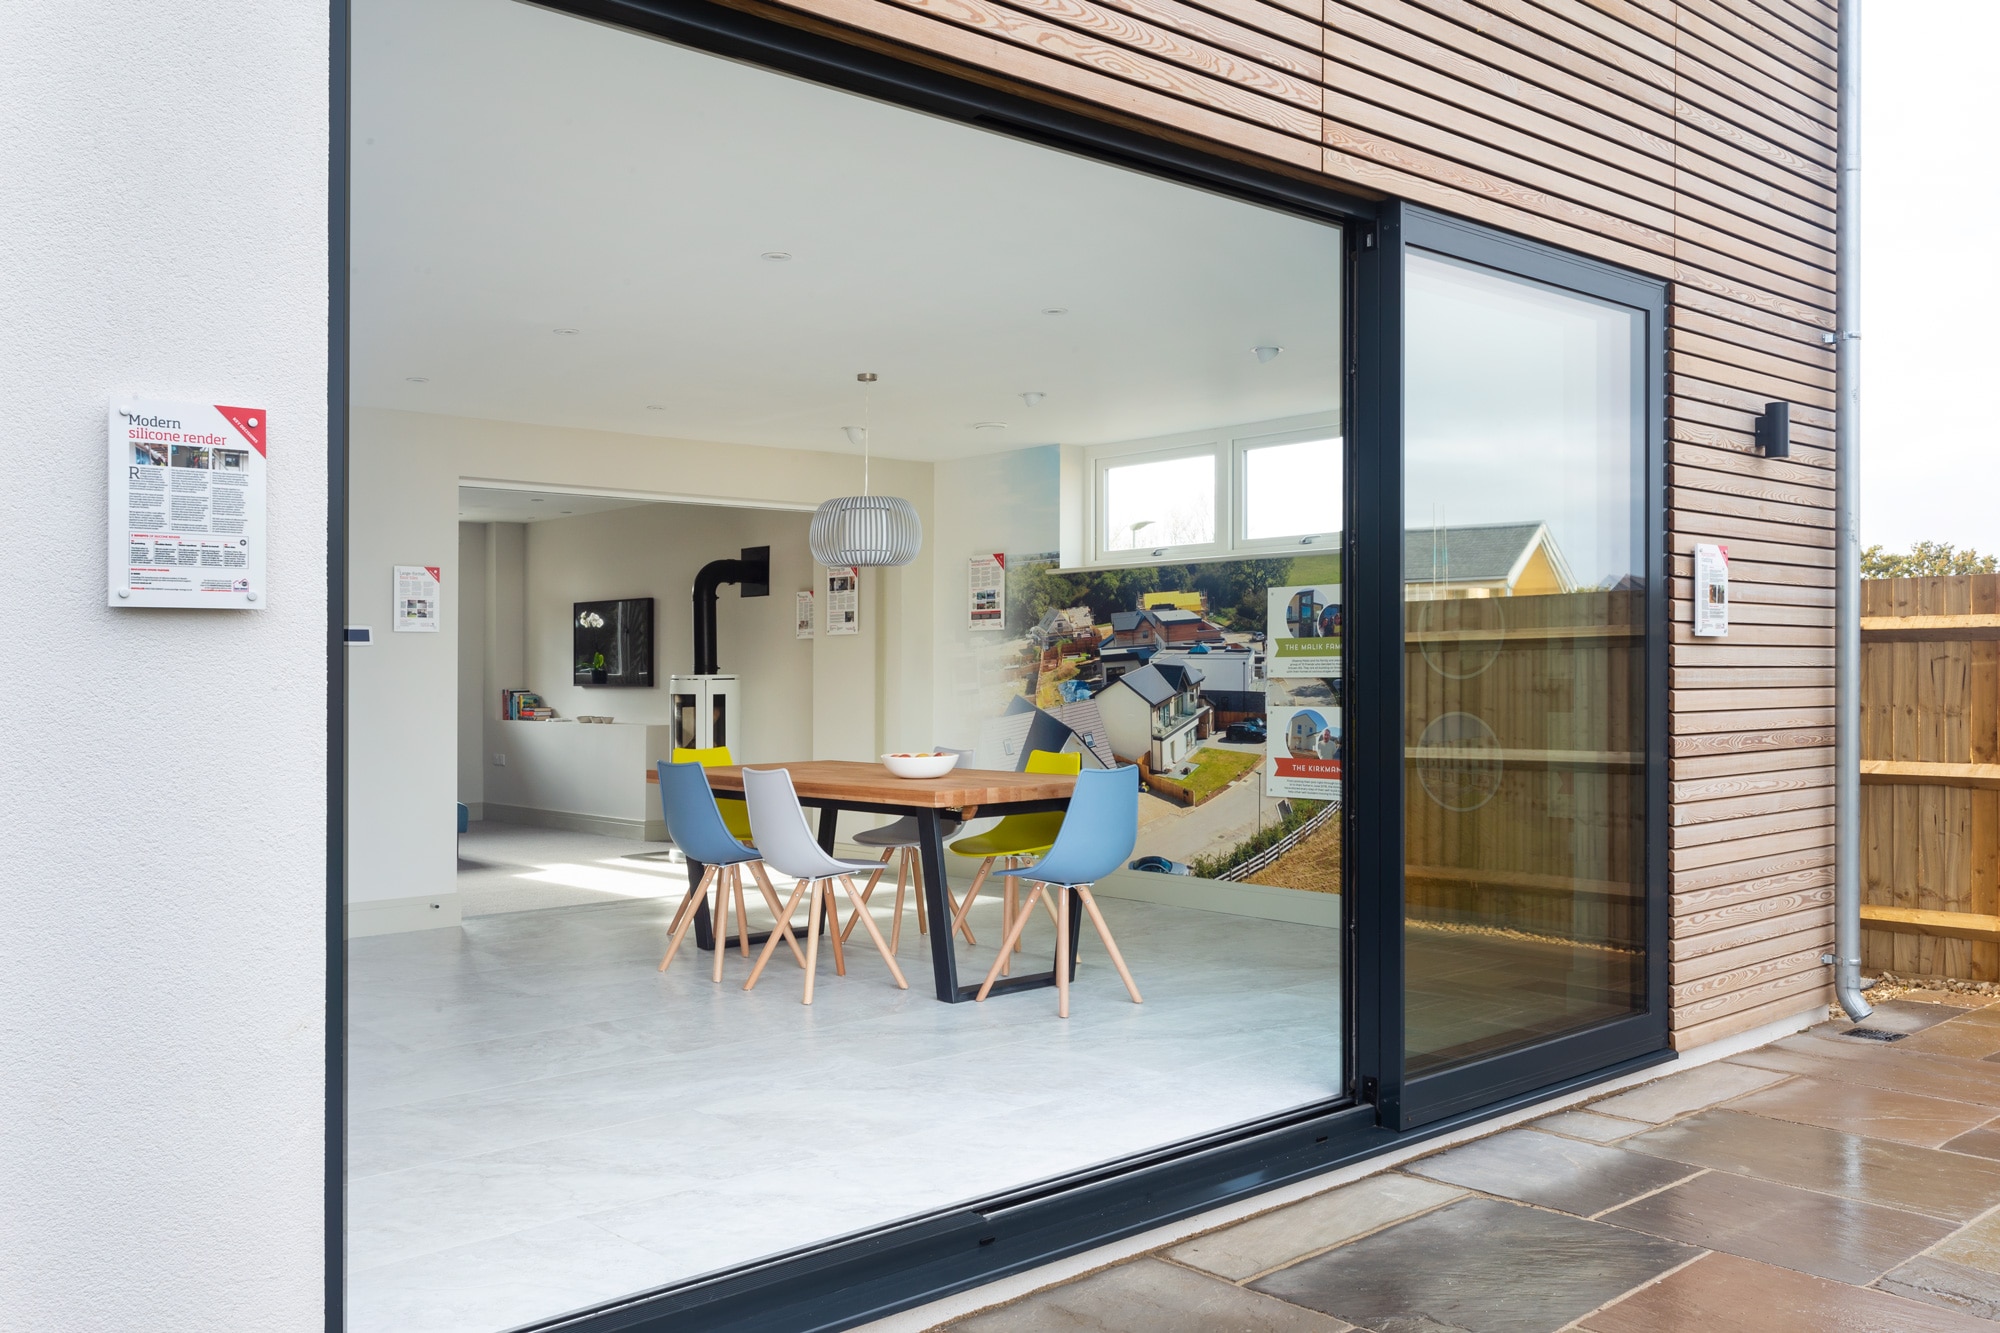
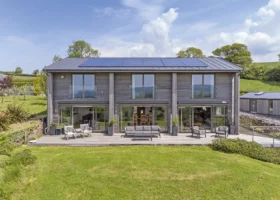
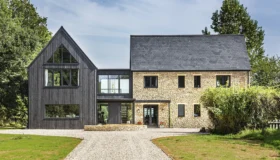
The glazed slider is from IDSystems, and the secret-fix rainscreed cladding from Russwood
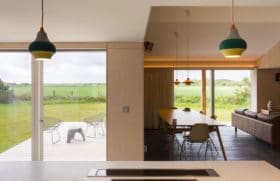
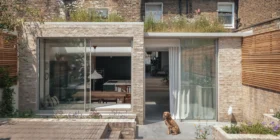
At the rear of the house, we’ve gone for theEdge2.0 glazed doors from IDSystems. These aluminium units provide the ideal connection between indoors and out thanks to their ultra-slim 20mm sightlines – maximising light and views even when the doors are shut.
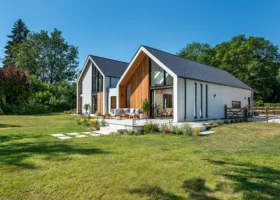
Other key external materials include our modern, low-maintenance K-Rend silicone render; statement-making pre-weathered rainscreen cladding from Russwood; and our statement clay roof tile blend from Dreadnought Tiles. We’re delighted with the results, which add real character and help to soften the house’s clean contemporary lines.
Behind the scenes
Getting the infrastructure right is always a major consideration, and we wanted to showcase how modern systems can deliver a high-quality, easy-to-control living environment – without adding a huge amount to your overall spend. For that reason, we decided to switch from traditional electrics to a fully-integrated smart home.
Our Niko Home Control setup, planned and installed by Moss Technical’s team, makes it easy and enjoyable to interact with every part of the house. For instance, when you step through the front door, pressing one button enables the Welcome Home scene. This turns on selected lights, deactivating the alarm and presence simulation (which makes the house look lived in when you’re out) and activating a music playlist. The same button can do the reverse when you’re heading out.
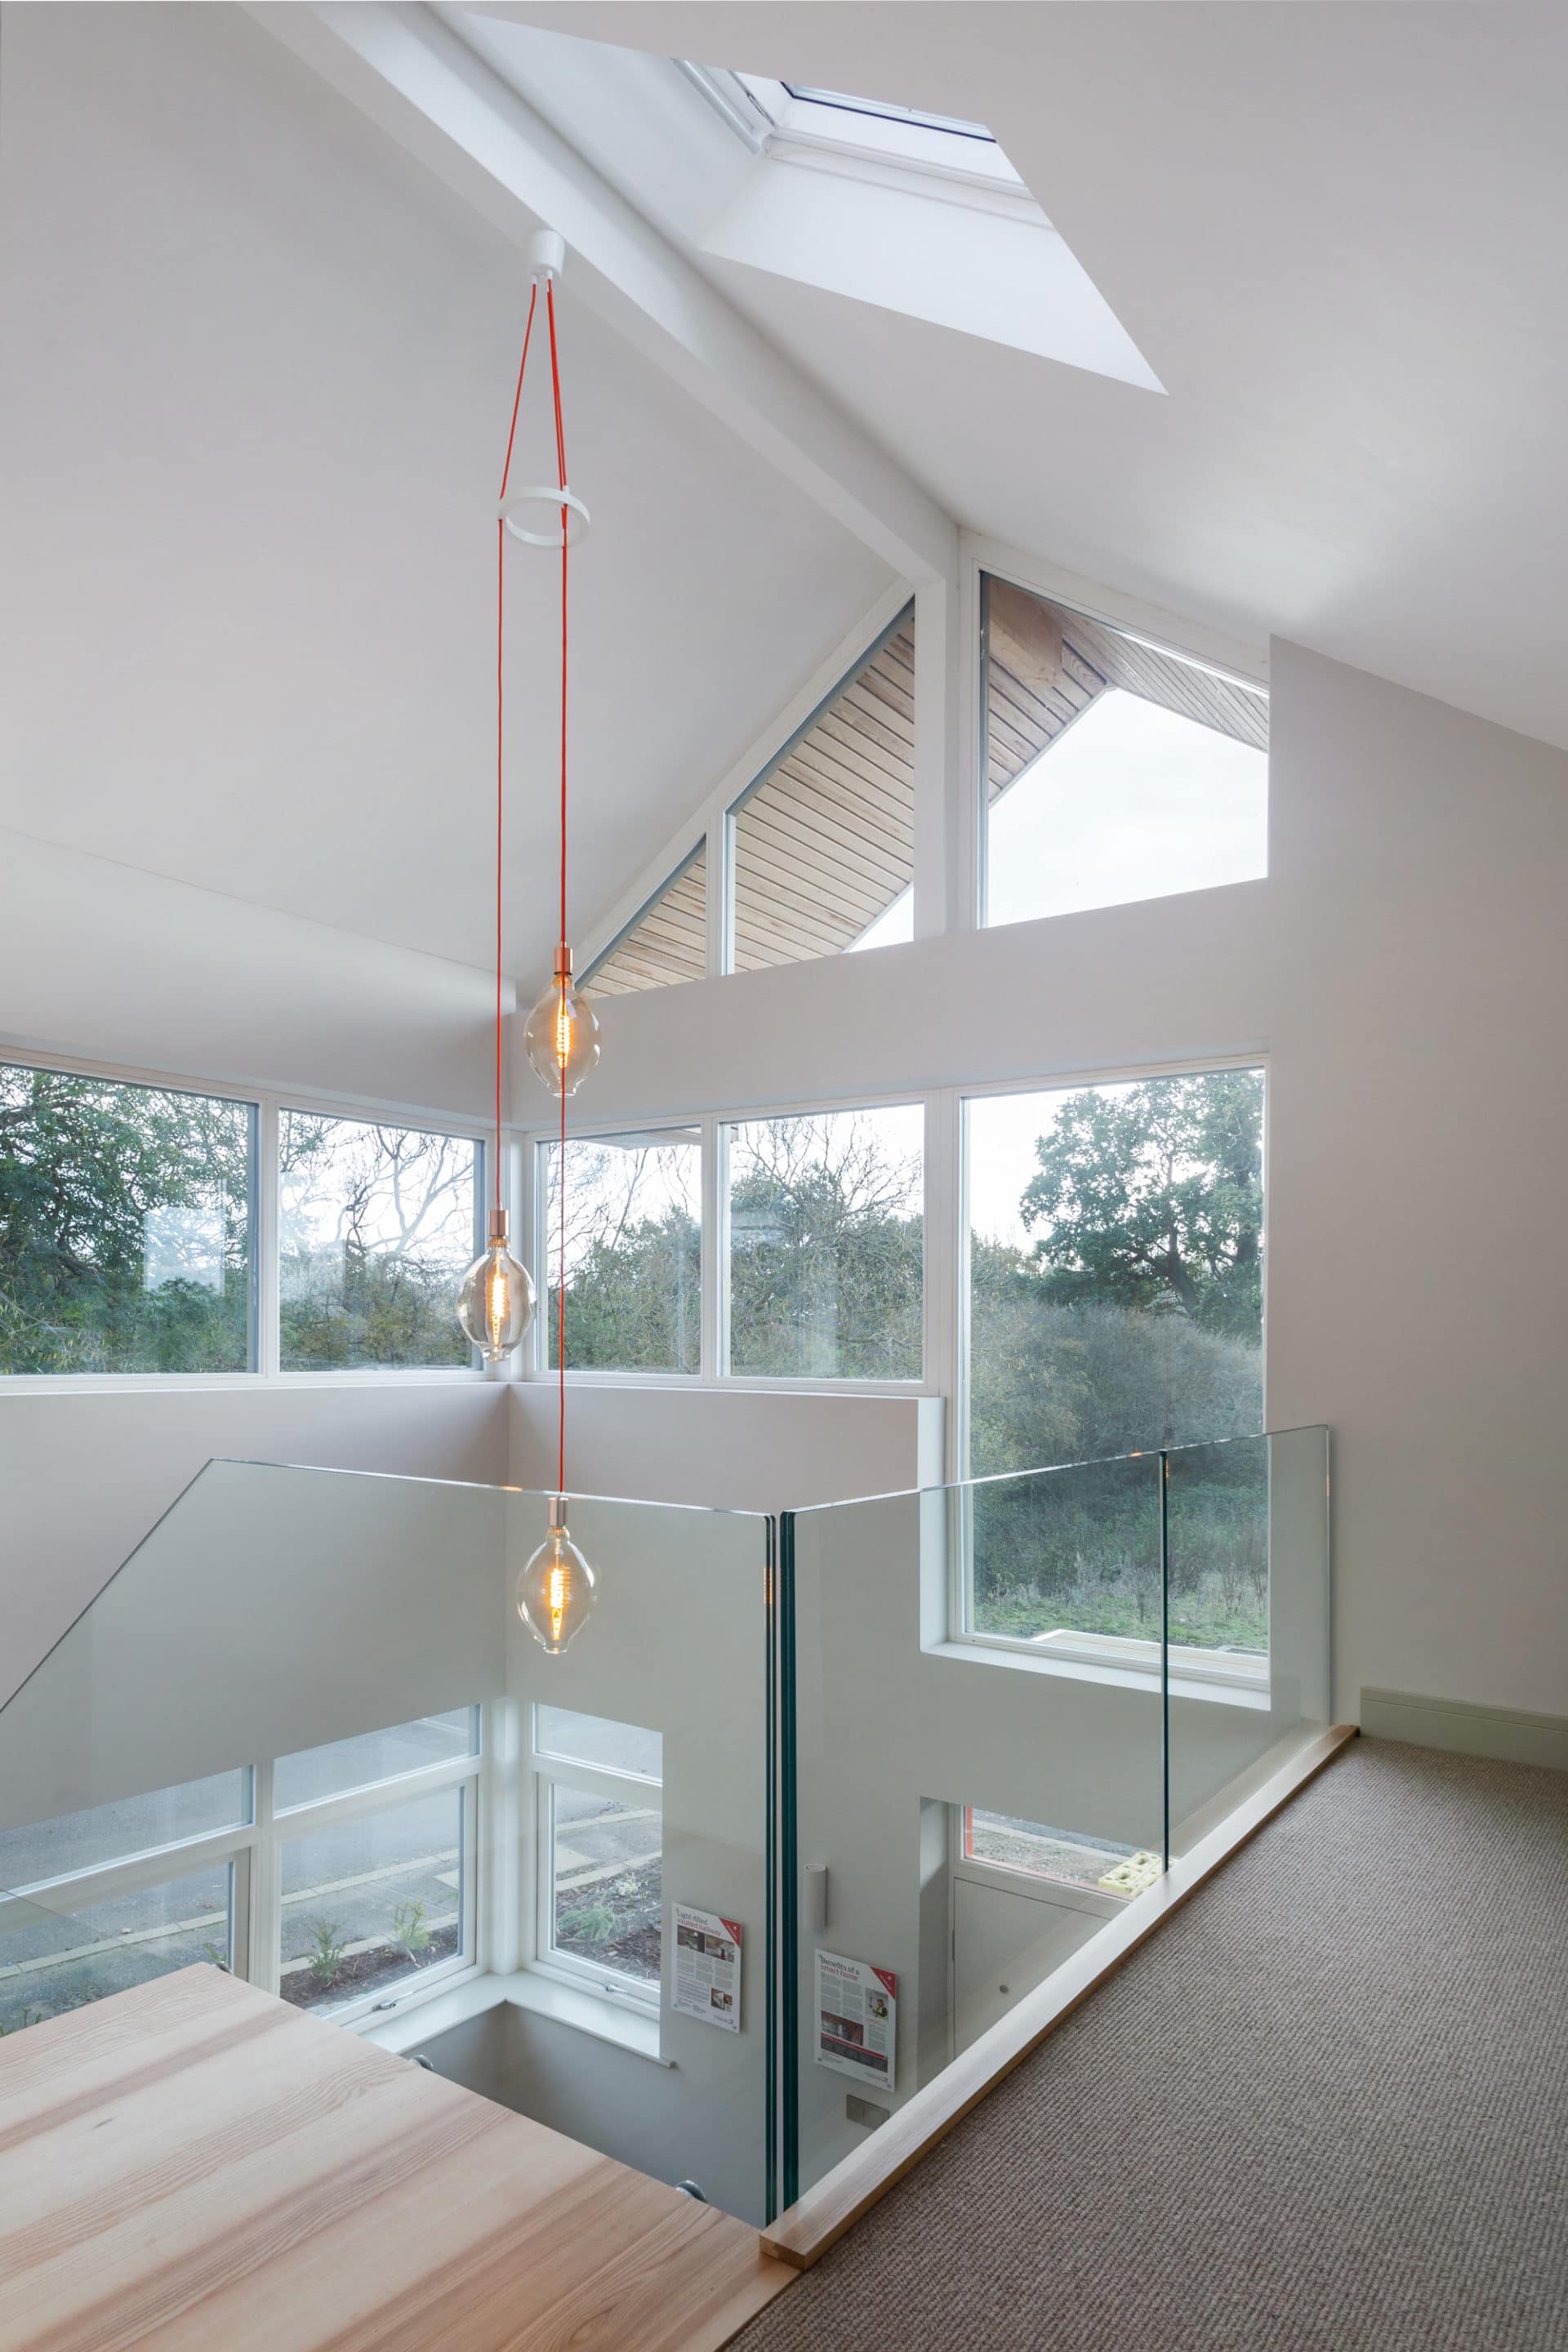
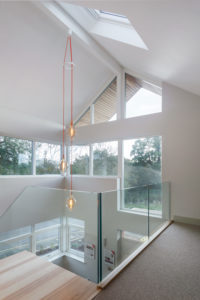
Kloeber timber windows frame views of the surrounding woodland in the vaulted hallway
An entry-level smart home doesn’t have to cost much more than a traditionally-wired setup – but to showcase the potential of modern systems, we’ve included a few high-spec options such as video entry, motorised blinds and a full home cinema in the basement.
We also opted for Amina invisible speakers, which were installed in the walls and ceilings at first fix stage and then plastered over. The sound quality is fantastic and – a bit like our Nu-Heat underfloor heating in the bathrooms – adds a touch of concealed luxury, reducing the need to take up valuable floor space with conventional products.
On the subject of heating, we could have just tapped into the plot’s gas supply and fitted a boiler. But our Education House remit and the fact we were building a modern, well-insulated house led us to the idea of using renewable tech that would keep a lid on long-term running costs and reduce our carbon footprint.
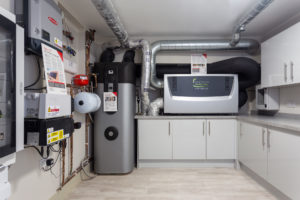
Our main heat source is Total Home’s heat pump ventilation (HPV) system. This combines an in-built air source heat pump with mechanical ventilation and heat recovery to deliver fresh, filtered, pre-warmed air (and an element of cooling in summer). Special electrically-heated ceiling terminals can provide a boost if needed.
The system seems to be working well during our first winter in the house, efficiently providing a cosy and healthy living environment. The ducting for the setup runs through the engineered metal-web posi-joists we specified for the ground and first floor ceilings, which feature a series of open voids to allow easy installation of services.
The UFH is buried in Screedflo’s quick-install, self-levelling liquid screed in the bathroom and the master bedroom’s ensuite; with an ultra-slim retrofit system (LoPro10) in the downstairs cloakroom to compare the different systems. All three areas run off Total Home’s HPW hot water store, which includes its own micro air-to-water heat pump.
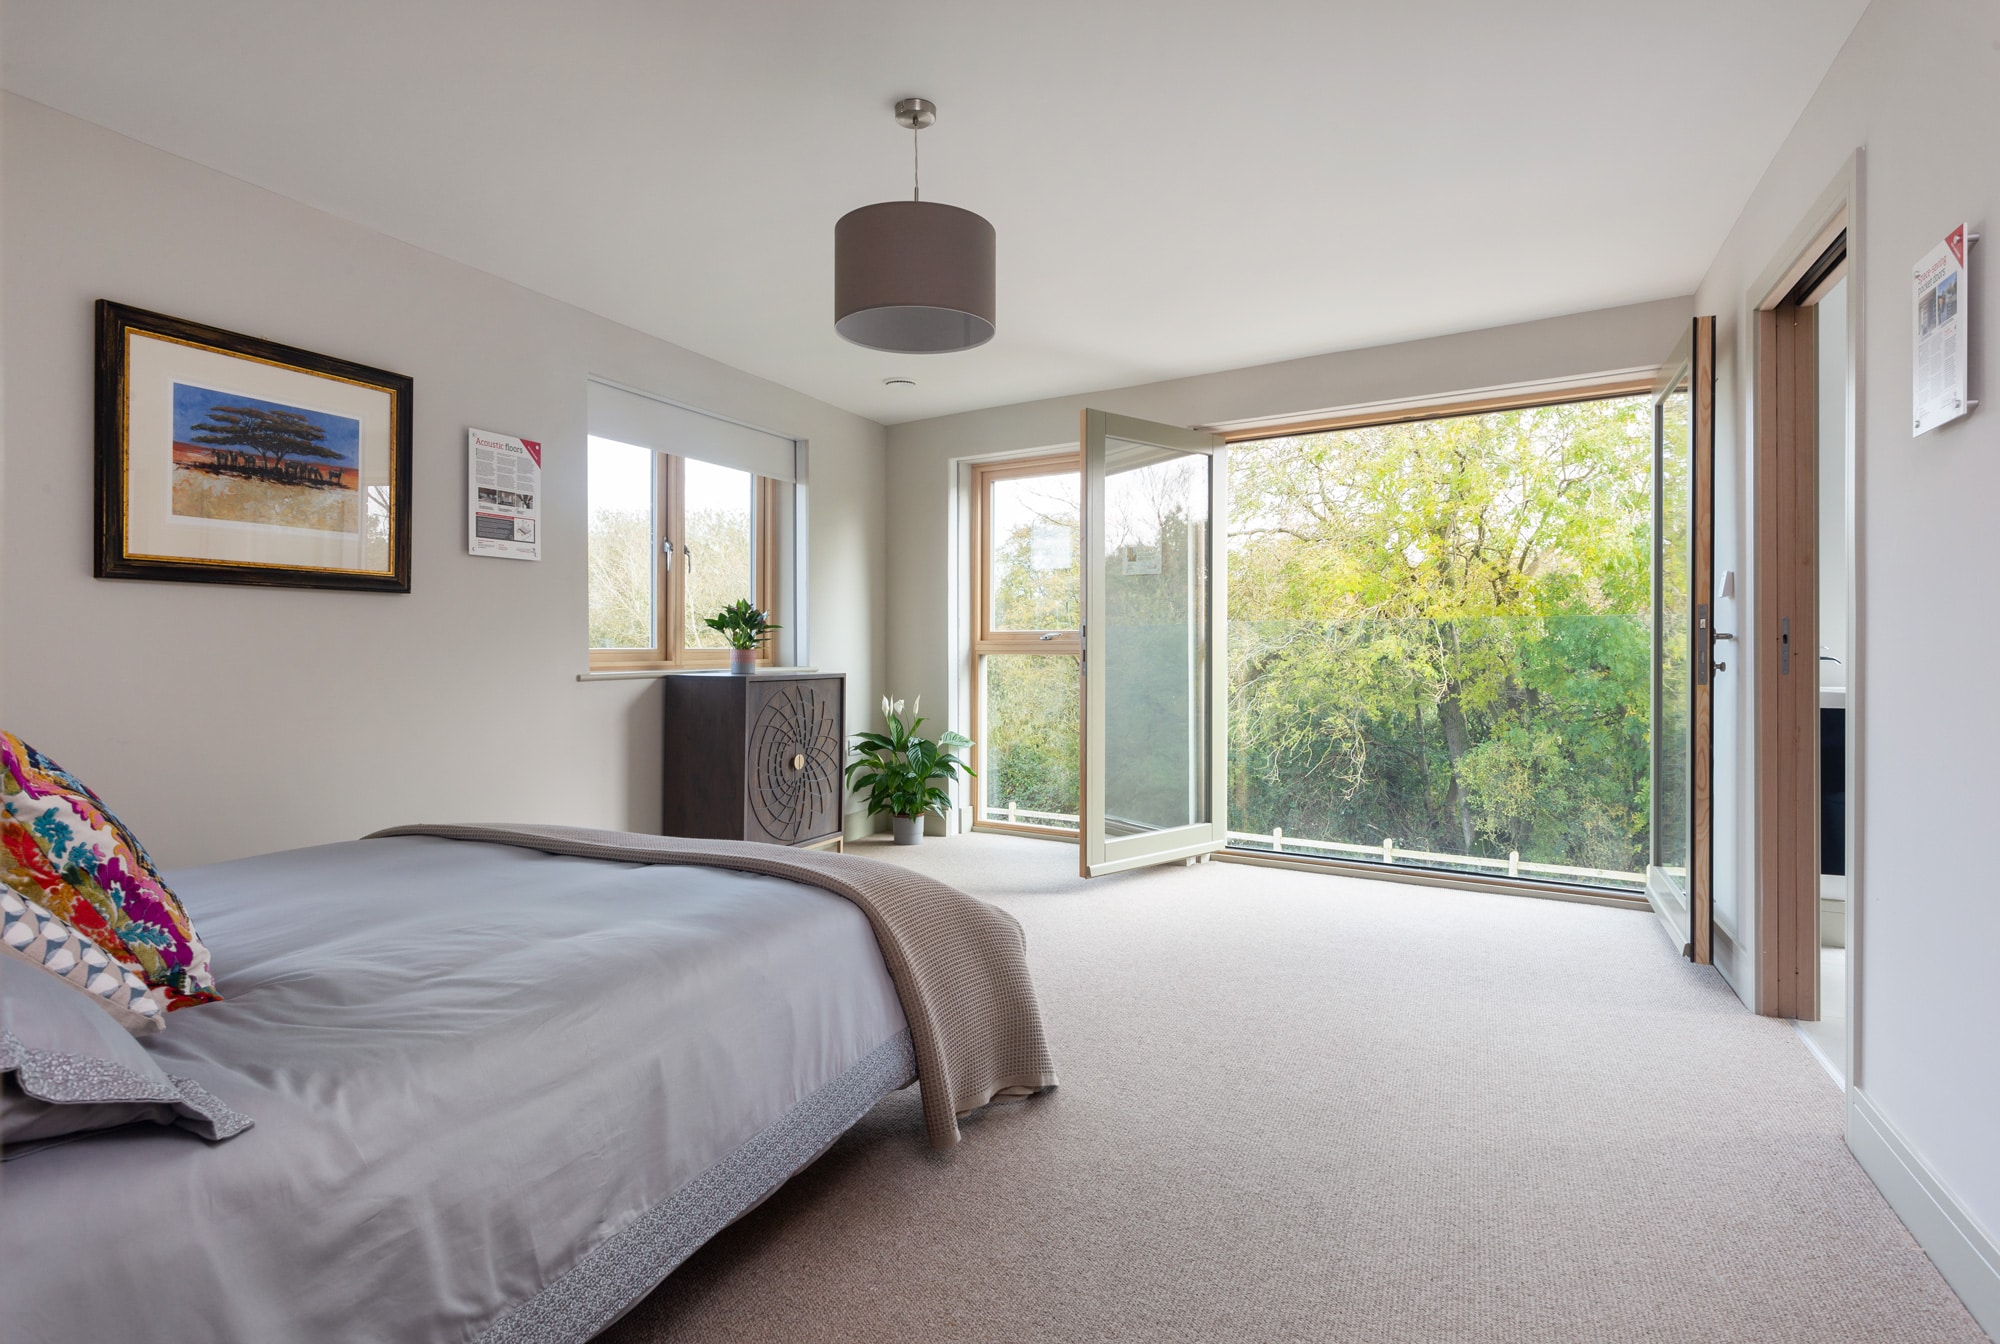
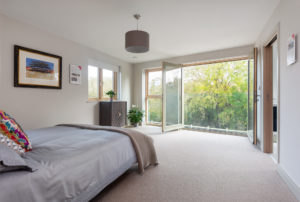
Planning restrictions prevented a full balcony on the side elevation, but a Juliet with French doors achieves a similar effect. Look closely and you can see the hidden motorised blinds above the windows
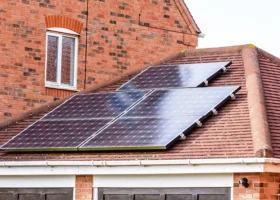
We’ve also installed a small solar photovoltaic (PV) array, designed and installed by Environment Logic to provide an element of site-generated electricity. The setup combines high-spec Solarwatt Vision PV panels with the company’s MyReserve battery, which will store energy generated during daylight hours for when it’s needed most (ie in the evenings).
It will be fascinating to see how the house performs in the long term; but for now, our as-built Energy Performance Certificate (EPC) gives us an efficiency rating of 87 (a high B grade) and predicts running costs of around £1,170 per year.
Making a home
The fittings and finishes you choose can make a huge difference to the overall quality and cost of a project. So we were keen to showcase a range of options in the Education House to help you get a real-world sense of what might fit your goals and budget.
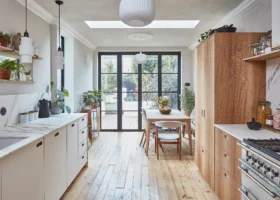
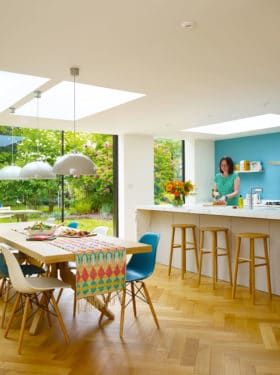
A case in point is the kitchen, where we’ve combined a relatively affordable but good-quality design from Howdens (inspired by the minimalist lines of the expensive German brands) with upgraded worktops in White Attica Quartz and darkish-grey Silestone Marengo from local supplier The Granite House. The finished kitchen cost less than £15,000 but still oozes wow factor.
Gallery: Build It Education House
For the ground floor tiles, we went with Hard Rock Flooring’s 10mm-thick, large-format porcelain range. This does a fantastic job of mimicking natural stone, but its slim profile has allowed us to maximise floor-to-ceiling height. It’s also low-maintenance, non-slip, ideal for high-traffic areas and a great partner for underfloor heating.
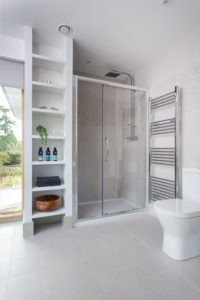
The bathroom floor and wall tiles, along with the sanitaryware, are all from nearby Alchester Bathrooms & Tiles.
In the snug, a Jotul gas stove provides a characterful focal point. The zone can be left open-plan to the kitchen-diner or separated via an internal glazed slider from IDSystems, and we wanted the plush feel of wool carpet here (with the same in the upstairs bedrooms and landing). The room can also be accessed via oak-veneered pocket doors from JB Kind (we’ve used the same style across most of the house, either hinged or in hideaway pockets).
To the rear of the house, there’s an Indian sandstone patio area. We chose a modern Sureset resin-bound permeable front driveway – a durable, attractive solution that offers the drainage qualities and look of gravel without the headache of loose stones being kicked up. Finally, we invested in some soft planting to bed the house into its setting, too, even if it feels like a bit of a luxury at the end of a long build.
So would we do it all again? Absolutely! But the Build It Education House is only just opening its doors, plus it’s designed to be future-ready – so maybe we’ll wait for our 50th birthday for the next project!
Visiting the Build It Education HouseWe’re delighted to have worked in partnership with Graven Hill – the UK’s largest self and custom build development – to bring you the Build It Education House. This is your chance to gain access to a goldmine of inspiration and practical advice through detailed infographics and cut-out sections showing key structural details, and to pick up our detailed book all about the journey… including our build costs! Please note that due to the national lockdown, the Build It House is temporarily closed to the public. We look forward to reopening soon! OPENING HOURS: |






































 Login/register to save Article for later

