Estimate your project costs instantly with Build It's interactive self-build cost calculator
Calculate NowGet an accurate, detailed cost breakdown of your project
Submit plans
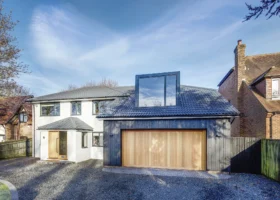
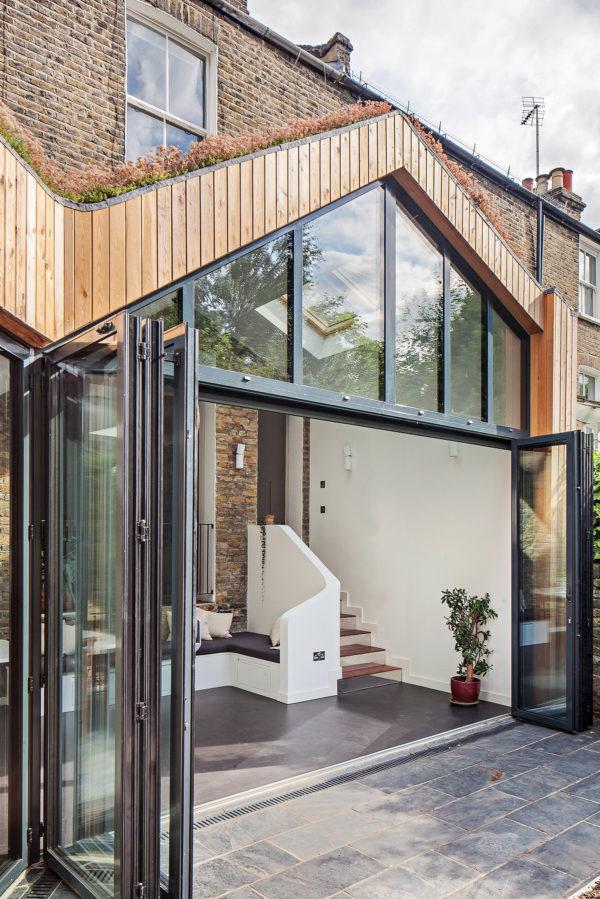
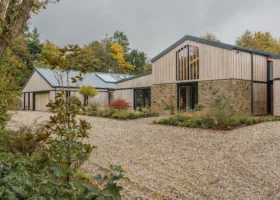
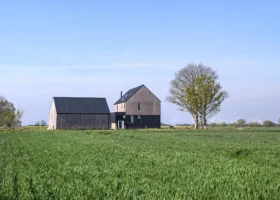
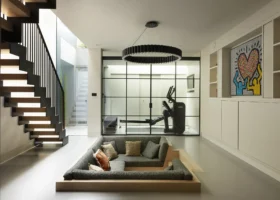
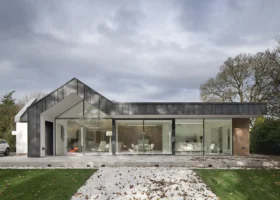
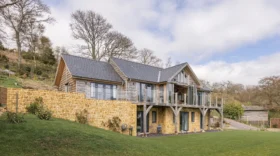
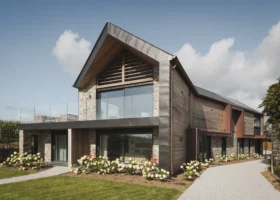
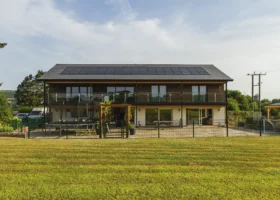
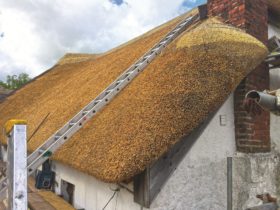
Regular readers among you will be familiar with Build It’s Self Build Education House – the real-life project we embarked on in celebration of the magazine’s 30th anniversary. Completed in late 2019, the Build It House is a pioneering project designed to give you a unique insight into the ins-and-outs of creating your own bespoke home.
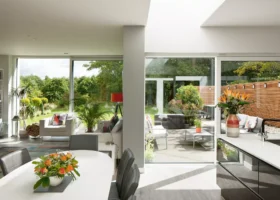
Our goal with the Education House was to build a high-quality, value-for-money home for a reasonable budget (we completed our 250m² project for just over £2,070 per m²). Located on Graven Hill in Bicester, Oxfordshire – the UK’s largest self and custom build development – you can visit the house in person to see the results and gain a unique insight into the self build decision-making process!
In terms of energy efficiency, we decided against shooting for a super-home standard like Passivhaus. Instead, we wanted to show that you can keep long-term running costs down on a fairly typical self build specification – equivalent to a high B-rating on the Energy Performance Certificate. The aim was to deliver that primarily through a fabric-first approach, focussed on the building’s innate insulation and airtightness performance, rather than relying on bolt-on renewables.
We achieved the results we wanted – but we’re not ones to rest on our laurels! So, earlier this year, we were intrigued when we heard about a new product called AeroBarrier that promises to eliminate unwanted air leakage. And what better place to put it through its paces than at the Build It House?
find out more about the Build It House
First things first; let’s look at the performance we actually delivered at the Build It House. Graven Hill sets a number of development-wide targets that every project has to hit. One of these focuses on airtightness. Our Plot Passport required us to reach an air permeability (or air leakage rate) of 3m3/h.m² or better – a figure that happens to align with the threshold at which mechanical ventilation and heat recovery (MVHR) systems can work effectively.
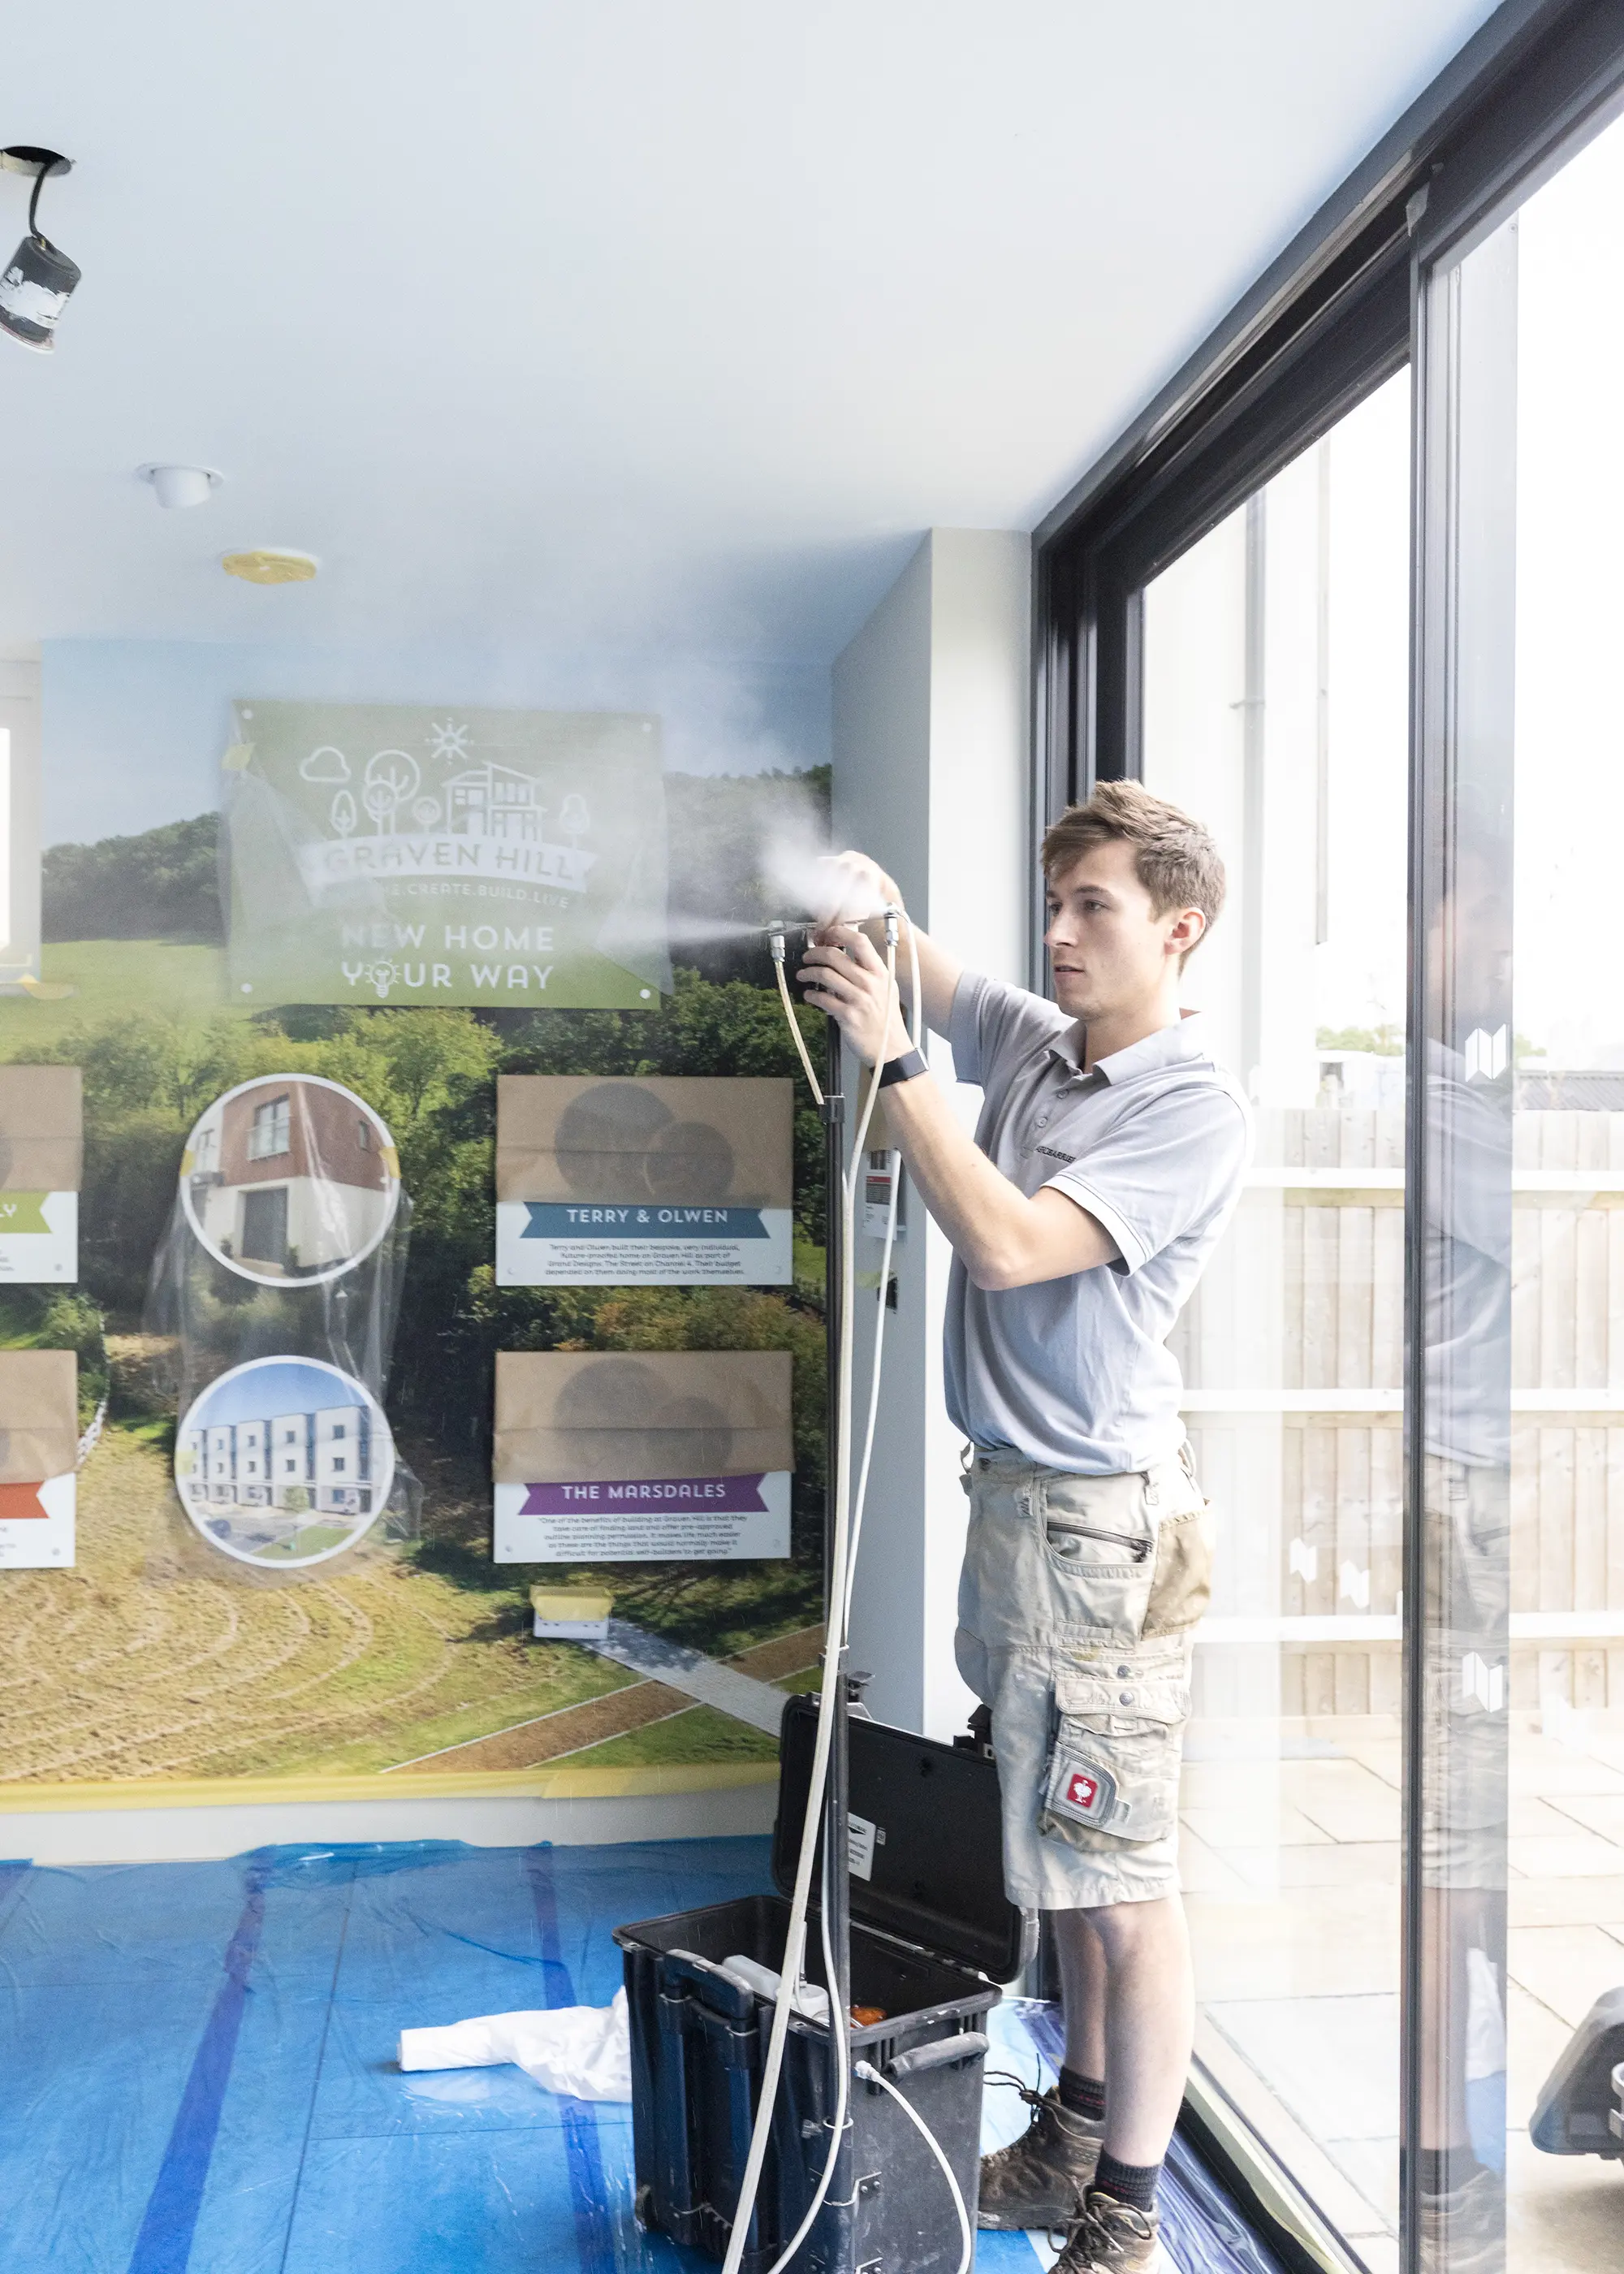
Chris Batesmith, who project managed construction of the Build It House, chats through the sealing process with AeroBarrier’s Hugh Franklin
MVHR basically sucks spent air out of a building, recycles any heat within it and repurposes it to pre-warm an incoming supply of fresh air, boosting efficiency. For our project, we decided to install an innovative heat pump ventilation (HPV) system from Total Home Environment, a tech that was relatively new to the UK. This setup combines a micro heat pump with MVHR to deliver the house’s space heating and hot water (plus an element of summer cooling). So, it also relies on decent airtightness.
Graven Hill’s 3m3 target was streets ahead of Building Regs, which at the time still allowed houses to be built at a whopping air permeability of 10m3/h.m² (in practice, most self builders were already easily beating this). The latest iteration of the Building Regs, which came into effect in June 2023, sets a limit of 8m3/h.m² under Part L. In reality, most projects will need to hit 5m3 (the regs’ notional target) or under to achieve a pass on the design-stage Standard Assessment Procedure (SAP). That’s an improvement, but not exactly rocket science.
The team usually only needs to cover window boards and the like; but a finished house proved a rather different prospect
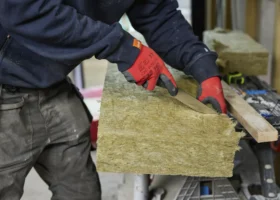
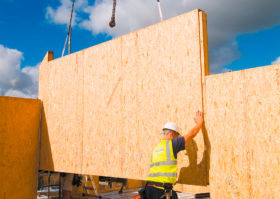
So, airtightness was on our radar throughout the design and build stages. As project manager, I became de-facto airtightness champion – schooling our builders on the fundamentals and even introducing them to the concept of using airtightness tapes to seal around windows, doors etc. Our choice of walling system – Nudura’s insulated concrete formwork (ICF), provided by ICF Supplies – was useful here.
Building with ICF basically involves stacking a series of large-format, lightweight polystyrene blocks. These are fitted with steel reinforcement to the structural engineer’s spec, braced and pumped with concrete. This creates a monolithic wall that’s inherently very airtight, giving a sound basis for a high-performance house.
The house’s vaulted hallway fully prepped, with the blower door in position
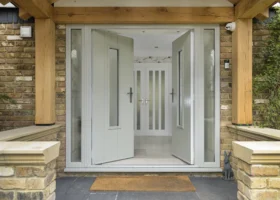
I think most self builders feel a pang of nerves the day the airtightness testing crew rock up to attach their giant fan where your front door’s supposed to go. Will the build quality be good enough to avoid a performance gap between design and built reality? If so, how easy will it be to put it right? It may have taken a little learning on the job, but we were pleasantly surprised by the outcome for the Build It House. Our air permeability at building control sign-off was ratified at a very respectable 1.83m3/h.m².
AeroBarrier piqued our interest as soon as we heard about it. Created in the United States, the unique aerosol-based sealing technology has been bought to the UK by Tim Crump, founder of highly-respected oak frame home manufacturer, Oakwrights. The system works by pressurising a house and then misting it with a special atomised, water-borne acrylic sealant, which gets sucked into air leakage points.
“We want to take projects from good to great, and if a gap’s smaller than a little finger, then we can seal it,” says Hugh Franklin, head of AeroBarrier UK. Hit that threshold, and the performance benefits are eye-popping. “If a house is built to a tolerance of below 10mm, then we can get it down to passive levels.” To put that in context, the Passivhaus standard requires an airtightness result of 0.6 air changes per hour (ach) at a pressure of 50 Pascals (which loosely translates around 0.8m3/h.m² on the air permeability measure).
Hugh sets up and tests the ground floor sealing station
AeroBarrier is normally installed during the main construction phase, before the plasterers come on site. At this stage, the house is still relatively open, so the misting system has maximum opportunity to find every nook and cranny where air’s escaping. On a typical single house project, the AeroBarrier UK team would expect to be on site for just a day – prepping in the morning, sealing by midday (for anything from 45 minutes to 3.5 hours), before checking and certifying the results.
They’ve already delivered some fantastic projects for very happy self builders. One 209m² Herefordshire build went from 0.64ach (just outside Passivhaus) to just 0.09ach post-seal, for example. Another was transformed from 6.25ach to 0.95ach; an 85% reduction in unwanted draughts. And all in double-quick time. AeroBarrier’s potential to improve the UK’s housing stock is seriously impressive. This is a solution that offers anyone from one-off self builders to major developers a straightforward route to certainty over their projects’ final airtightness.

Hugh and Josh set up the fan, which will pressurise the house. As it was a wet and windy day, the team also pumped in some heat to ensure the sealing fog would remain in suspension
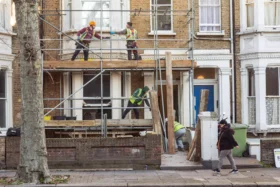
One of the biggest benefits could be for self builders who find their planned home isn’t performing as expected on testing. Indeed, the owners of one project shortlisted in this year’s Build It Awards went through exactly this issue, necessitating extra time and labour costs for remedial works. AeroBarrier could have been ideal in this scenario.
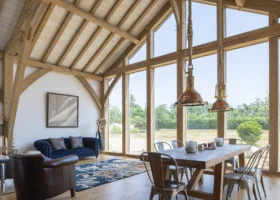
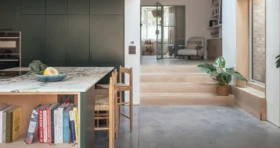
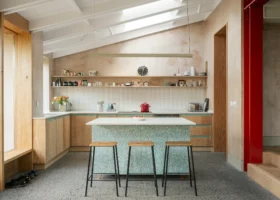
You can also see how it would make a lot of sense on more complex designs. “The double-height hallway in the Build It House, with its vaulted ceiling, is a good example of a space that’s likely to be a pain to seal manually but is straightforward to do with AeroBarrier,” says Hugh.
After hearing about the potential performance benefits, we wondered whether the system could be retrofitted to improve a completed house’s airtightness and performance. Hugh and Tim confirmed just that, and we set a date to put AeroBarrier through its paces in mid-September 2023.
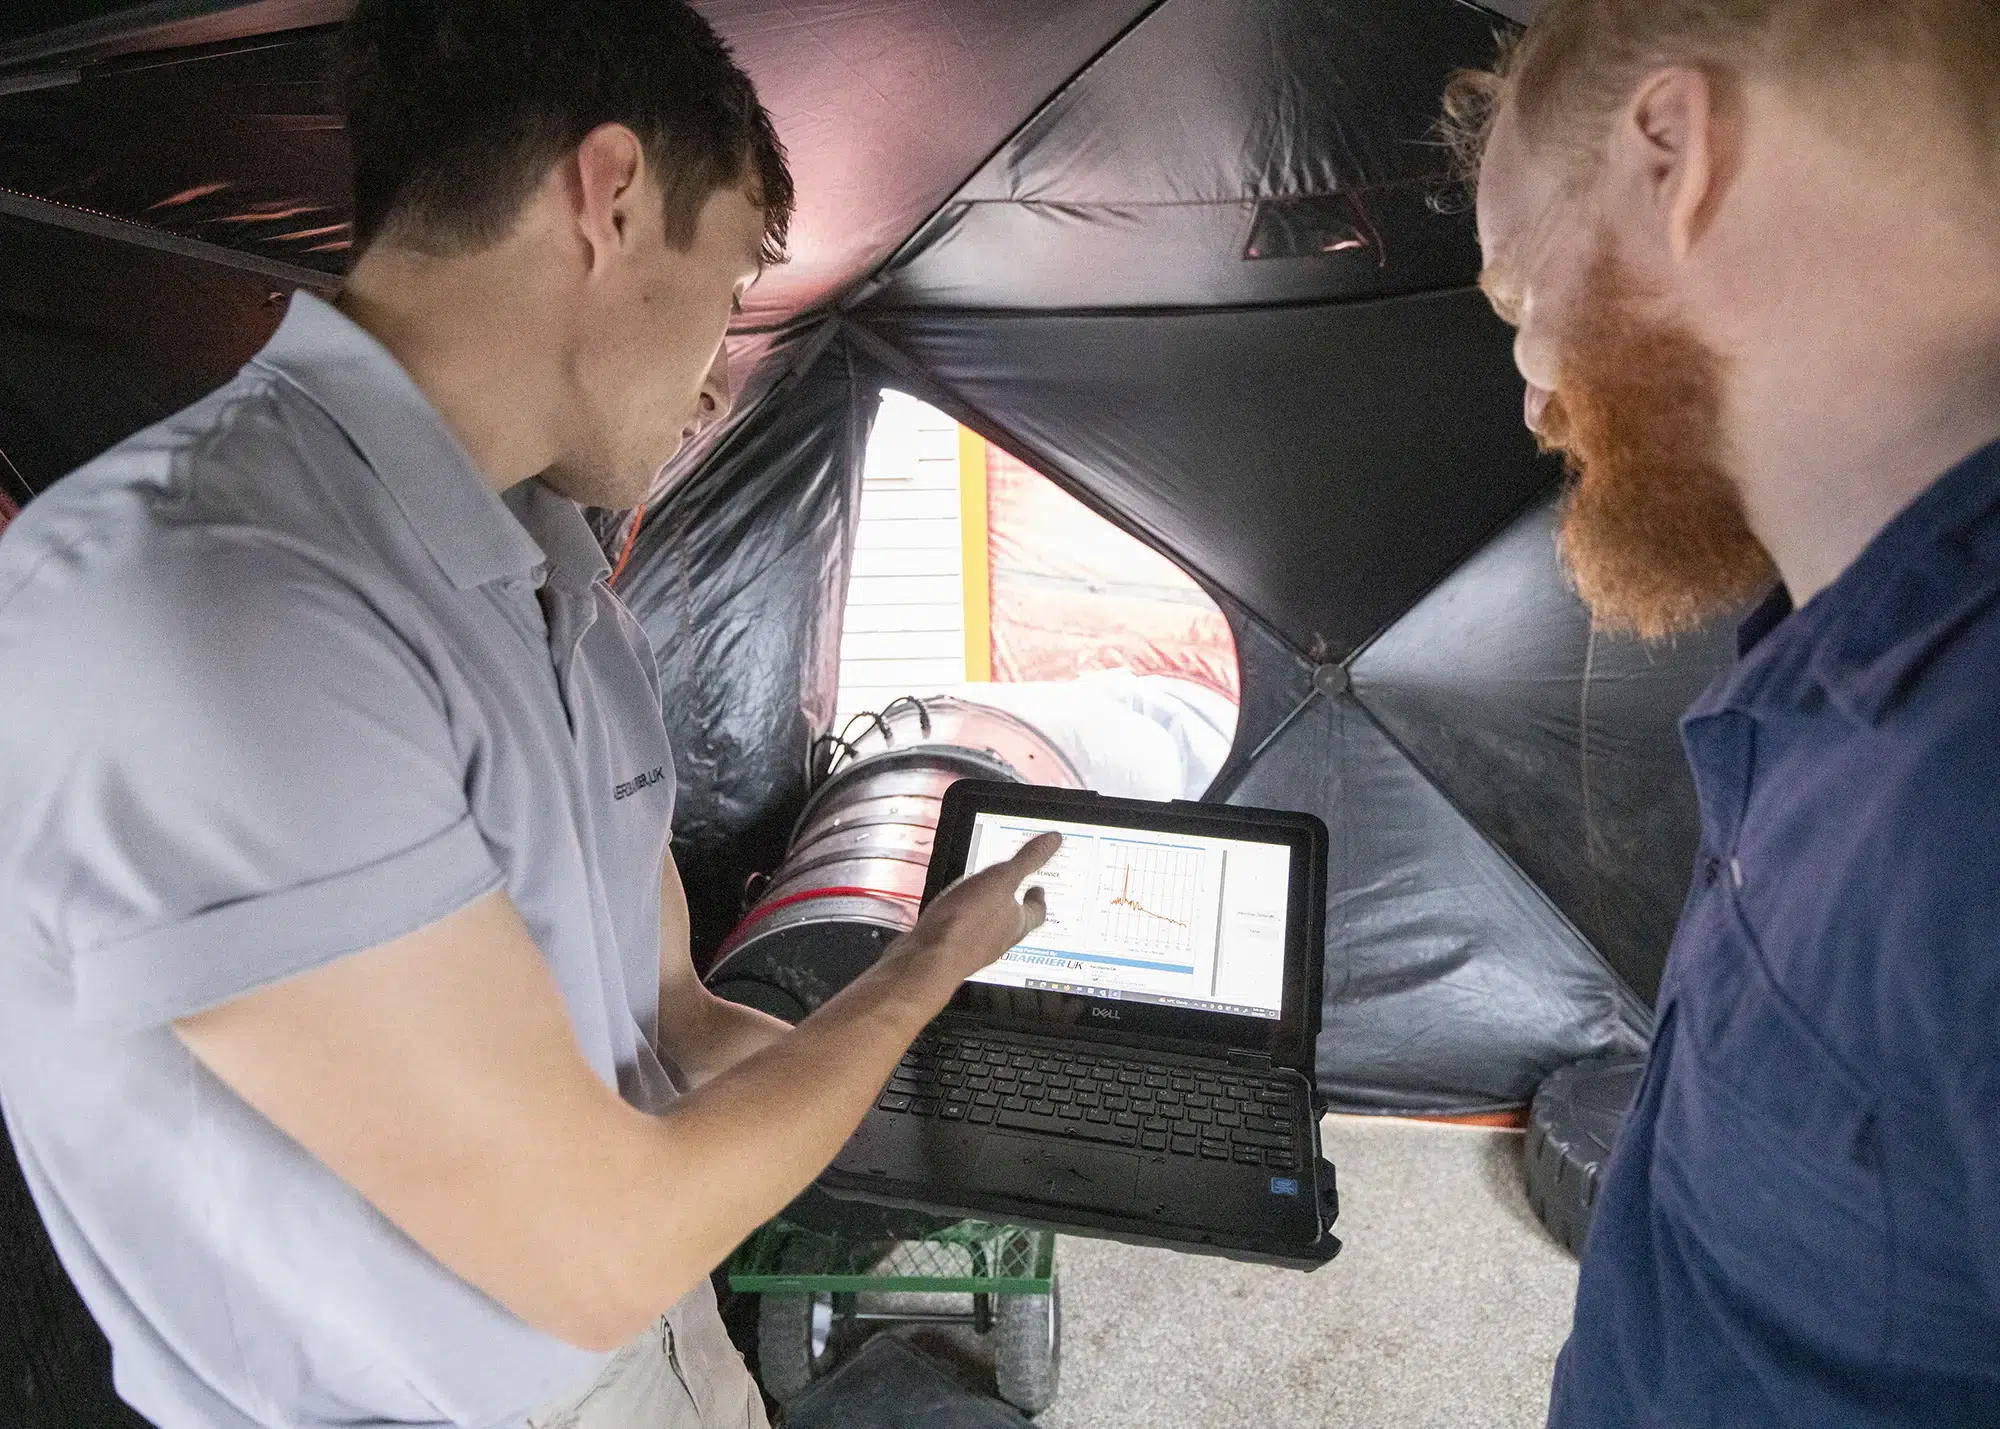
Progress looks good – as the sealant finds and fills gaps, the live graph shows air leakage gradually falling
In achieving an air permeability of 1.83m3/h.m² (which works out as around 1.36ach), we’d done a decent job at the Build It House – but clearly, we’d left a few wins on the table, and Hugh was confident we could deliver a significant improvement. Given the ICF walls should be pretty robust, the main areas where heat could be escaping are likely to be key structural junctions, and anywhere our trades needed to drill or chase out for services and the like.
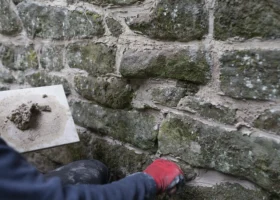
“Think cable runs, drainage pipes, joist hangers, the connection between basement and ground floor, where the wall plate and roof meet, external light fittings etc,” says Hugh. “It’s not bad building to drill a 3mm hole through a wall to install a 2mm cable; but it does leave airtightness issues.” Fixings that could puncture the airtightness layer, such as over-long cladding screws, are another common culprit for air leakage – although not an issue with our ICF build.
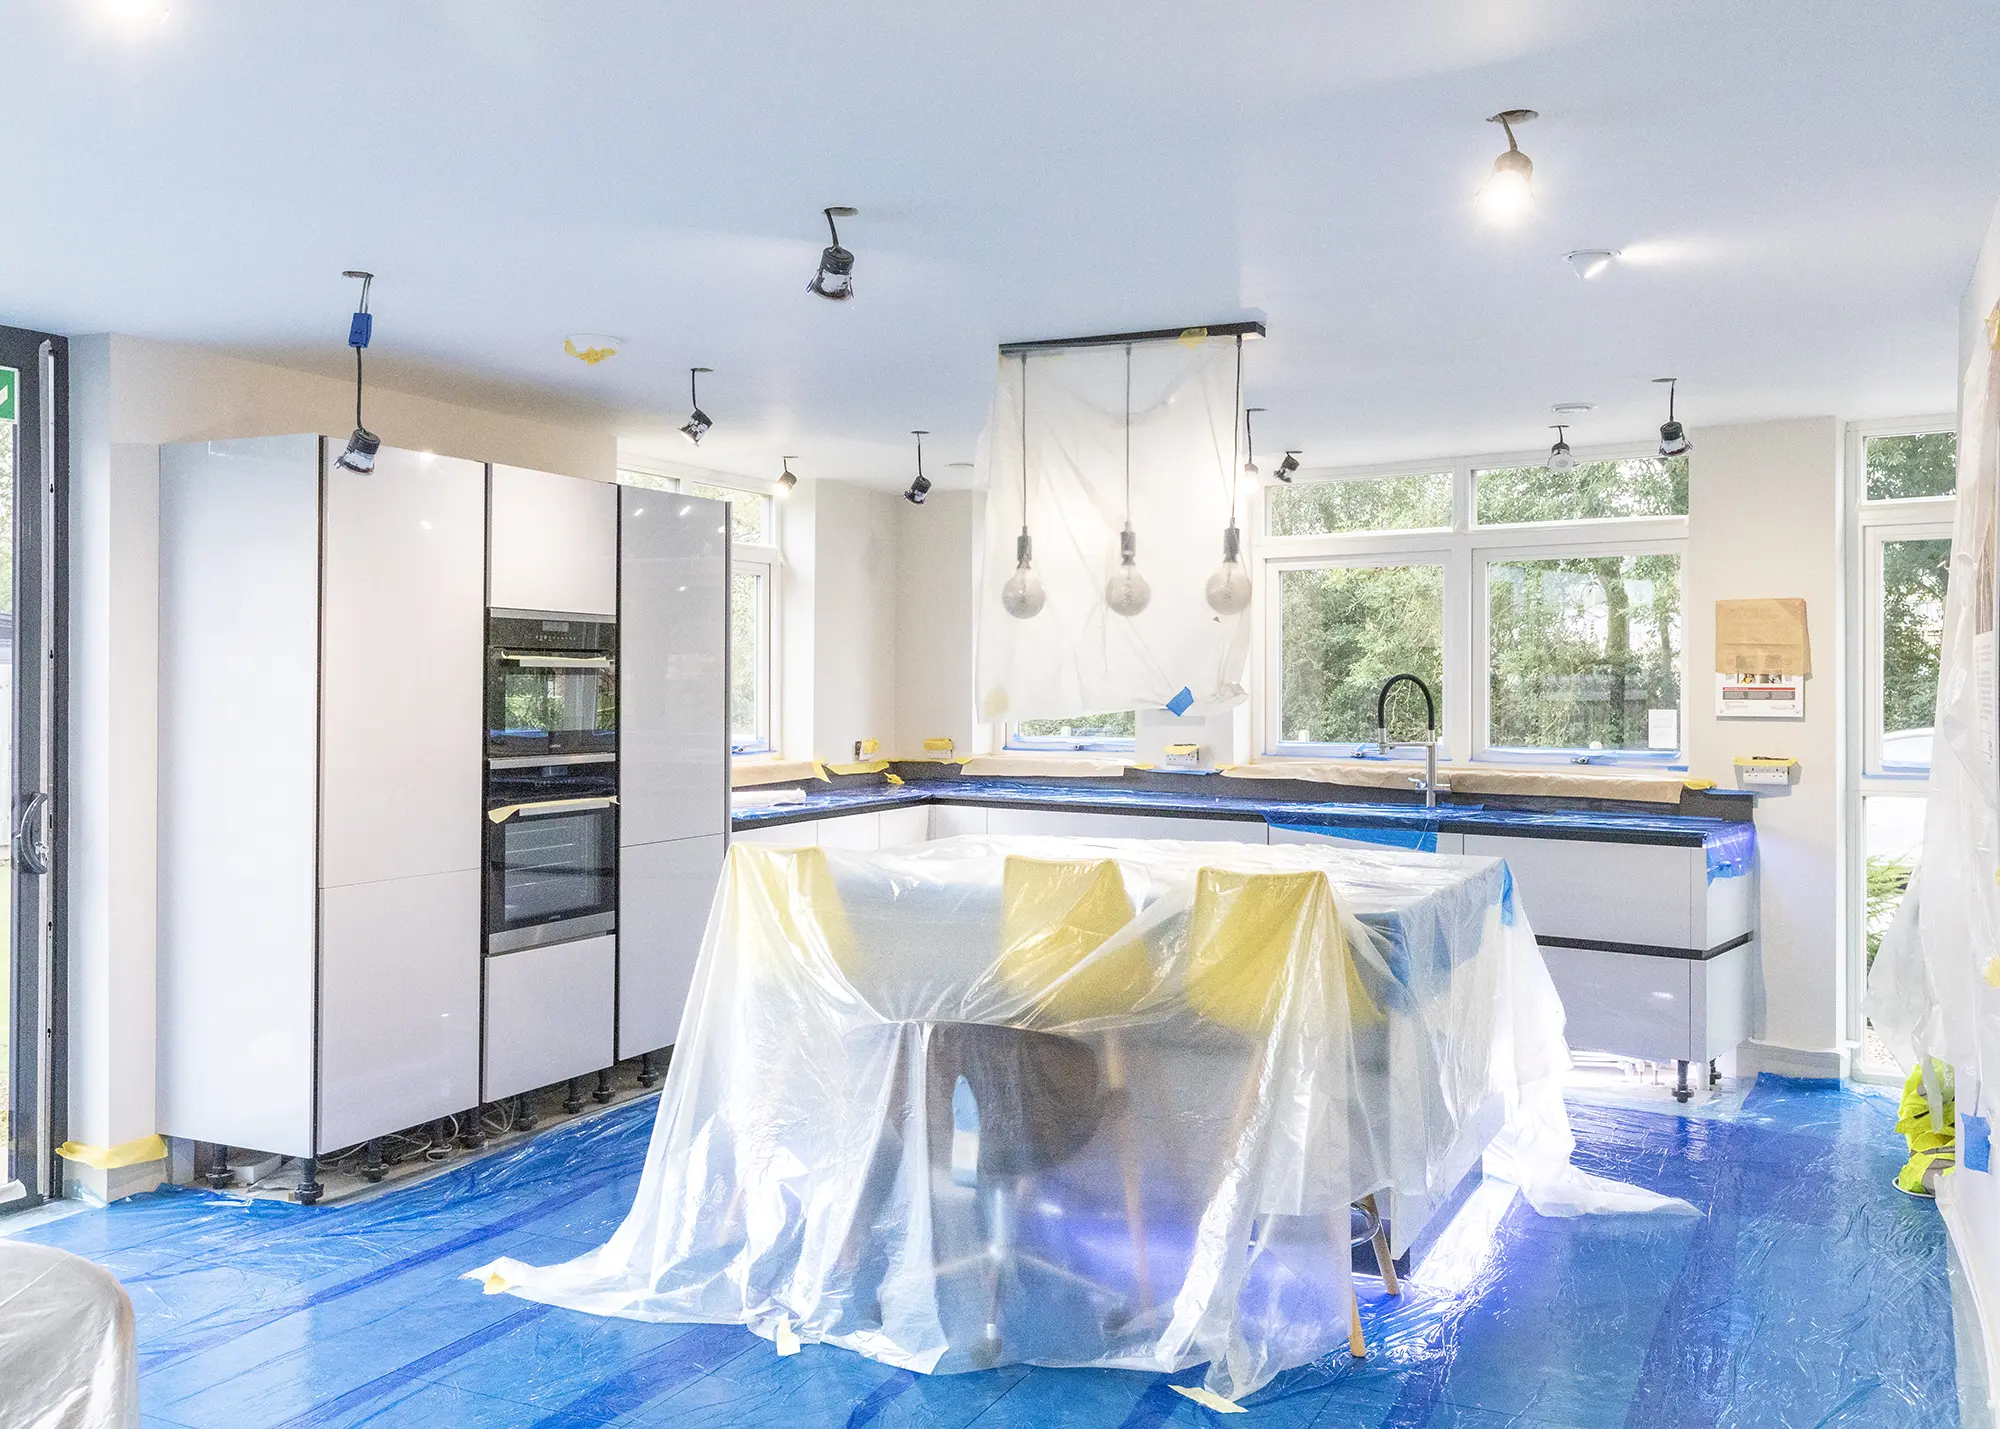
Since we finished our house back in 2019, and the Graven Hill plot sales team uses it every day, there was a bit more prep work to do compared to a normal AeroBarrier project. Any horizontal surfaces need to be covered. On a project at house shell stage, that’s basically window boards and the like. Vertical surfaces, such as walls and windows themselves, don’t need protecting.
With a finished home like the Build It House, the team had carpets, furniture, worksurfaces, bathrooms etc to deal with. Keen to ensure the seal would penetrate right into the ICF building fabric, Hugh and colleague Josh removed all the sockets, switch plates and ceiling spotlights – enabling the misting spray to reach beyond the plasterboard. Prep took a day-and-a-half in total.
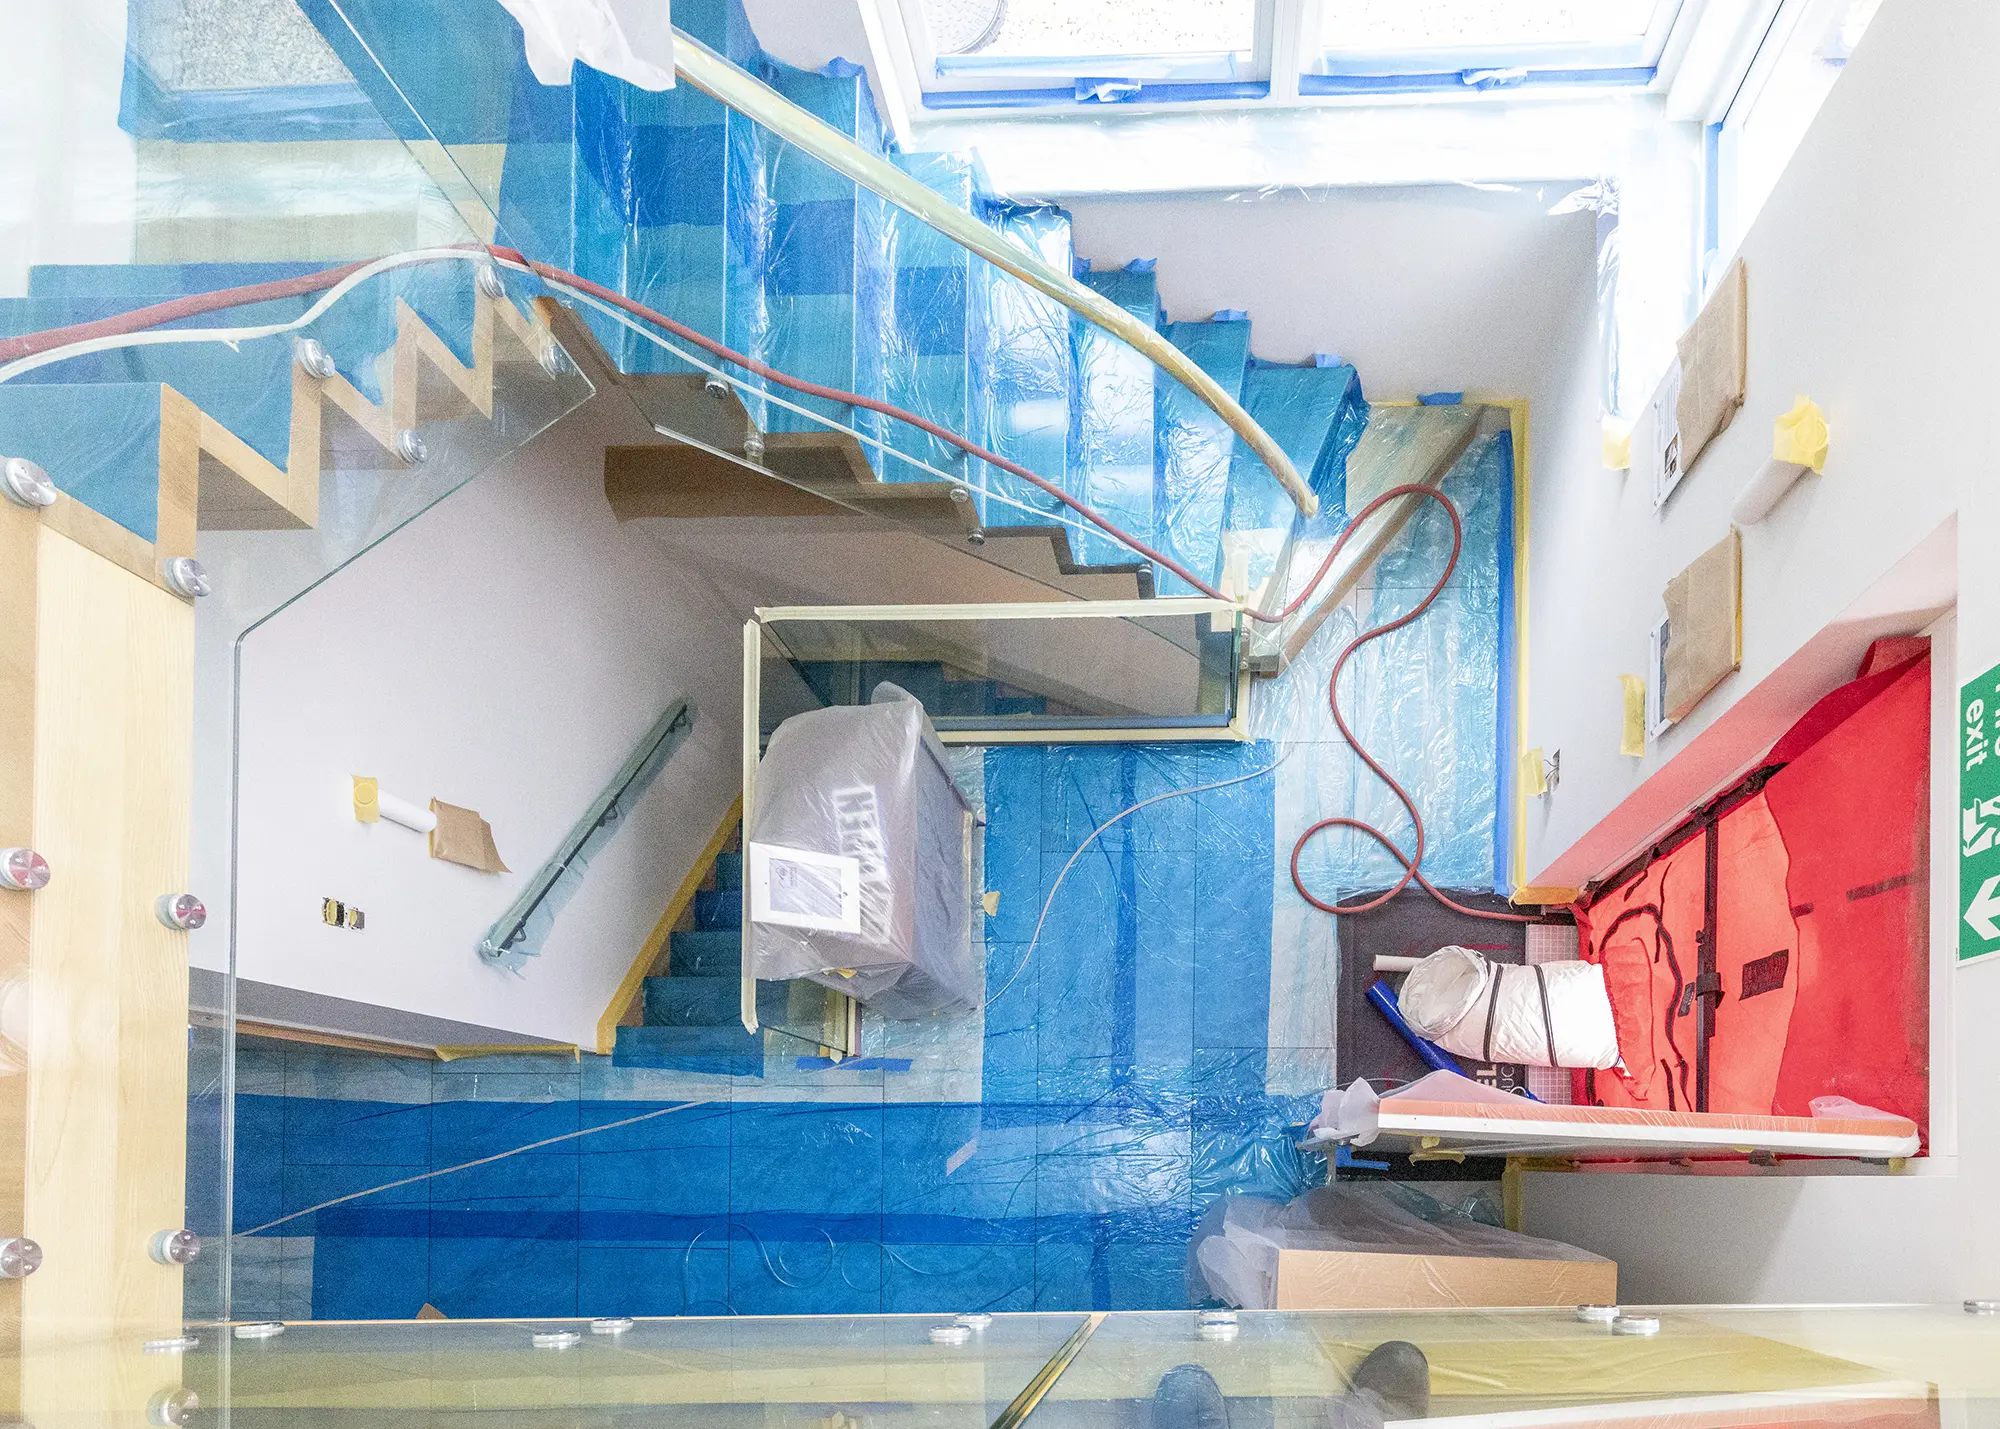
It was then a case of setting up the door blower and sealing stations, which are both controlled via specialist SmartSeal software, running off a laptop. This means the whole process can be closely monitored and adjusted as necessary. Three sealing stations were set up; one each on the ground floor, first floor and the smaller loft storey (the latter was moved mid-seal in order to ensure a consistent distribution throughout).
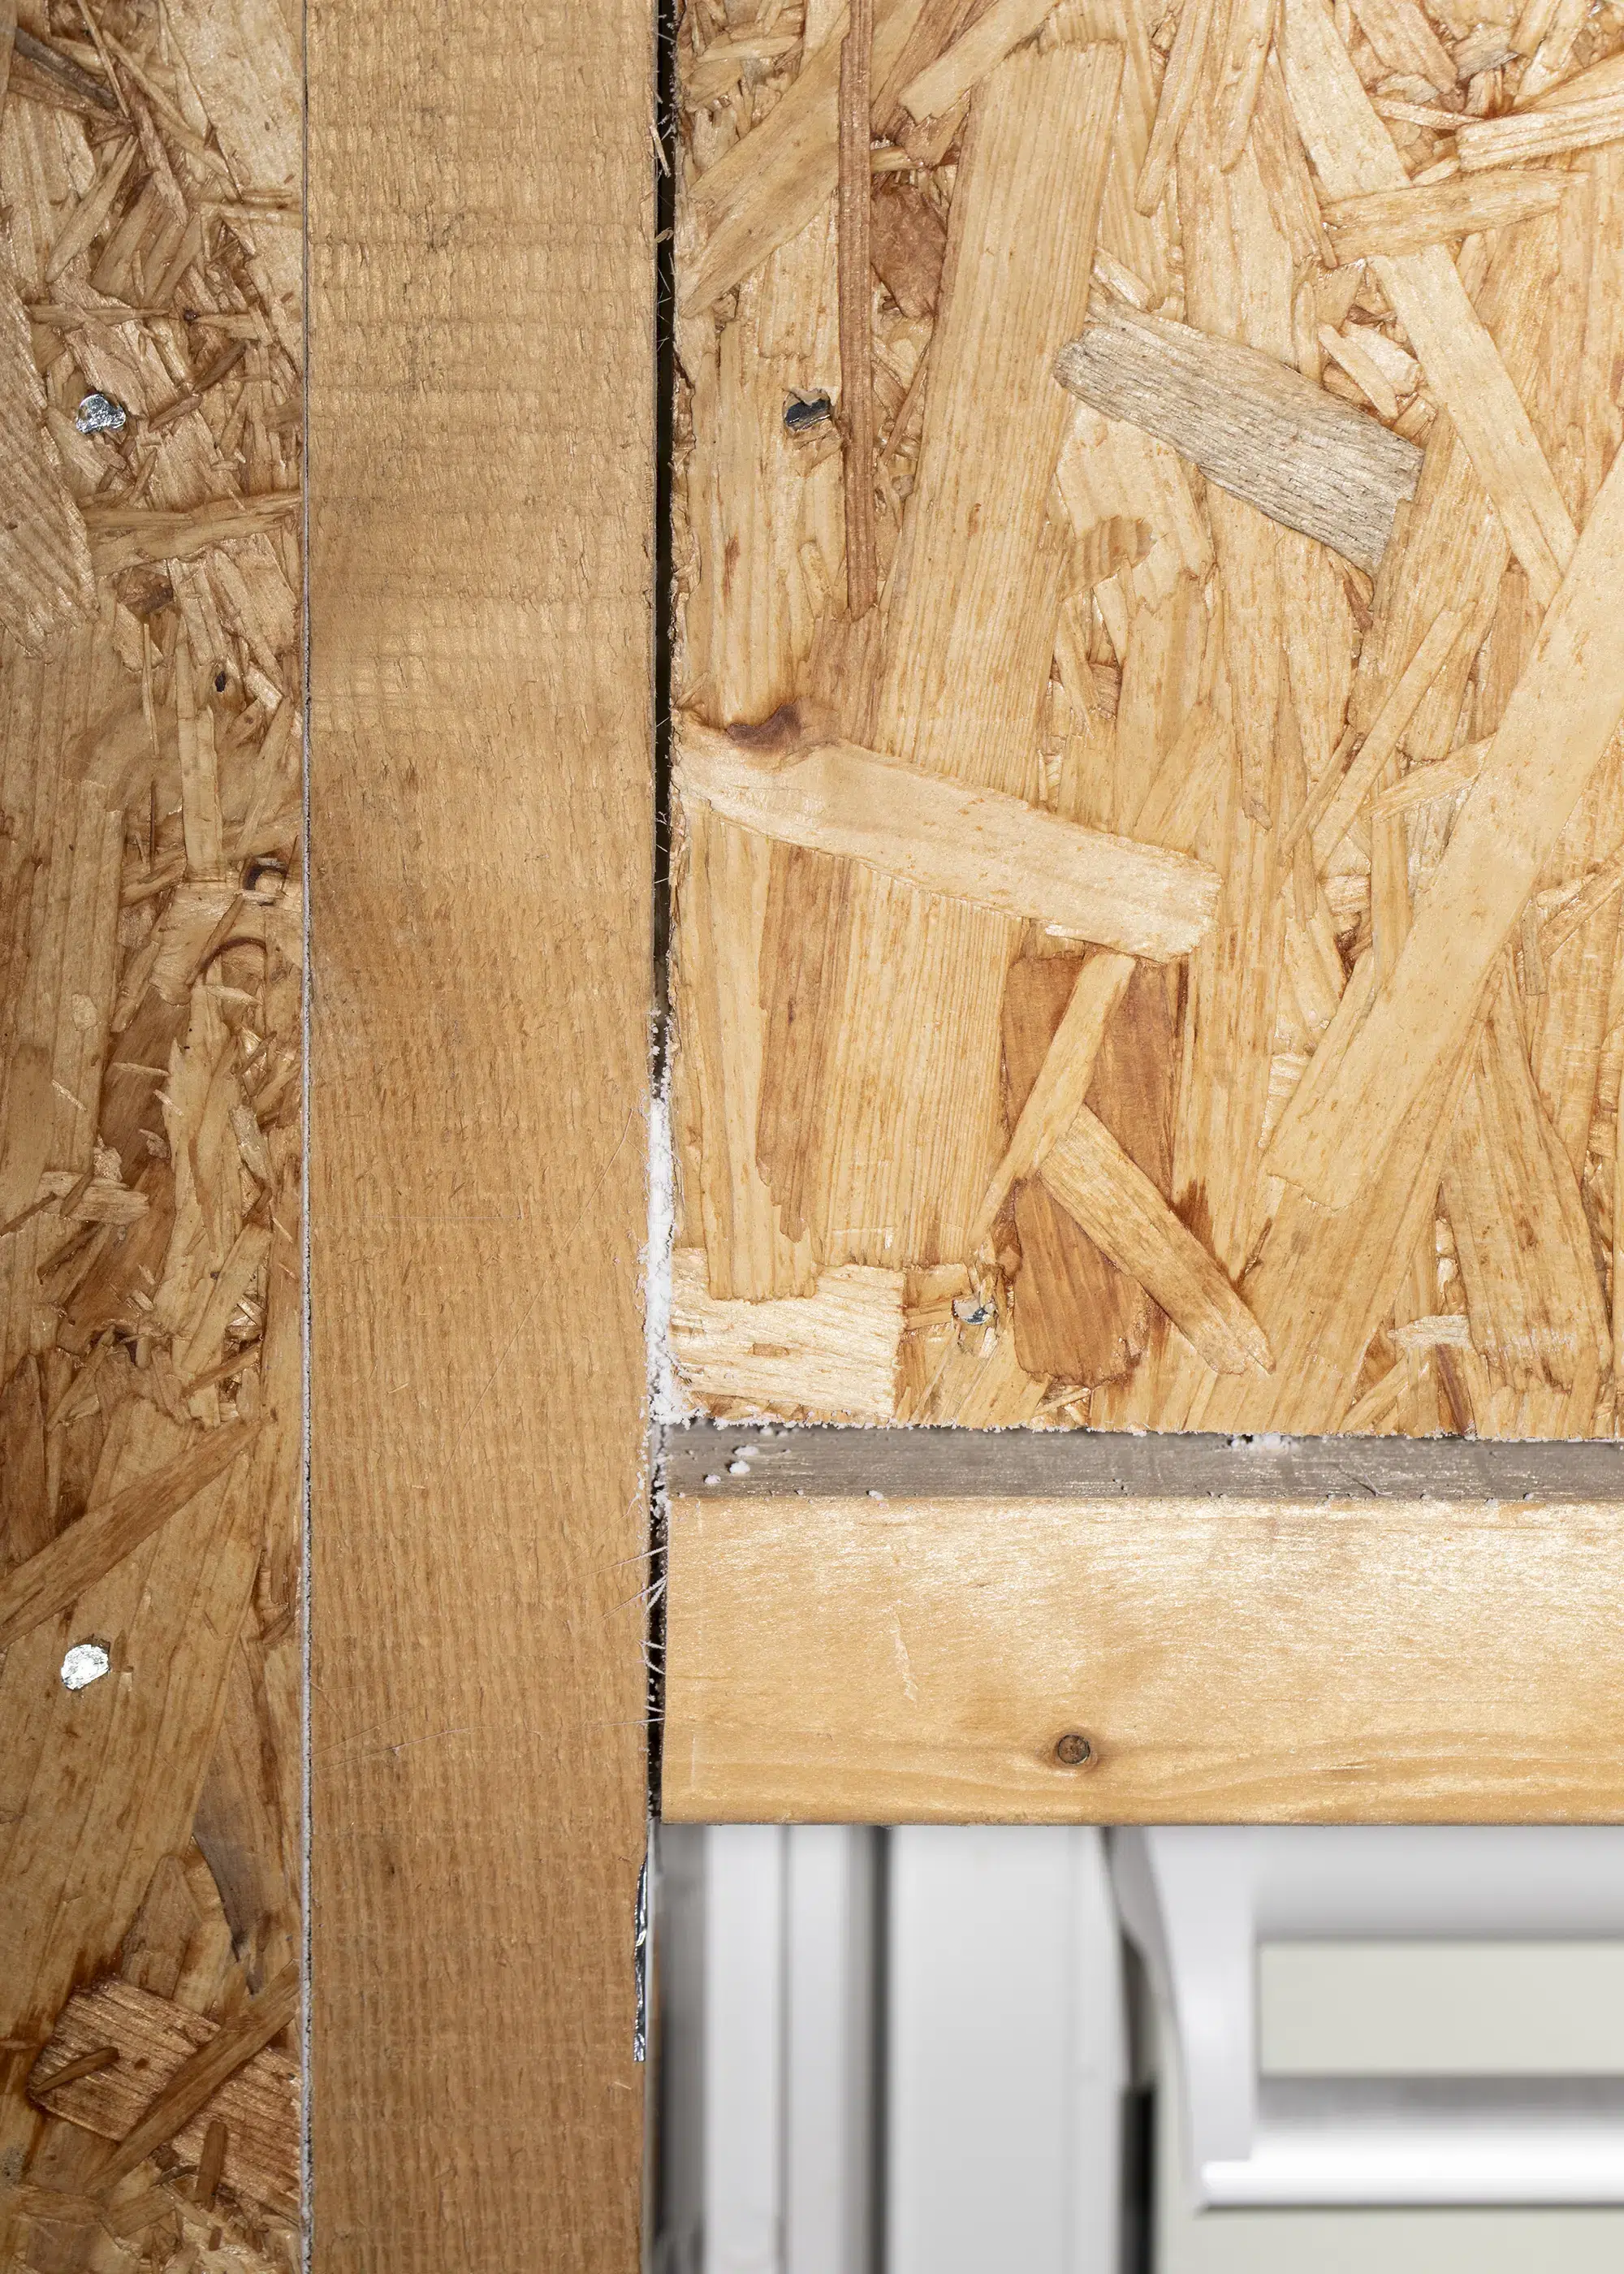
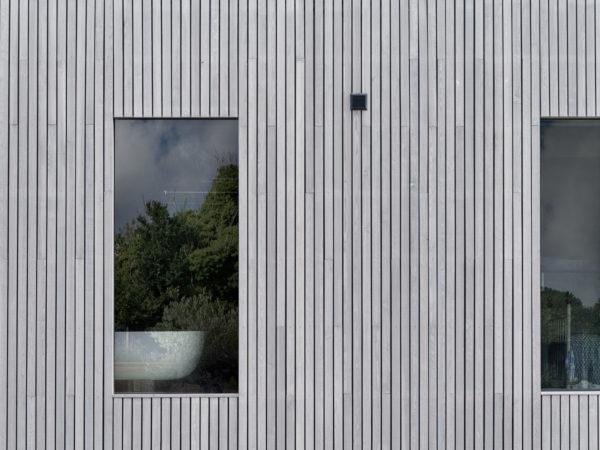
In the attic, which we’d left insulated but relatively unfinished to showcase the SIPs roof panels, you can really see where where AeroBarrier has sought out and sealed leakage pathways
“We typically use one station per 75m²-100m² of floor space,” says Hugh. “The software allows us to control three key metrics: fan pressure, sealant level and humidity. We then pull different levers to get a homogenous result across the whole house – rather than different levels of airtightness in different rooms. If humidity is high, that means an area is fully sealed.”
The first step for installation is to pressurise the building, which provided a natural opportunity to check the current airtightness: 2.15m3/h.m², a drop of 0.22 since building control sign-off. That came as a surprise to me and probably would to most self builders, but not so to Hugh: “that’s likely through general settlement of the building over the first few years.”
With everything in place, it was time to press go and start the seal. “We do this at a higher pressure of 100Pa rather than the 50Pa we use in testing, because we can achieve a more robust seal more quickly,” says Hugh. As the stations powered up, they filled the house with a fog-like vapour, which followed the air current created by the positive pressure and began sealing up leaks.
The whole job was done in just 80 minutes, during which time I was totally glued to the monitor; watching the wriggly graph line inching ever further downwards, as Hugh and Josh tweaked things here and there to achieve that homogenous seal they were after.
While I’d seen several case studies of AeroBarrier’s impressive performance when used on houses still in the construction phase, I wasn’t at all sure what to expect for a completed home. So, when Hugh let on that he was hoping to at least beat 1ach (a 25% improvement), the game was on. The goal is always to overshoot slightly, as there’s usually a little bit of bounce back between the live data and the final testing – so could that graph squiggle come down to more like 0.8ach?

With gusto, was the answer! Relatively high winds on the day were causing a bit of pressure change, but things settled down in the low 0.7s. So, it was time to shut down the seal, clean up and remove all the covers etc. Half an hour later, Hugh ran a post-seal airtightness check – and the results were better than even he’d expected.
For the Build It Education House, AeroBarrier has delivered a 48.7% reduction in envelope air leakage, taking us down to 0.77ach (or an air permeability of 1.03m3/h.m²). “That’s a very strong result in a retrofit scenario,” says Hugh. The sealant leaves a faint cobweb-like residue (see below left), easily wiped off with a cloth before it dries, that gives handy clues to where airtightness had previously been compromised.
“Sealant movement was significant through the joists and behind light fixtures,” says Hugh. “There were also some very clear results in the attic, which shows how AeroBarrier can streamline taping processes to save time, labour and materials.”


 Login/register to save Article for later