Choosing Screed for Underfloor Heating
If you want an efficient setup from your water-based or wet underfloor heating (UFH), and you’re working with a solid floor, then you’ll need to lay the pipework into something that aids the transfer of heat.
That’s where screeds come in. The two most common options are traditional ‘dry’ versions and ‘self-levelling’ types. They not only allow you to prepare the surface for the finished floor covering, but also act to absorb warmth from the UFH pipework and radiate it into the room above. The screed’s excellent thermal mass helps to maintain comfortable, even temperatures as well as reduce energy use and running costs.
Screed should usually be laid as quickly as possible after the UFH is in place, partly to minimise the risk of damage to the pipework. The system should be pressure-tested for leaks before work begins, and pressure maintained while the screed is laid.
Dry screed
This type of covering comprises a traditional mix of coarse sand and cement, usually in a 4:1 ratio.
Despite the name, it requires enough water to reach a consistency where a handful will clump together when squeezed without producing more than a few drops of moisture.
“It’s vital that the screed is always well-mixed and well-compacted to guard against damage,” says Rob Stabbins, national sales manager at Robbens Underfloor Heating. It can be difficult to get this right by hand – but ready mixes are widely available.
In some cases, fibres might be added to reduce the risk of cracking, or additives incorporated to offer faster drying times or extra strength. The mix is usually piled into sections of temporary formwork of the correct height, before being carefully levelled off with a straight edge (known as a ‘screed’) and finished with a plastic float and trowel.
Once laid, the exact curing time will depend on the temperature and humidity in the building, but traditional mixes will need at least 28 days before the heating can be used.
“When the UFH is switched on for the first time it should be run at a low setting, so the screed can warm up slowly,” says Rob. “This helps to complete the cure before the system is brought up to full running temperature.”
Self levelling screeds
Also known as liquid screed, this type does exactly as it says on the tin – it’s simply poured or pumped onto the floor and spreads out across the entire surface to achieve a level finish.
It’s quick and easy to use, and can help reduce the risk of unwelcome voids forming in the finished floor (which would reduce the efficiency of UFH). What’s more, it can usually be laid thinner than dry versions – around 50mm in conjunction with wet UFH, as opposed to 65mm for a conventional setup.
Most liquid products are made with calcium sulphate (as well as sand, water and various chemicals). The mixture is very quick to lay so it’s especially suited to large areas, but it will take a little longer to cure than dry screed.
You’ll also need to incorporate a vapour barrier directly below liquid products to ensure the floor insulation is protected from potential damage.
Underfloor heating overlays
UFH overlays, such as those available from Fermacell and Polypipe, are another time-saving option.
These systems basically consist of thin-profile boards (usually 18mm or 25mm) pre-routed ready to accept the heating pipework. They’re simply laid onto the existing insulated floor and glued together to provide a near-instant alternative to screed.
However, if the floor structure requires levelling you may still need to invest in a layer of liquid screed – although Fermacell’s overlay can be topped with a thin (4mm) covering of the firm’s proprietary dry material.
If you’re using an overlay, the UFH will respond slightly differently to other types of screed. Expect faster warm-up times but less benefit from thermal mass.
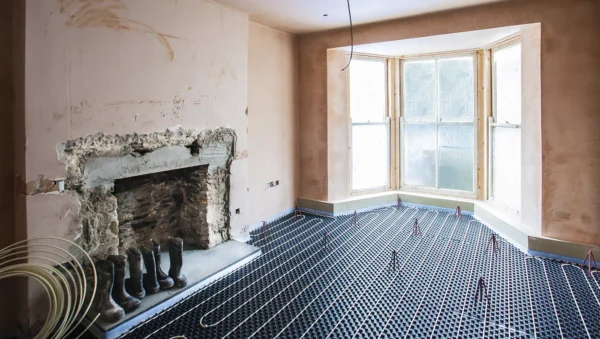
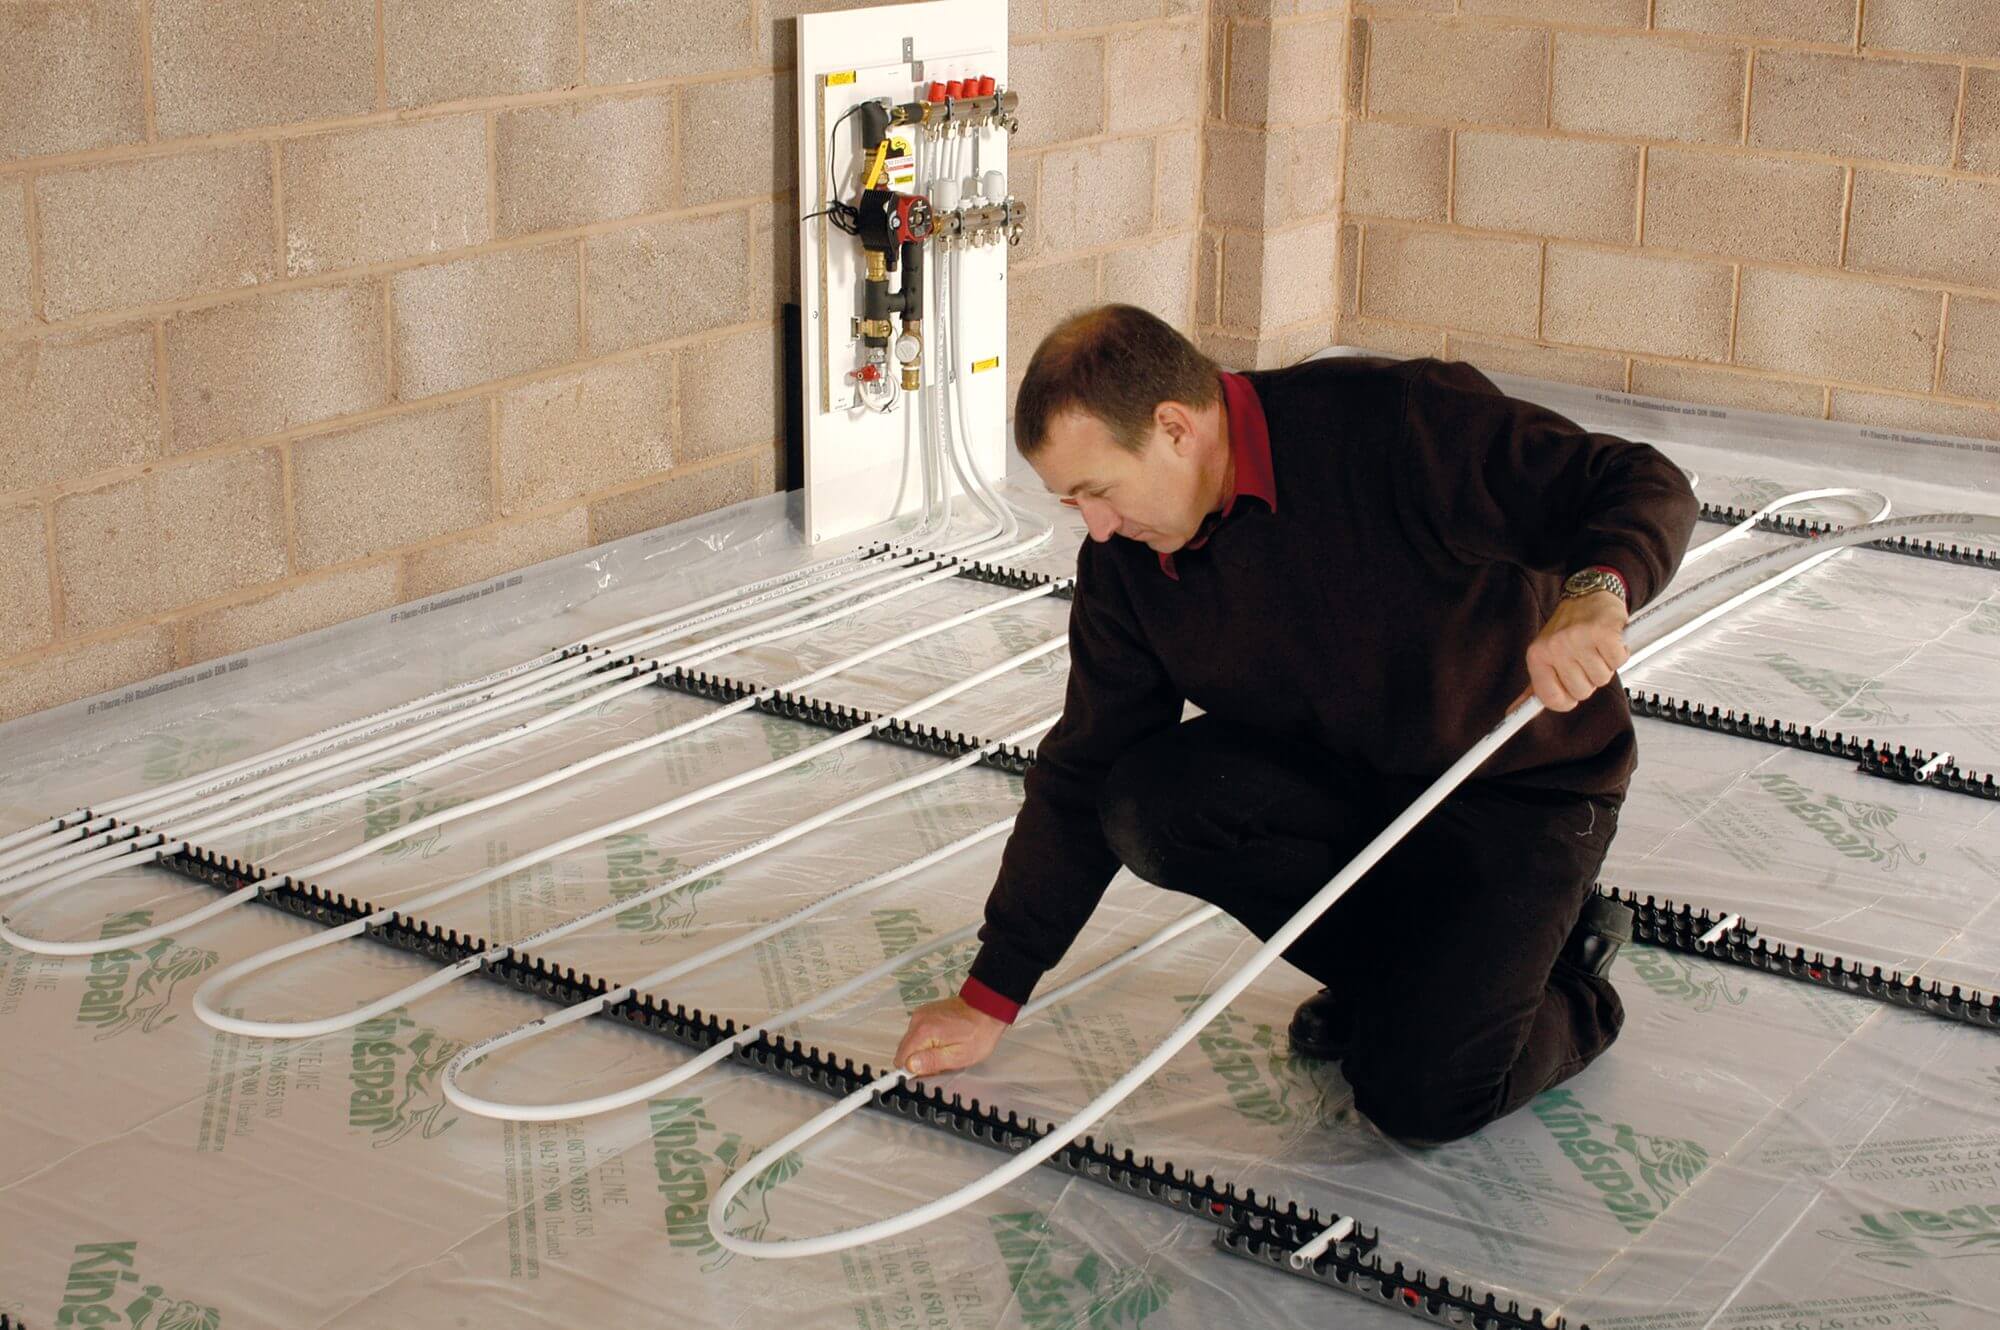
Pictured: This Robbens wet underfloor heating system is being laid in dry screed












































 Login/register to save Article for later

