Glazed Links: How to Get the Design Right
A glass link can be a very useful addition to an architect’s toolbox. Whether the structure is connecting an older property with an outbuilding, an extension with an existing property, or even being used to add some visual punctuation to a new build, it will deliver impact and wow factor, despite being elegantly frameless and airy-looking.
“Creating a minimally framed glass link is reasonably complex and relatively costly – but executed well can enhance the extension of a period building and also add a moment of delight,” says architect Mark Stewart of Stewart & Stewart Design.
So, how do you plan and effectively deliver such a scheme? Here we discuss the best ways to execute this type of project for self build success, paying attention to the benefits of a glazed link, the structural requirements and installation process.
What are the Benefits of Adding a Glazed Link?
“We like to use glass links on projects that require an extension to a listed building,” says Hampshire-based architect Adam Knibb. “They can offer a light touch connection to the existing historic fabric, and provide minimal points of contact and intervention where the glazing is fixed to the existing building,” he says.
“These links also provide a physical break from the original architecture and allow a clear distinction between old and new”. This is an approach that council planners and conservation officers tend to like.
If you’re planning a new build, they can be just as useful. “They can be a great way of creating spatial links without becoming a visual blockade,” says Adam.
“For example, if there was a key view across a site, a glass link could provide an enclosed space without compromising the view it cuts through. They can also assist in breaking up the mass of a new build, and enhancing a building’s connection with the surrounding site and landscape.”
Another key benefit is the extra light they can bring into the adjacent rooms, particularly relevant for old buildings that may previously have had small window openings and dark interiors.
Read More: Frameless Glass Windows & Doors – How to Get the Look
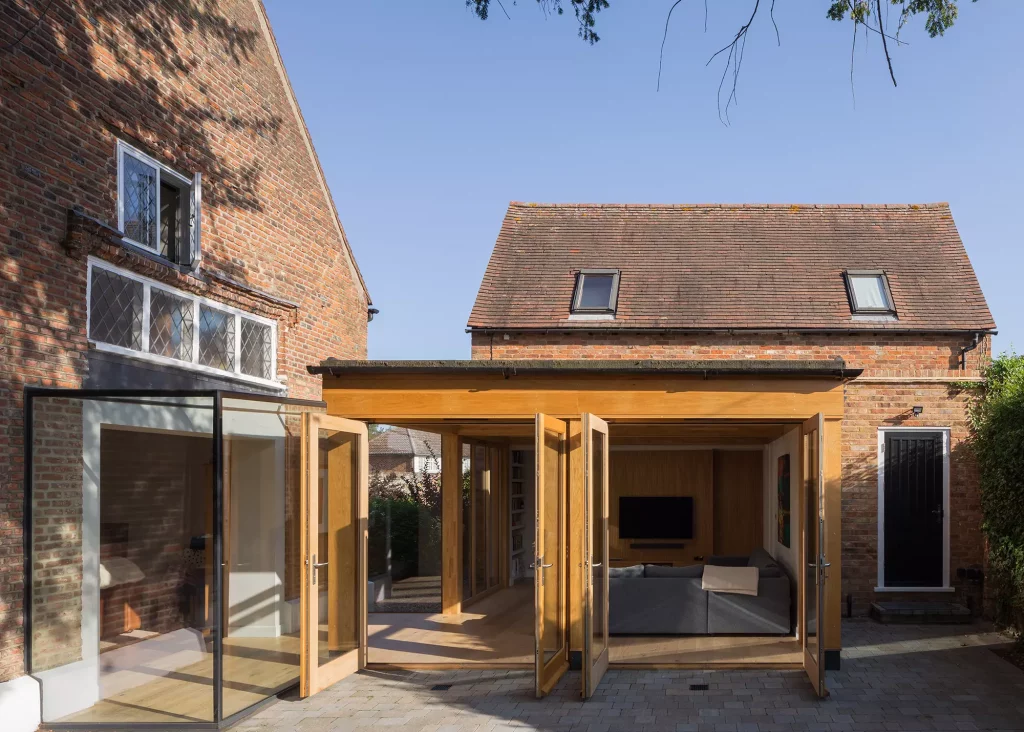
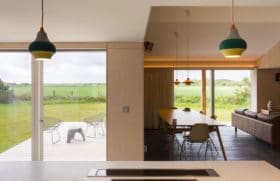
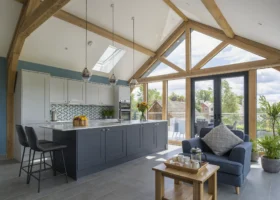
Stewart & Stewart Design connected a grade II listed former schoolhouse to a new 34m2 structural timber family room extension with this glazed link, designed and installed by Cantifix. The link is large enough to sit in, so it’s not simply circulation space, and brings daylight into the older section of the house. Photo: Matthew Smith
Stewart & Stewart Design recently created a link between a listed former schoolhouse and a structural timber extension. “It greatly amplifies the amount of daylight entering the old building. It also allows views of the garden from the main living room in the heart of the old structure,” says Mark.
While they are often used as spaces that simply get you from A to B, links can be liveable too, and for this project Mark says that it “is also just wide enough for an armchair, allowing the clients to sit, read and feel part of the garden.”
When to Involve a Specialist in Designing a Glazed Link
“The vast majority of glass links we’re asked to create are either between old buildings, or between old and new buildings,” says Simon McAuliffe, marketing manager at Cantifix, who worked with Mark on the above-mentioned listed schoolhouse glazed link.
Indeed, a structural glass specialist will usually be involved in such projects, alongside the architect. They’ll use their expertise to work out how the connections between the two elements will be designed, making detailed drawings, ordering the glass and usually installing it as well.
Adam Knibb points out that there’s often a third party involved, too. “You will generally need to work with the project’s structural engineer as well, in order to design appropriate foundations for the glass link to sit on,” he says. “This element tends to fall outside of the glazing specialist’s scope of works.”
Learn More: How to Build Your Extension: Structural Options
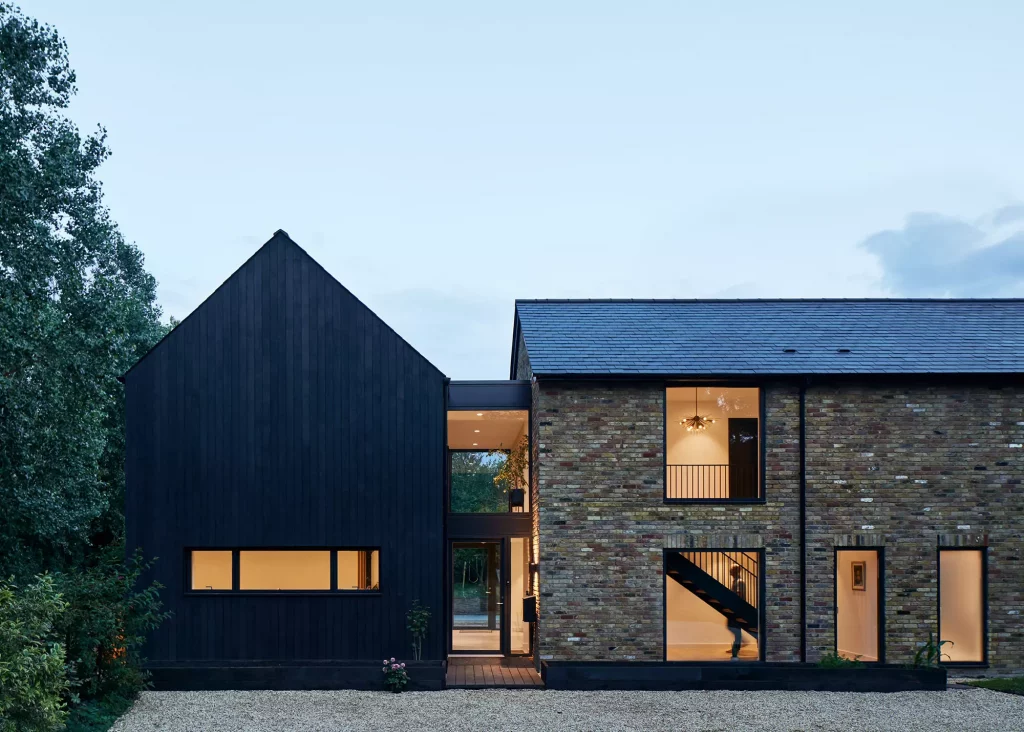
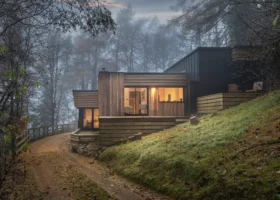
Glass links aren’t just for charming listed buildings. This home in the Chilterns saw architects Napier Clarke modernise a 1970s house and earlier extension. The old extension used to be directly attached, but now it’s separated by an elegant glazed walk-through, providing breathing-space between the two. Photo: Joakim Boren
Simon at Cantifix says that they generally like to get involved in a project once planning has been granted, and they can only really start work in earnest once construction is well underway.
“We prefer to have the openings built before we survey, so we’re not just guessing dimensions,” he says. “The drawing process can then start and usually takes a week or two, and then we wait a few weeks for approval – the architect/builder must sign off our drawings before we order any material.”
“Once we have that, the glass is on a two- to three-month lead time, then we have to put it all together in our factory, get it to site and install it. People often don’t appreciate the length of time these things take,” Simon adds.
Learn More: 10 Top Tips for Project Managing Your Self Build or Renovation
How to Support the Structure of a Glazed Link
There is usually some form of supporting frame with a glazed link, even if it appears to be totally frameless at first. The supports will be concealed within channels either side to give a minimal appearance, with only the glass on show.
The panels slot into the frame and are sealed together with structural silicone. Alternatively, they may be bolted together.
Using silicone allows the two standard structures either side of the glass link to move and settle independently (known as differential movement). This is particularly important when they are of two different building materials that expand and contract in different ways – masonry and timber frame, for example.
Read More: Choosing Building Methods: Masonry or Timber Frame?
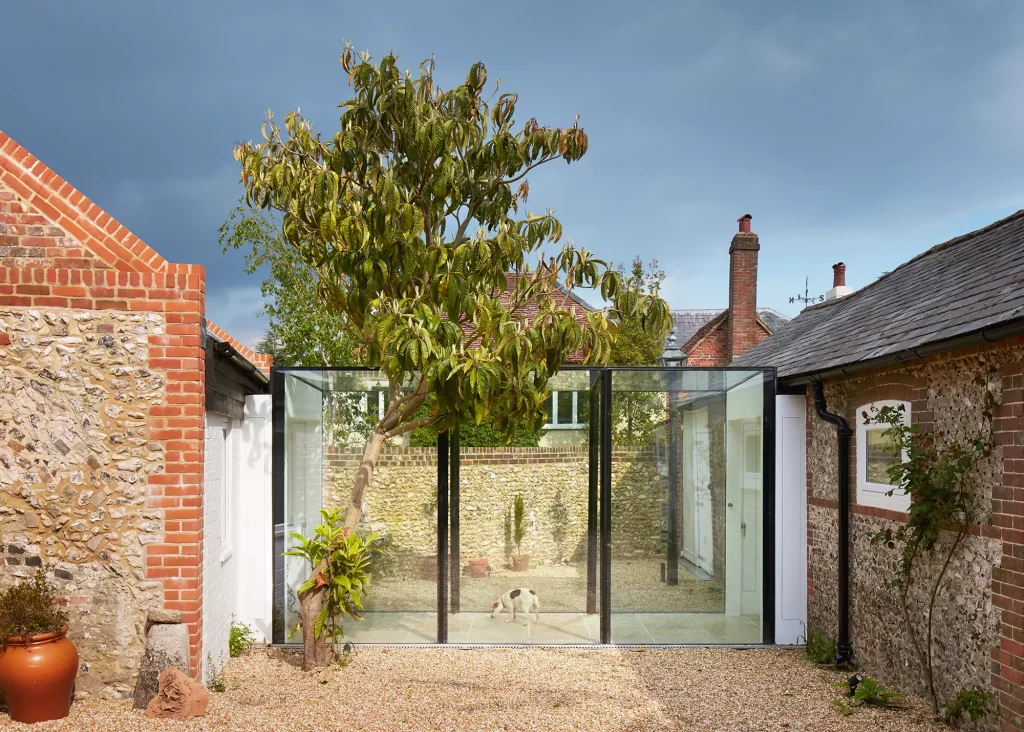
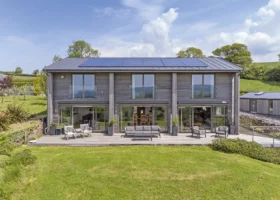
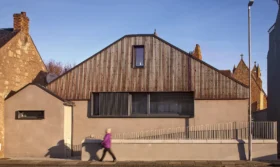
Emrys Architects linked a new home with existing outbuildings that were formerly stables and a wood shed, for a downsizing owner. The light-filled corridor – which the owner also uses as a winter garden, to keep plants and propagate vegetables – connects the kitchen with an ensuite guest bedroom
Designing the Details of a Glazed Link
Overheating in summer and losing heat in winter can be an issue for all-glass structures. Designing out overheating is important if you want to ensure thermal performance, so consider specialist coatings that will improve this factor (such as low-e to retain warmth; or solar control to keep it out).
In addition, to meet Building Regs you may also need to counteract any heat loss in existing properties by upgrading the rest of the house. “Large areas of glazing need to be considered in context with the whole building’s thermal envelope, so it may be necessary to improve insulation values elsewhere,” says Mark at Stewart & Stewart Design.
Rainwater run-off is another factor: the roof needs to have an angle of at least 3° (preferably more). “It’s important to consider which way the link will angle and where the water will be drained to,” says Adam Knibb.
For Hurdle House, his project in Hampshire extending a grade II listed home, the angle of the roof allows the water to drain away from the historic building and its new addition. If it’s unavoidable that water needs to drain towards the building, and the roof is relatively large, then your team will need to think carefully about incorporating guttering.
Read More: Specifying Roofline and Rainwater Goods for your Self Build Project
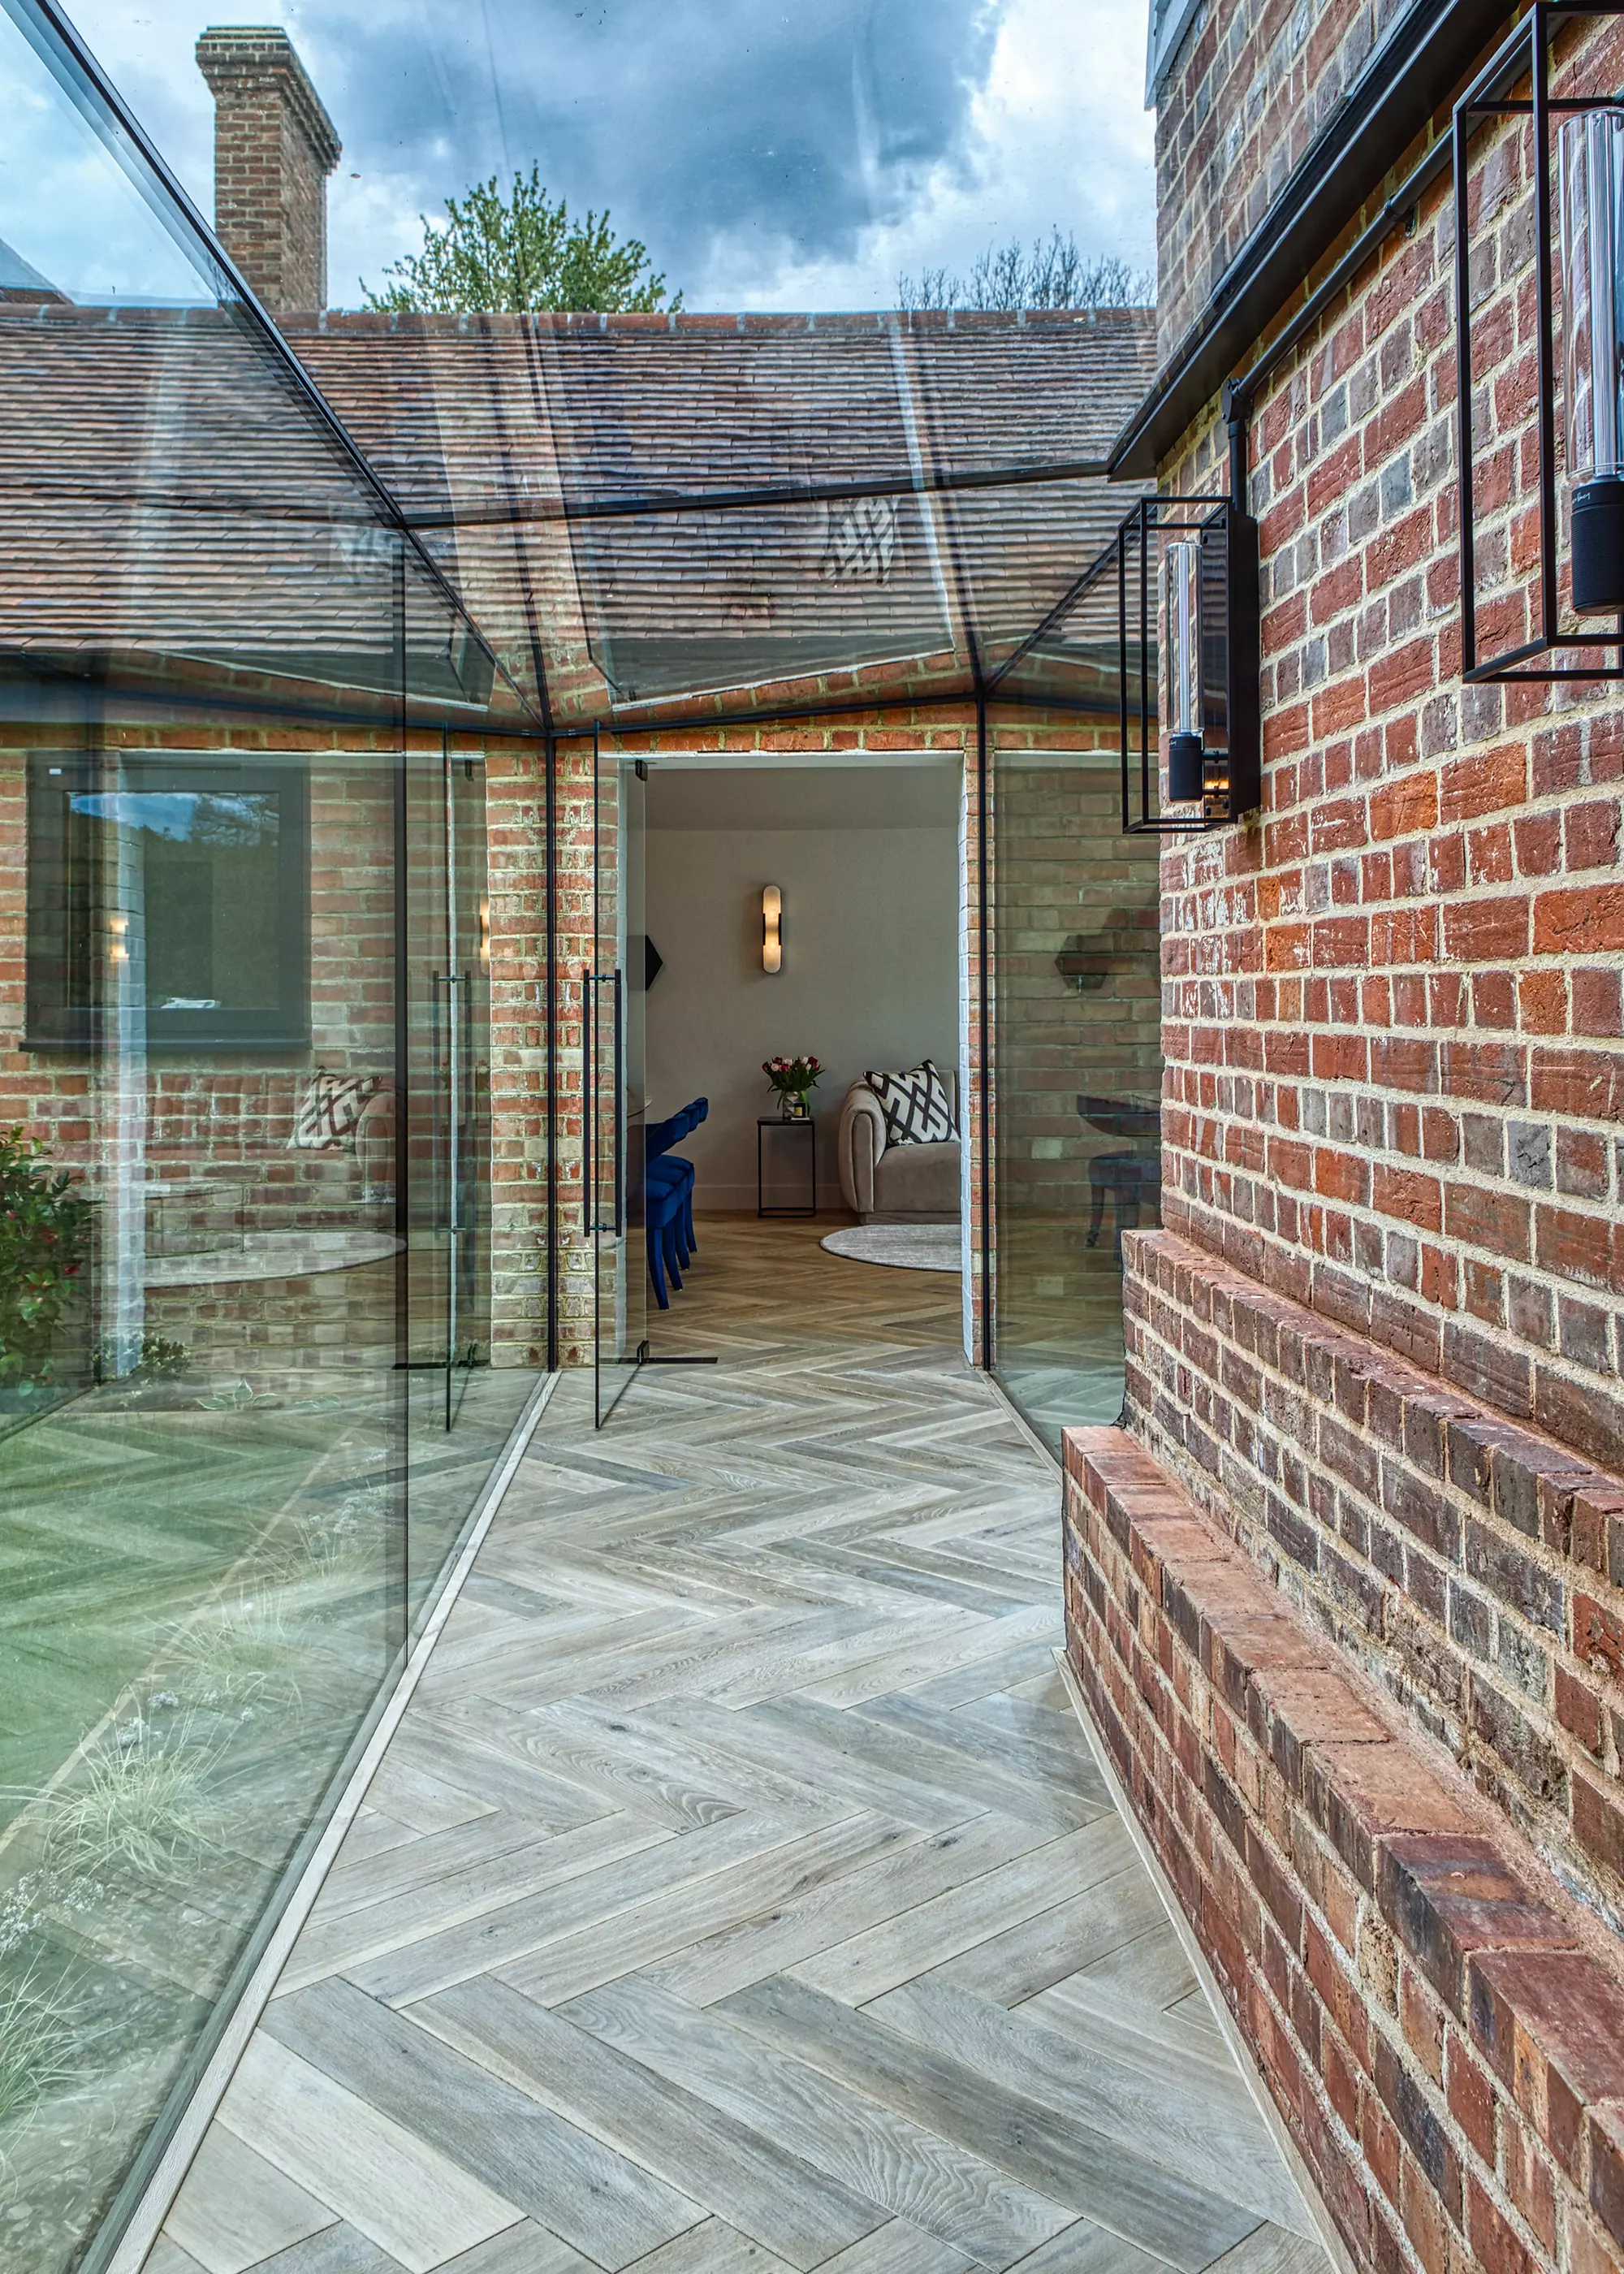
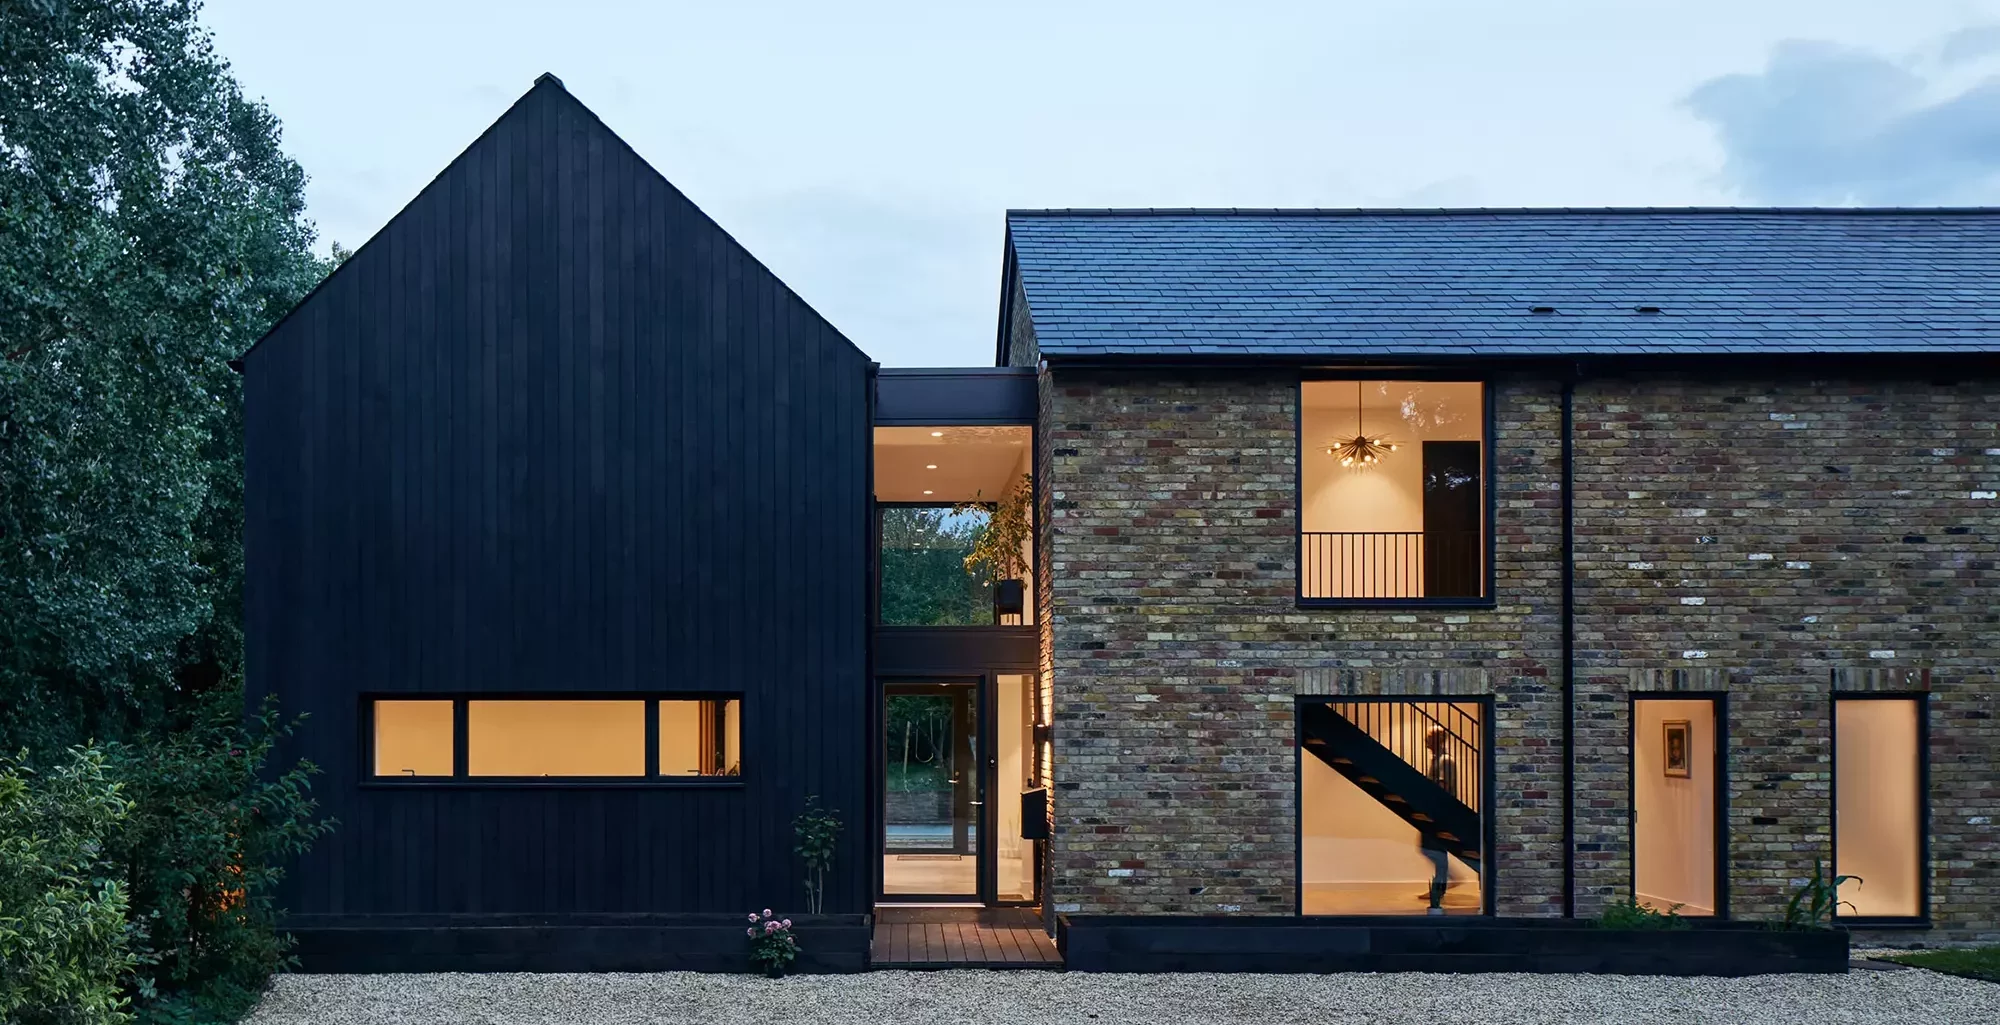
In this Kent project by IQ Glass, a frameless glazed link connects the original red-brick house with a new brick extension, and there is a near-invisible slim-framed pivoting glass door on the threshold to the new kitchen-diner space
This can add bulk that takes away from the minimal appearance of the glass, especially if the gutter can’t be concealed in the wall build-up. If you want to add an opening element such as a window or door, this will require some (usually steel) framework. Again, this means you will lose some of the minimal appearance of the link – but it could maximise the space’s useability.
Do I Need Self Cleaning Glass?Any difficult-to-reach glazed portion of a building is going to be hard to keep clean, so it may be worth considering upping the spec of the glass in a link building to a low-maintenance product (such as Pilkington Activ or Saint Gobain’s SGG Bioclean). These self-cleaning products costs around 20% more than regular glazing, but represent good long-term value for money. A titanium dioxide coating is factory-applied to the exterior face of the glass, which works in two ways. Firstly, the coating is activated by the sun’s UV rays, breaking down dirt and preventing particles from sticking too soundly to the surface. Secondly, the coating is hydrophilic, meaning that any water will form sheets across the surface rather than droplets. This leads to a more even run-off, with no streaks. |
Glazed Link Installation
A specialist supplier will usually do both the glazing design and the installation work, since the job requires bona fide expertise in this area. “Installation is always a challenge,” says Simon at Cantifix.
“Glass is a surprisingly heavy material – a 1m2 double-glazed panel using two standard 8mm sheets weighs 40kg. So, we often need to use specialist lifting equipment to manoeuvre it to where it can be fixed or sealed into position,” says Simon.

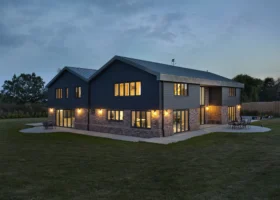
Designed by HollandGreen and contracted by L2i, this project shows that glass links can work brilliantly on new builds, too. Here, it helps to break up the mas of the large house into defined sections; softening and adding interest to what would have been a straight facade. Photo: Martin Gardner
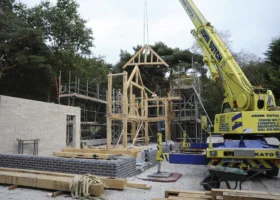
“Where a glass panel is too big to fit through existing openings, the easiest solution is to lift it using a crane. We try to avoid this where possible, as cranes are expensive to hire and will often require a road closure, which councils charge a lot for.”
Pre-installation communication between parties is also important. “There has to be close coordination between the main contractor and the glazing team,” says Mark from Stewart & Stewart Design. “It’s vital the main contractor has prepared the adjacent construction to the tolerance levels required so that the installation can progress without any issues.”
More Inspiration: 12 Characterful Listed Home Extensions
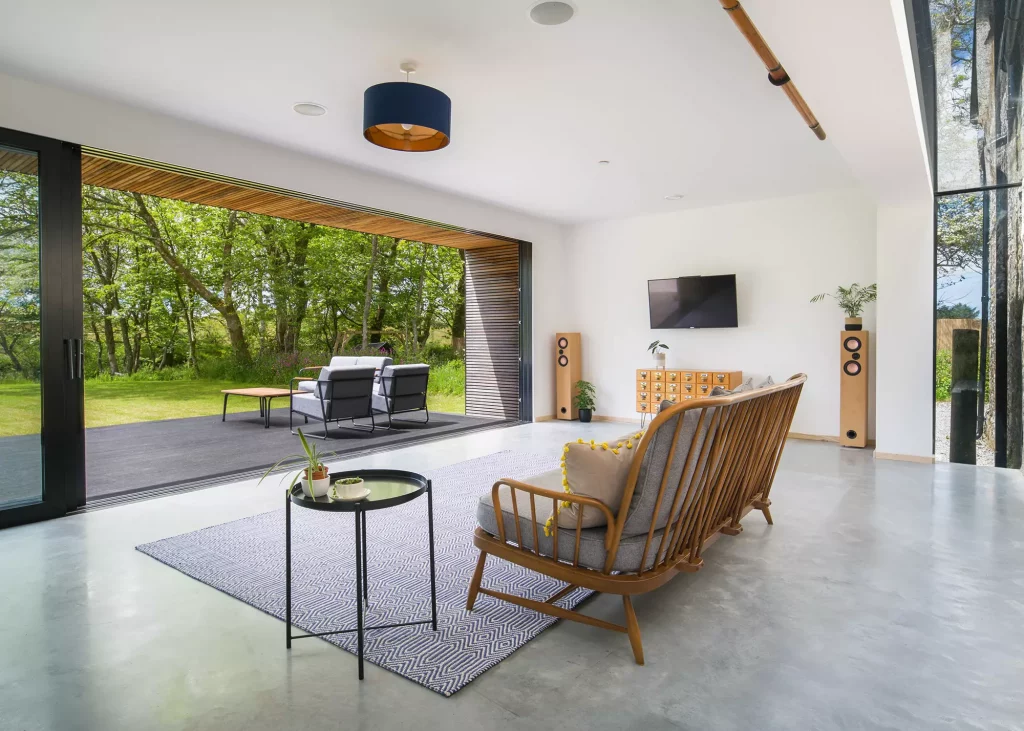
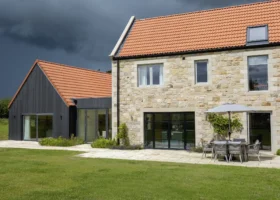
KAST Architects was awarded Best Architect for a Renovation or Extension Project at the 2021 Build It Awards for Milk Moon Barns; a stunning scheme that includes a wonderfully clean glass link to connect the new volume to the existing building

































 Login/register to save Article for later

