How to Order Roof Tiles
Roof tiles are a key element of establishing your home’s character and kerb appeal. So, even if you have an architect, project manager or main contractor overseeing your scheme, it’s still worth understanding the ins-and-outs of specifying, ordering and installing them. Here’s what you need to know.
Learn more: Roof Repair or Roof Replacement – Which is Best?
Roof tile basics
There are myriad styles, colours and materials to choose from, so you shouldn’t have any problem finding a roofing product to suit your build.
Clay and slate are popular natural options, for instance, offering durability and longevity at a premium price – with decisions to be made in terms of colour, profile, handmade versus machine made and other key areas.
Concrete tiles are a widely-used alternative; they’re much cheaper and come in a plethora of shades, but aren’t as durable and tend to fade over time.
Bear in mind your planning consent may include a condition to submit samples for approval, so they can ensure you’re selecting something that suits the local vernacular. Some may even limit you to a menu of styles and colours to pick from; and if you’re renovating, you’ll probably need to stick to a product that’s as close to the existing covering as possible.
When specifying, be sure to call in samples from different suppliers. This is the best way to get a sense of the quality of the product. Most will be happy to make suggestions to suit your design.
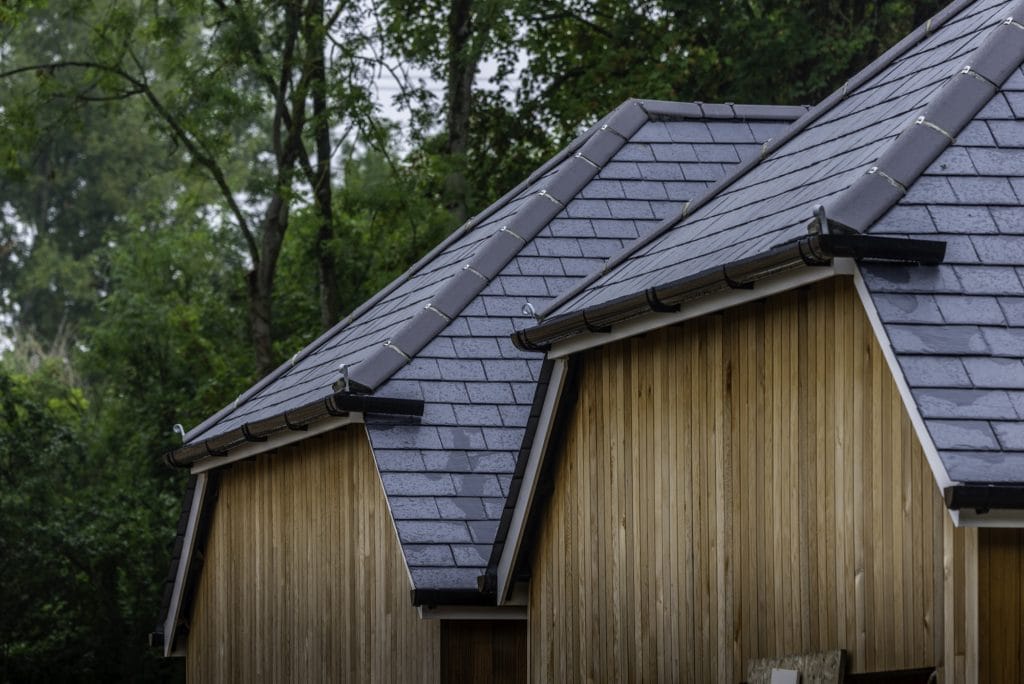
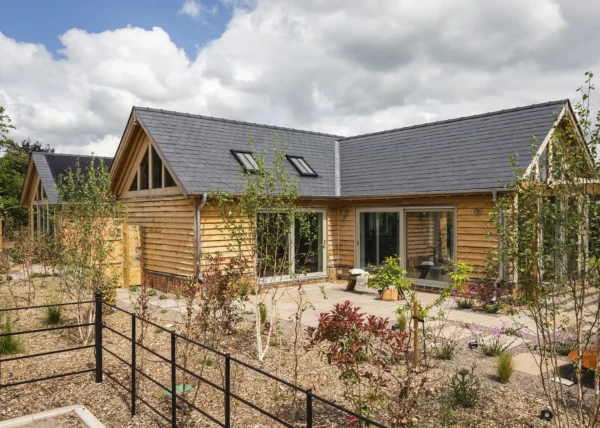
Slates from Cupa Pizarras ooze kerb appeal on this timber-clad home
How many roof tiles do I need?
Roof tiles tend to come in batches, measured in per m2 or number of tiles. Identifying how many you need depends on the dimensions of the roof, sizes of the tiles and the laying pattern you’ve gone for.
Your roofer, building merchant or tile supplier can carry out the calculations for you, as long as you have the roof pitch angle, length, width, height (along the pitch), and hip and join measurements. Most of these will be on the technical drawings.
“If you give us the detailed drawings that were submitted for Building Regs approval, with the roof dimensions, we can conduct a take-off to determine how many tiles you need,” explains Paul Lythgoe, managing director at Tudor Roof Tiles. “It’s not an exact science, so I normally recommend ordering a surplus of 2%, but it’s a good place to start.” You might overorder by more like 5%-10% for slates.
When it comes to comparing costs of different styles of tile, a per m2 base rate will help you compare like-for-like more easily. “The amount of overlap will vary depending on the size of your chosen product,” says Paul. “Some, like plain tiles and peg tiles, are smaller so will require more tiles to cover the same area as larger designs like pantiles.”

Pallets of handmade clay tiles from Tudor Roof Tiles ready to be transported to site
Sourcing quality roof tiles
When you’ve narrowed down the options, it’s time to get samples in. But it can be hard to get a picture of what a handful of tiles will look like on a full roof – especially if you’re going for a blend of two or three. “We’re happy to point out local examples of homes covered in our products that are visible from the road,” says Paul. This will also help you visualise what your roof might look like a few years down the line, as the tiles weather.
If you’re selecting a supplier’s standard product, then the order will typically go through a builder’s merchant. You could leave this to your roofer to arrange on a supply-and-install basis; but it’s important to make sure everything is clear in terms of the exact units, colours and finishes you’re expecting.
You should also discuss and agree the detailed parts of the install, such as flashings, ridge and verge tiles, and how the covering will interface with solar panels, rooflights etc. “We’d suggest appointing roofers from a recognised body, like the National Federation of Roofing Contractors or Master Roofers,” says David Sherry, sales director at Dreadnought Tiles.
Scheduling delivery
When Covid and Brexit aren’t wreaking havoc on the supply chain, you can expect an average lead time of four to six weeks for your roof tiles. “We stock over a million handmade tiles at any one time, so can normally transport these to projects across the UK within 10 days,” says Paul at Tudor Roof Tiles. Bespoke blends might take longer.
“You need to be ordering your accessories, too,” says David from Dreadnought Tiles. “Consider things like your tile vents, flashing and underlay. There’s no point ordering your roof tiles if you don’t have the rest nailed down, so coordinate this with your roofer.” Whether it’s you or your installer responsible for ordering, be sure to nail down an agreed date when the site will be ready – along with who will be responsible for accepting the delivery.
Ideally, they’ll arrive at the point the trusses are up, the roof membrane is on and your team are at least starting to fix the tile battens (spaced according to the manufacturer’s instructions). In some cases, the roofline products (fascia, soffits, bargeboards and ventilation) are installed first; in others your trade might prefer to do this after. Guttering and rainwater goods always come last; after any wall cladding, render etc has been installed.
Read more: How to Choose Guttering and Rainwater Goods
Ensure you’ve cleared enough space on site to accommodate for the 20-30 pallets of tiles that will be coming your way for a full house. “You don’t have to accept them all at once,” says Paul. “If your roofer coordinates it with us in advance, we can drop off the tiles in two or three batches, so that there’s plenty on site to be installed, but you’re not overrun by materials.”
Whoever accepts the delivery needs to direct the materials to the right spot and should know what colour tiles are expected. This can be the self builder, project manager or roofer – other trades may not be so careful in checking products that don’t pertain to their work.
If you’re going for a blend, this is usually done on site – so you may want to ask for the pallets to be supplied and located to suit.
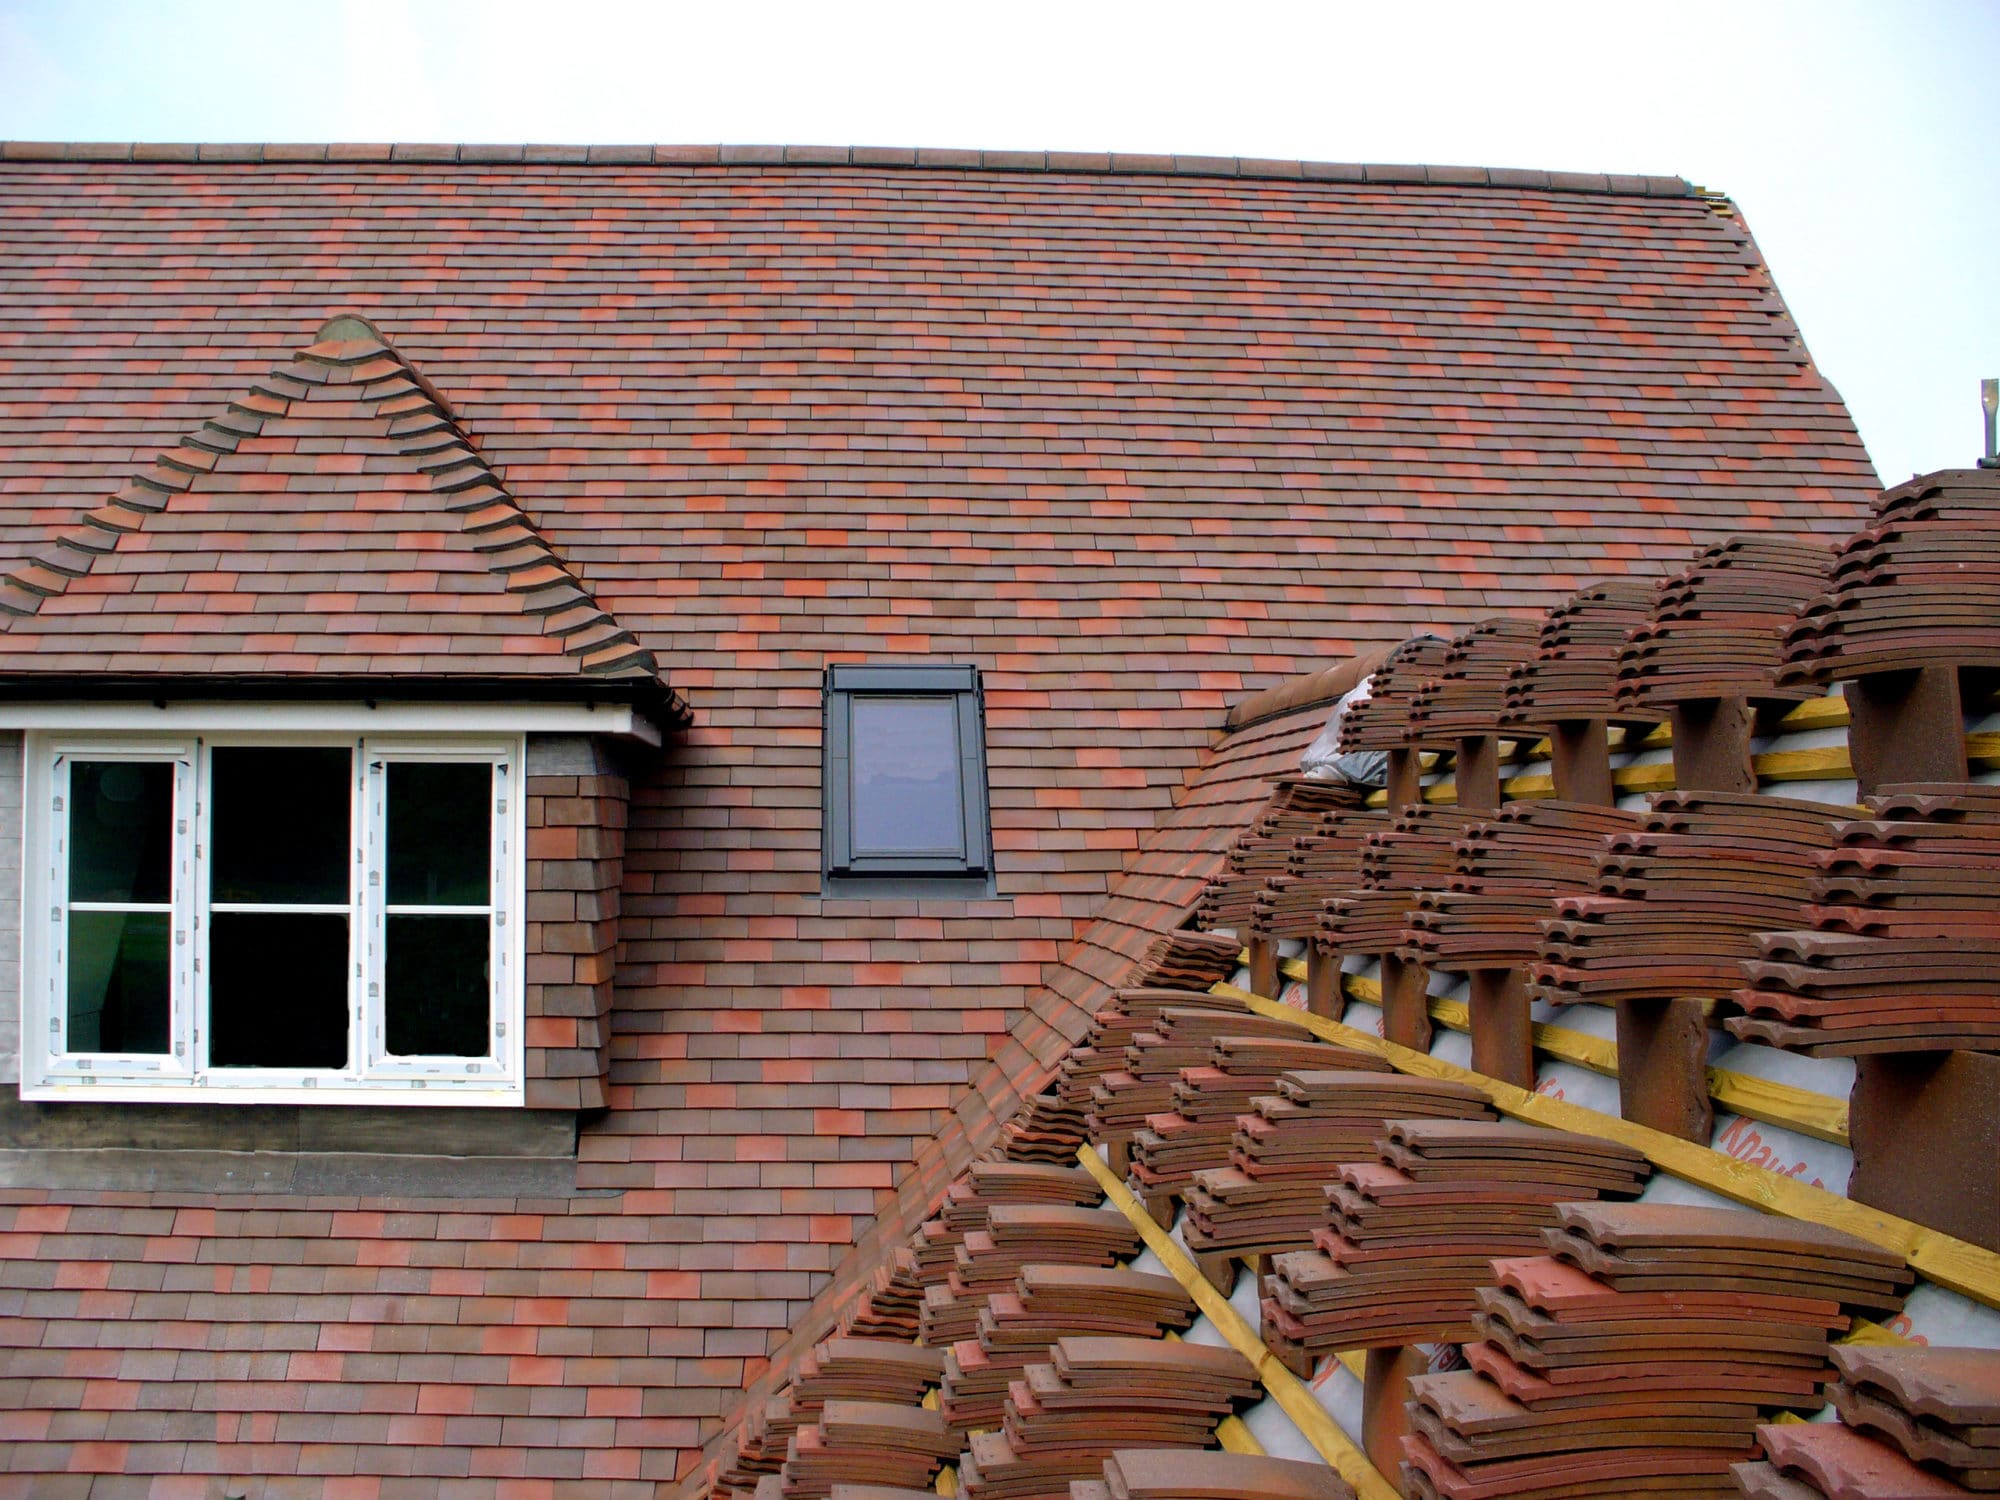
Main image: A Dreadnought Tiles project in progress. The roofers are pre-mixing and stacking the tiles roughly in position to ensure a good blend on the finished roof


































 Login/register to save Article for later

