
After designing the kitchen, we focused our attentions on the entrance. The front door opens into a room that had once been a shop and, when we took on the house, was a junk store.
The staircase rose from a narrow inner lobby just beyond this room and was dangerously irregular and unstable.
It created a very inconvenient layout for the upstairs rooms – there was no landing and bedrooms connected directly to each other.
The dividing wall between the former shop and the sitting room, which had once been an oak screen, had been replaced with concrete blocks.
It’s fair to say that a lot needed to be done with this space!
We have replaced the ugly 1980s front door and adjoining window with new oak door and window made by our local joiners. The room it opens into is now the hallway.
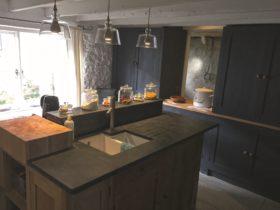
Period Renovation Blog 17: Designing the Kitchen
The finish of this area has been a triumph for our carpenter Simon. We called in Tom, from the local sawmill, to assess the timber needed for a new oak screen to replace the block wall.
He went to his woodland, selected and cut a tree, which he boarded and delivered, still dripping sap. Simon has fashioned this into a new plank and muntin screen.
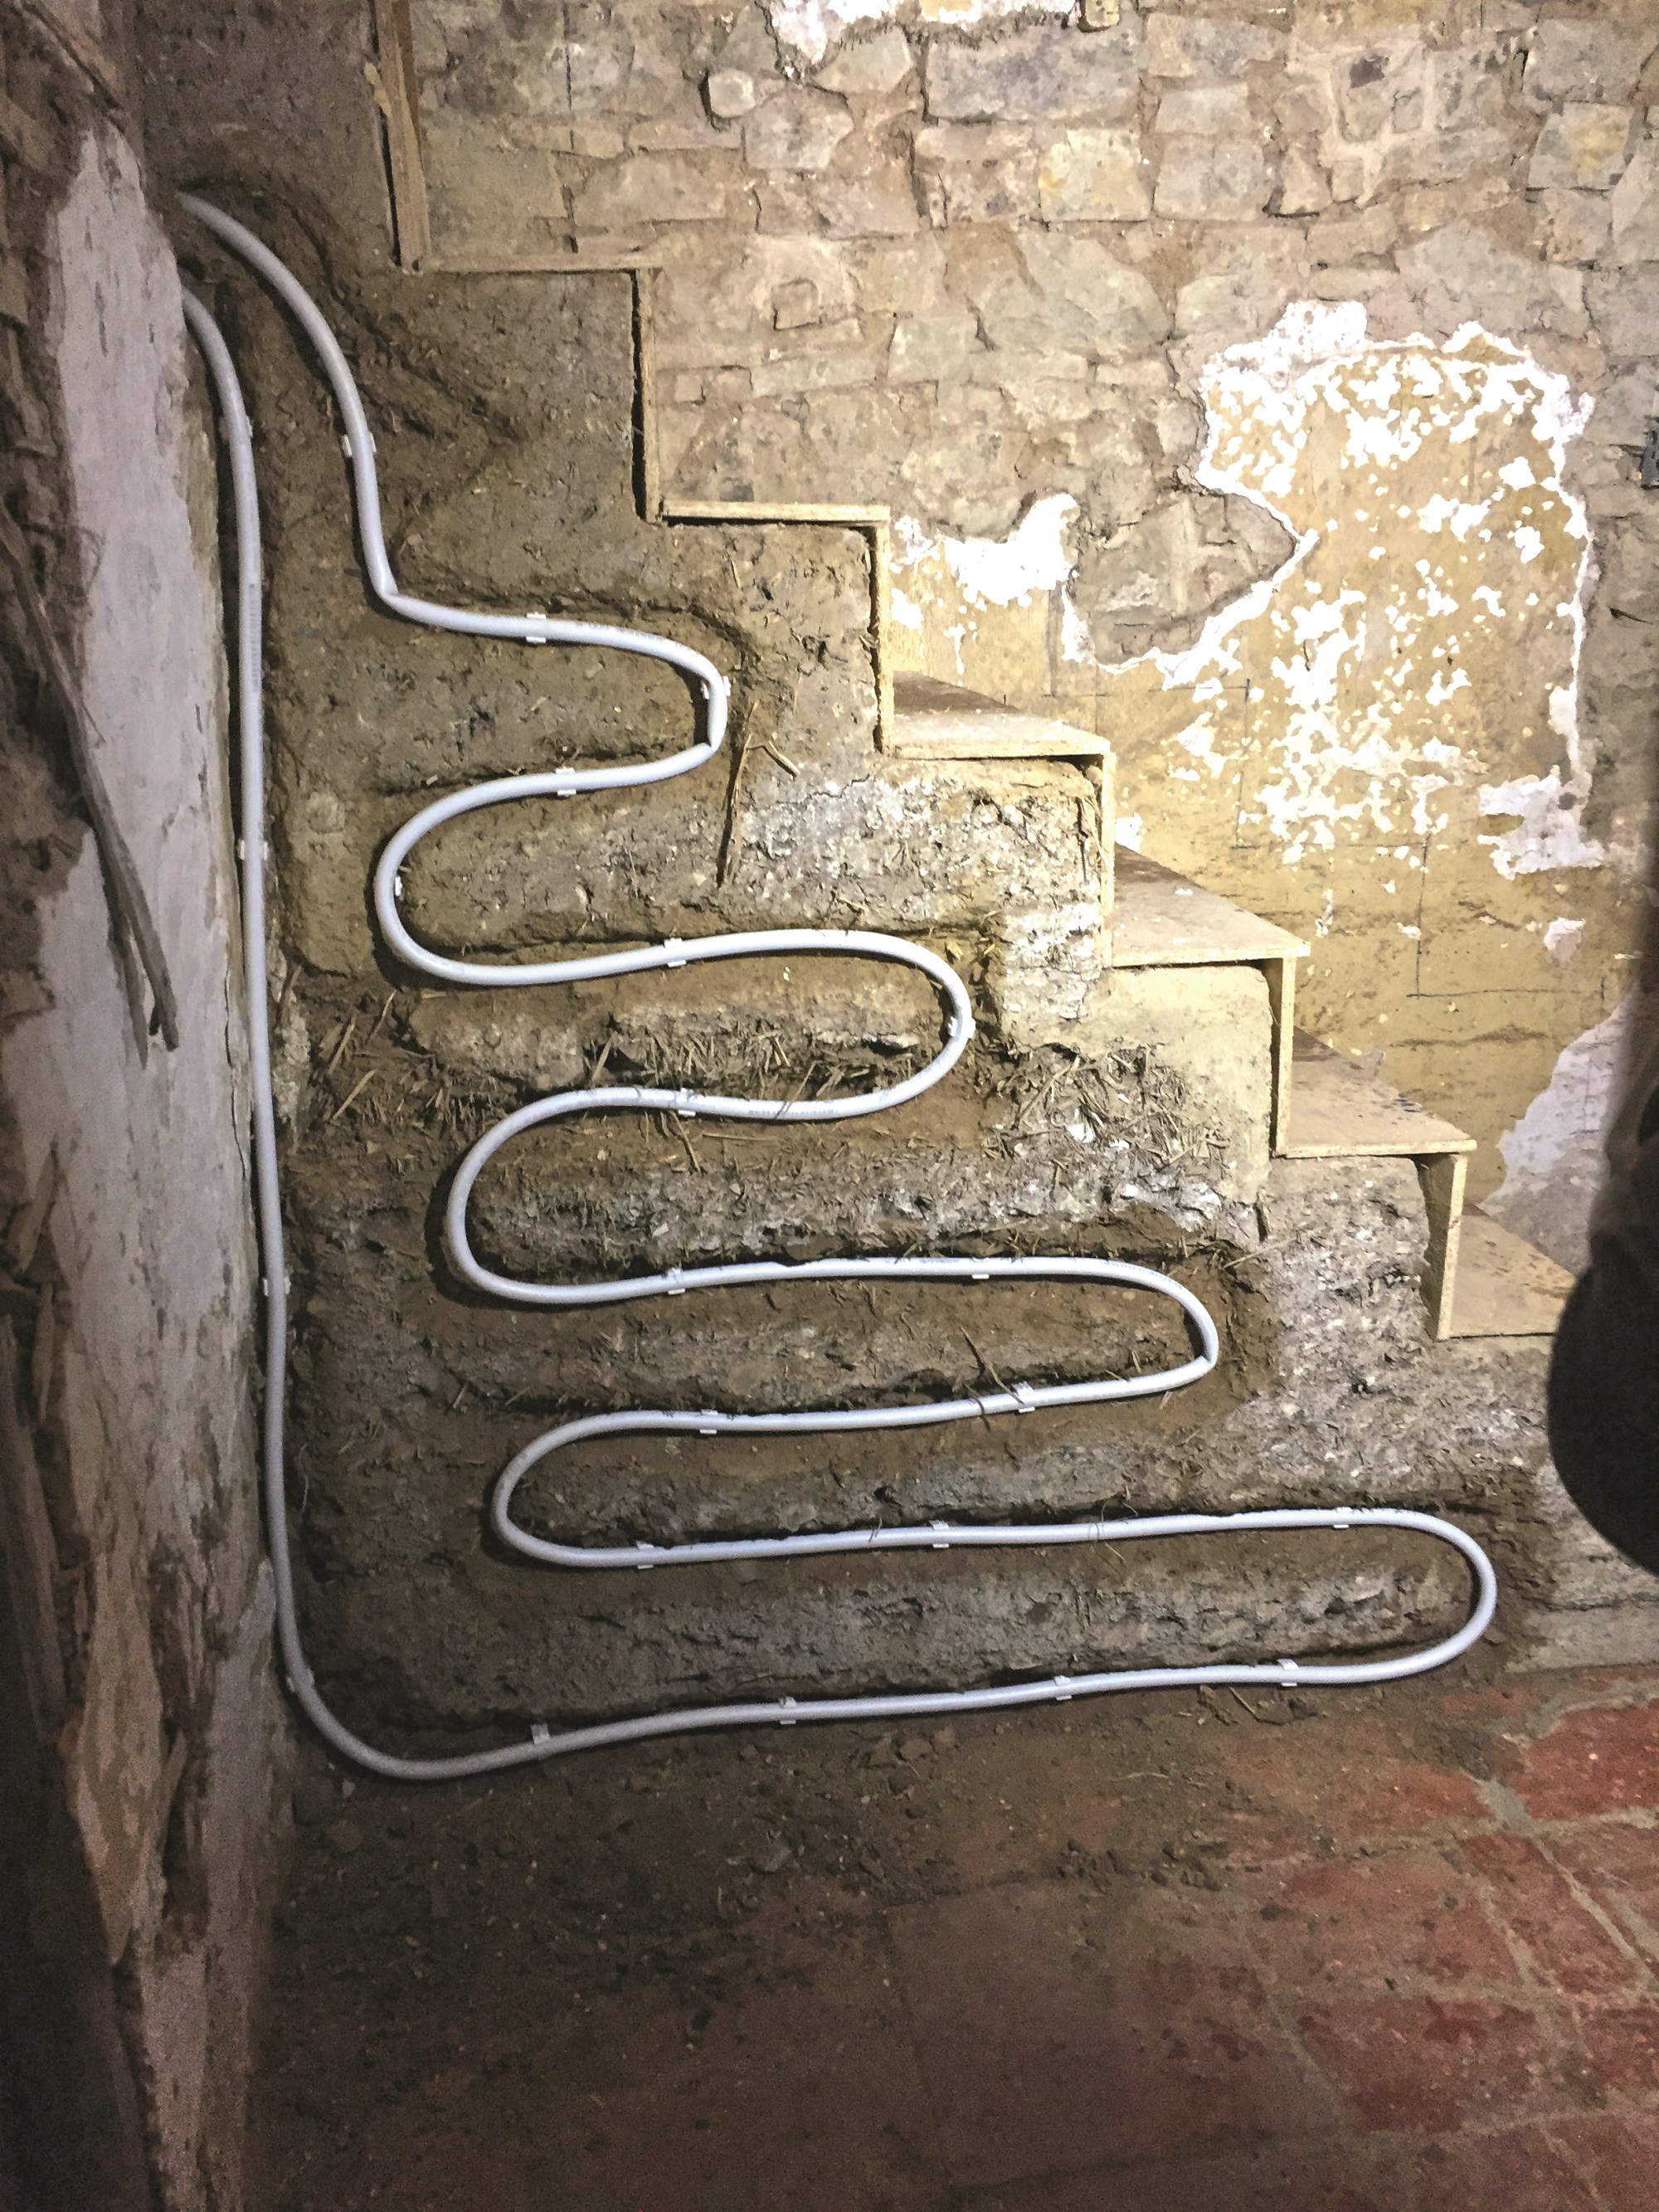
I built a new cob staircase to create a more cohesive hallway and landing upstairs. We threaded some underfloor heating pipe within as a heat emitter.
I have built a new staircase out of cob, rising out of this room to create a new, convenient and safe route to upstairs.
This has achieved a number of things: we have been able to retain the historic staircase while taking it out of use (it’s now a cupboard with handy shelves).
The upstairs has been reconfigured to accommodate a proper landing and separate access to bedrooms; and we now have a spectacular feature staircase that makes a real impact on entering the house.
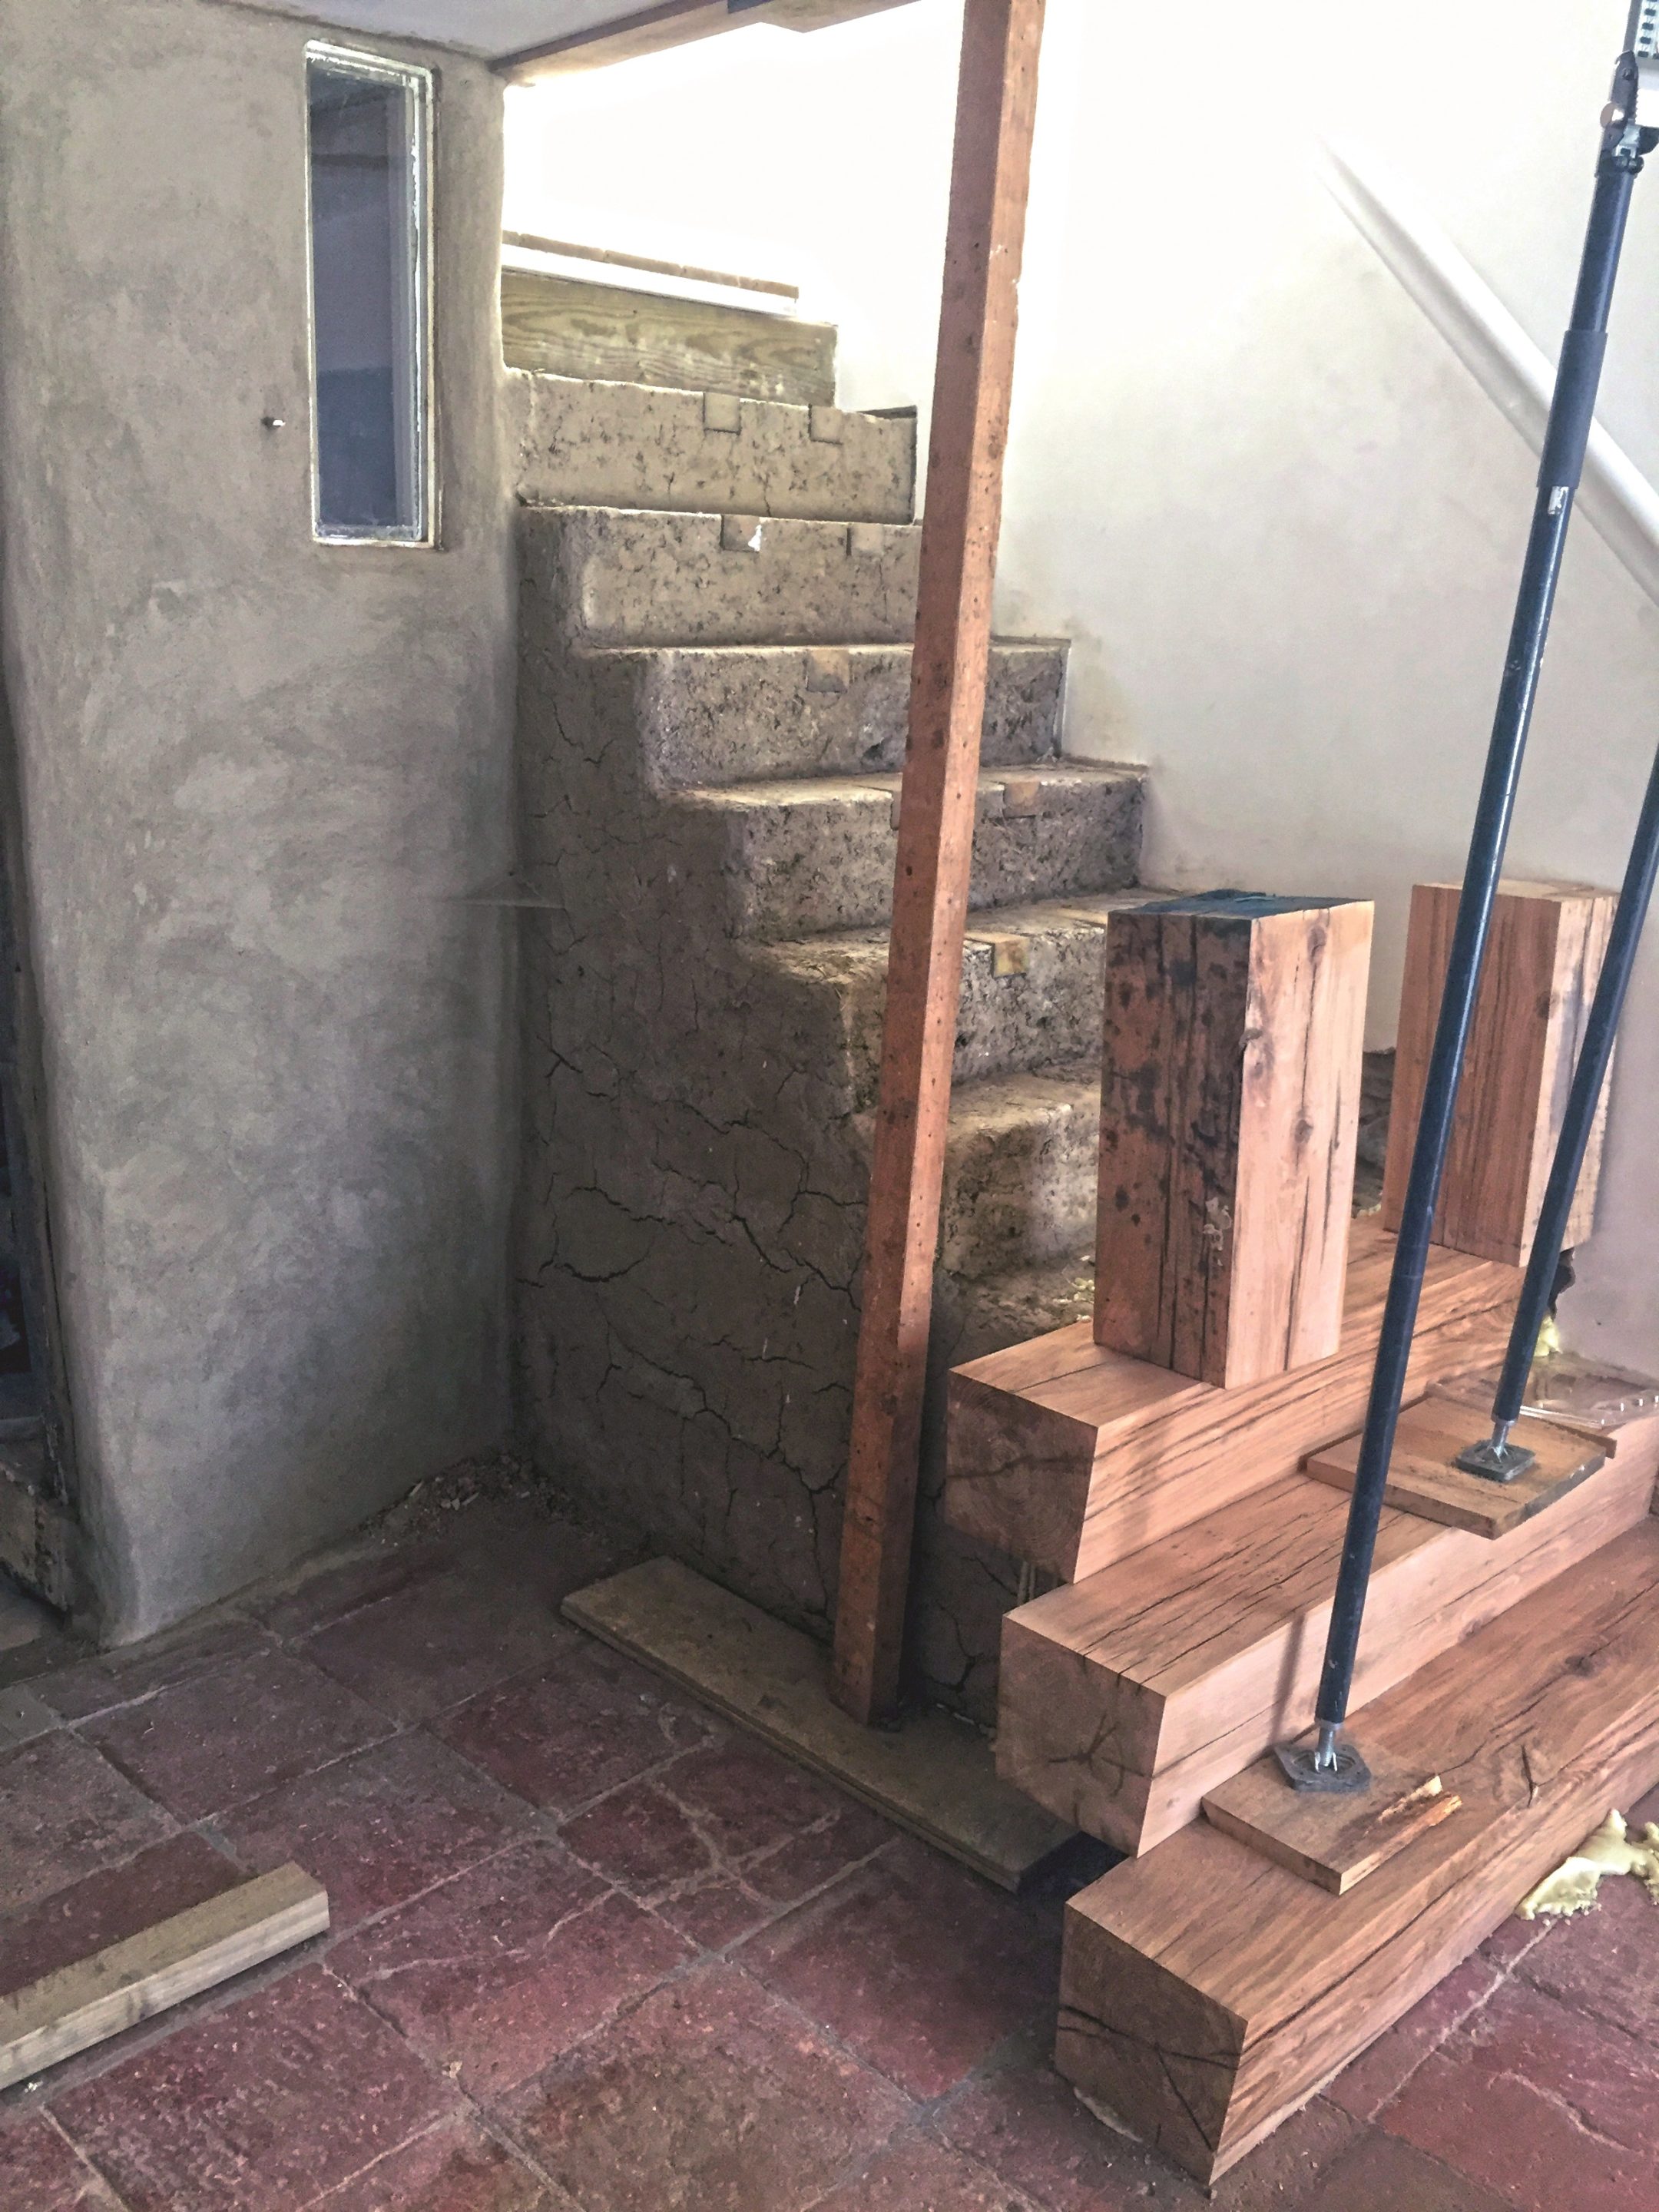
Oak treads from carpenter Simon cover the earth flight.
I ordered some large oak beams from Tom two years ago, which have been in his drying shed ever since. We got him to rip them to our exact profile for stair treads; Simon cut and fit them to create the steps.
He’s laid more oak floorboards to link the staircase to the rear wing and created steps to link to the main range, which is on a different level.
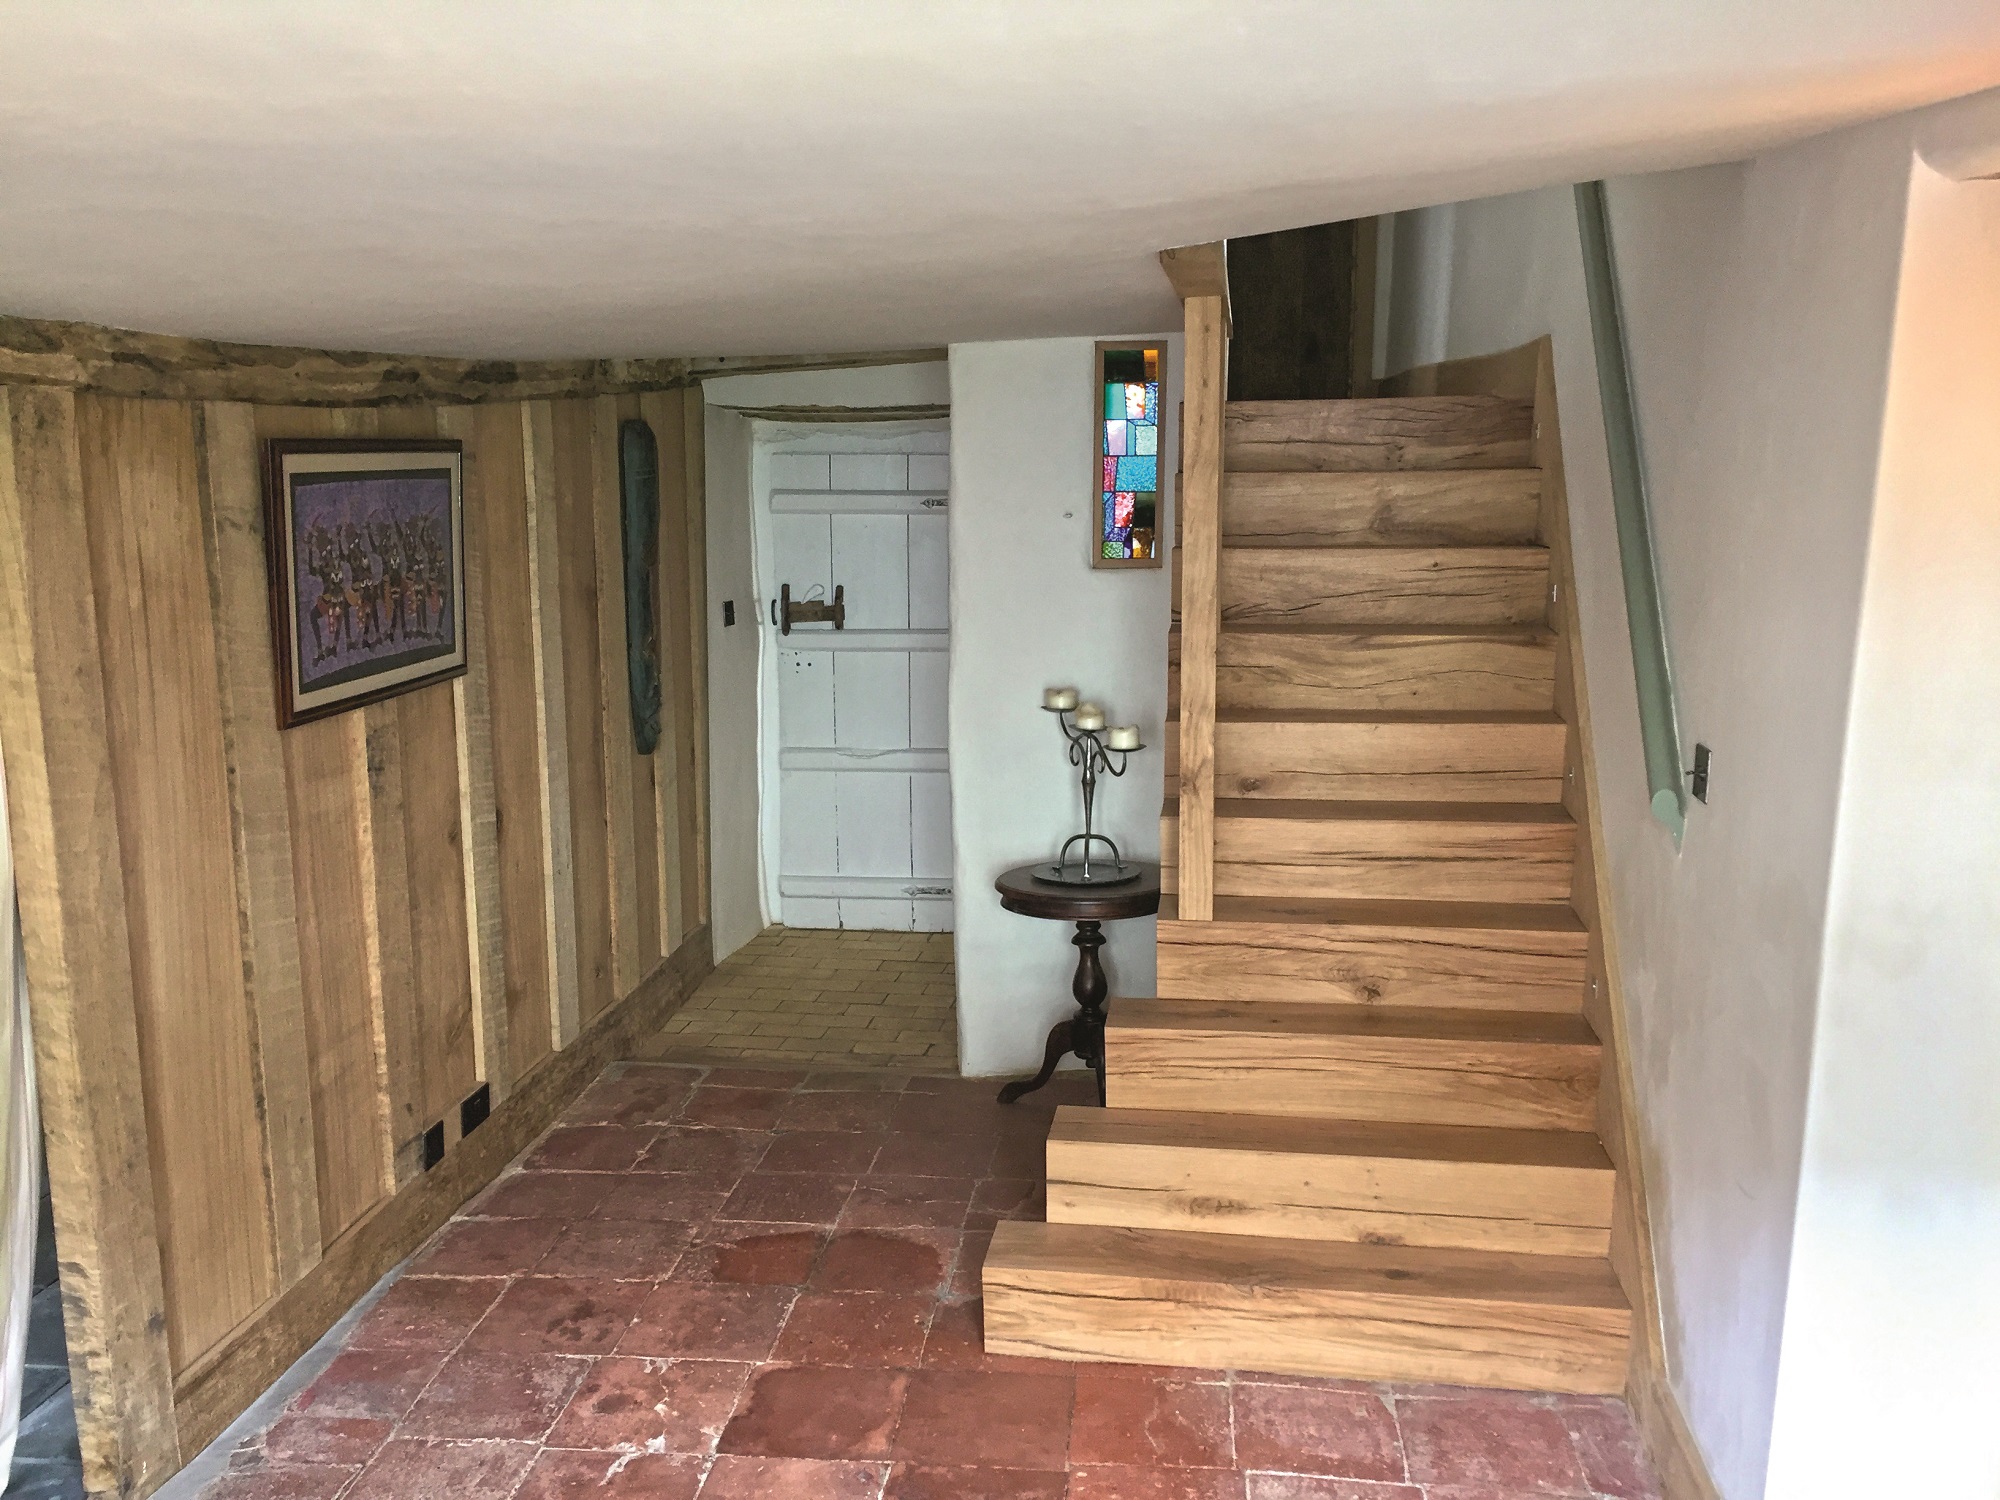
The finished staircase is now a stunning focal feature when you step through the front door
Finally, he fitted the oak stair string and skirting boards to our very wobbly walls. Stair lights, lighting alternate treads, courtesy of Jerry the lighting designer, finish it all off.
We’ve opted for a ground source heat pump, with trenches dug for a ground array. The pipes are laid in the ground and the trenches backfilled.
The pipes of the ground array have been fusion welded to a manifold which is connected, via yet more trench, back to the house. That enabled the heat pump itself to be installed.
This involved an awful lot of plumbing and required much more space than we had expected. Fortunately, our plan was always to build the plant room around the heat pump for ease of installation and to make sure size and layout worked.
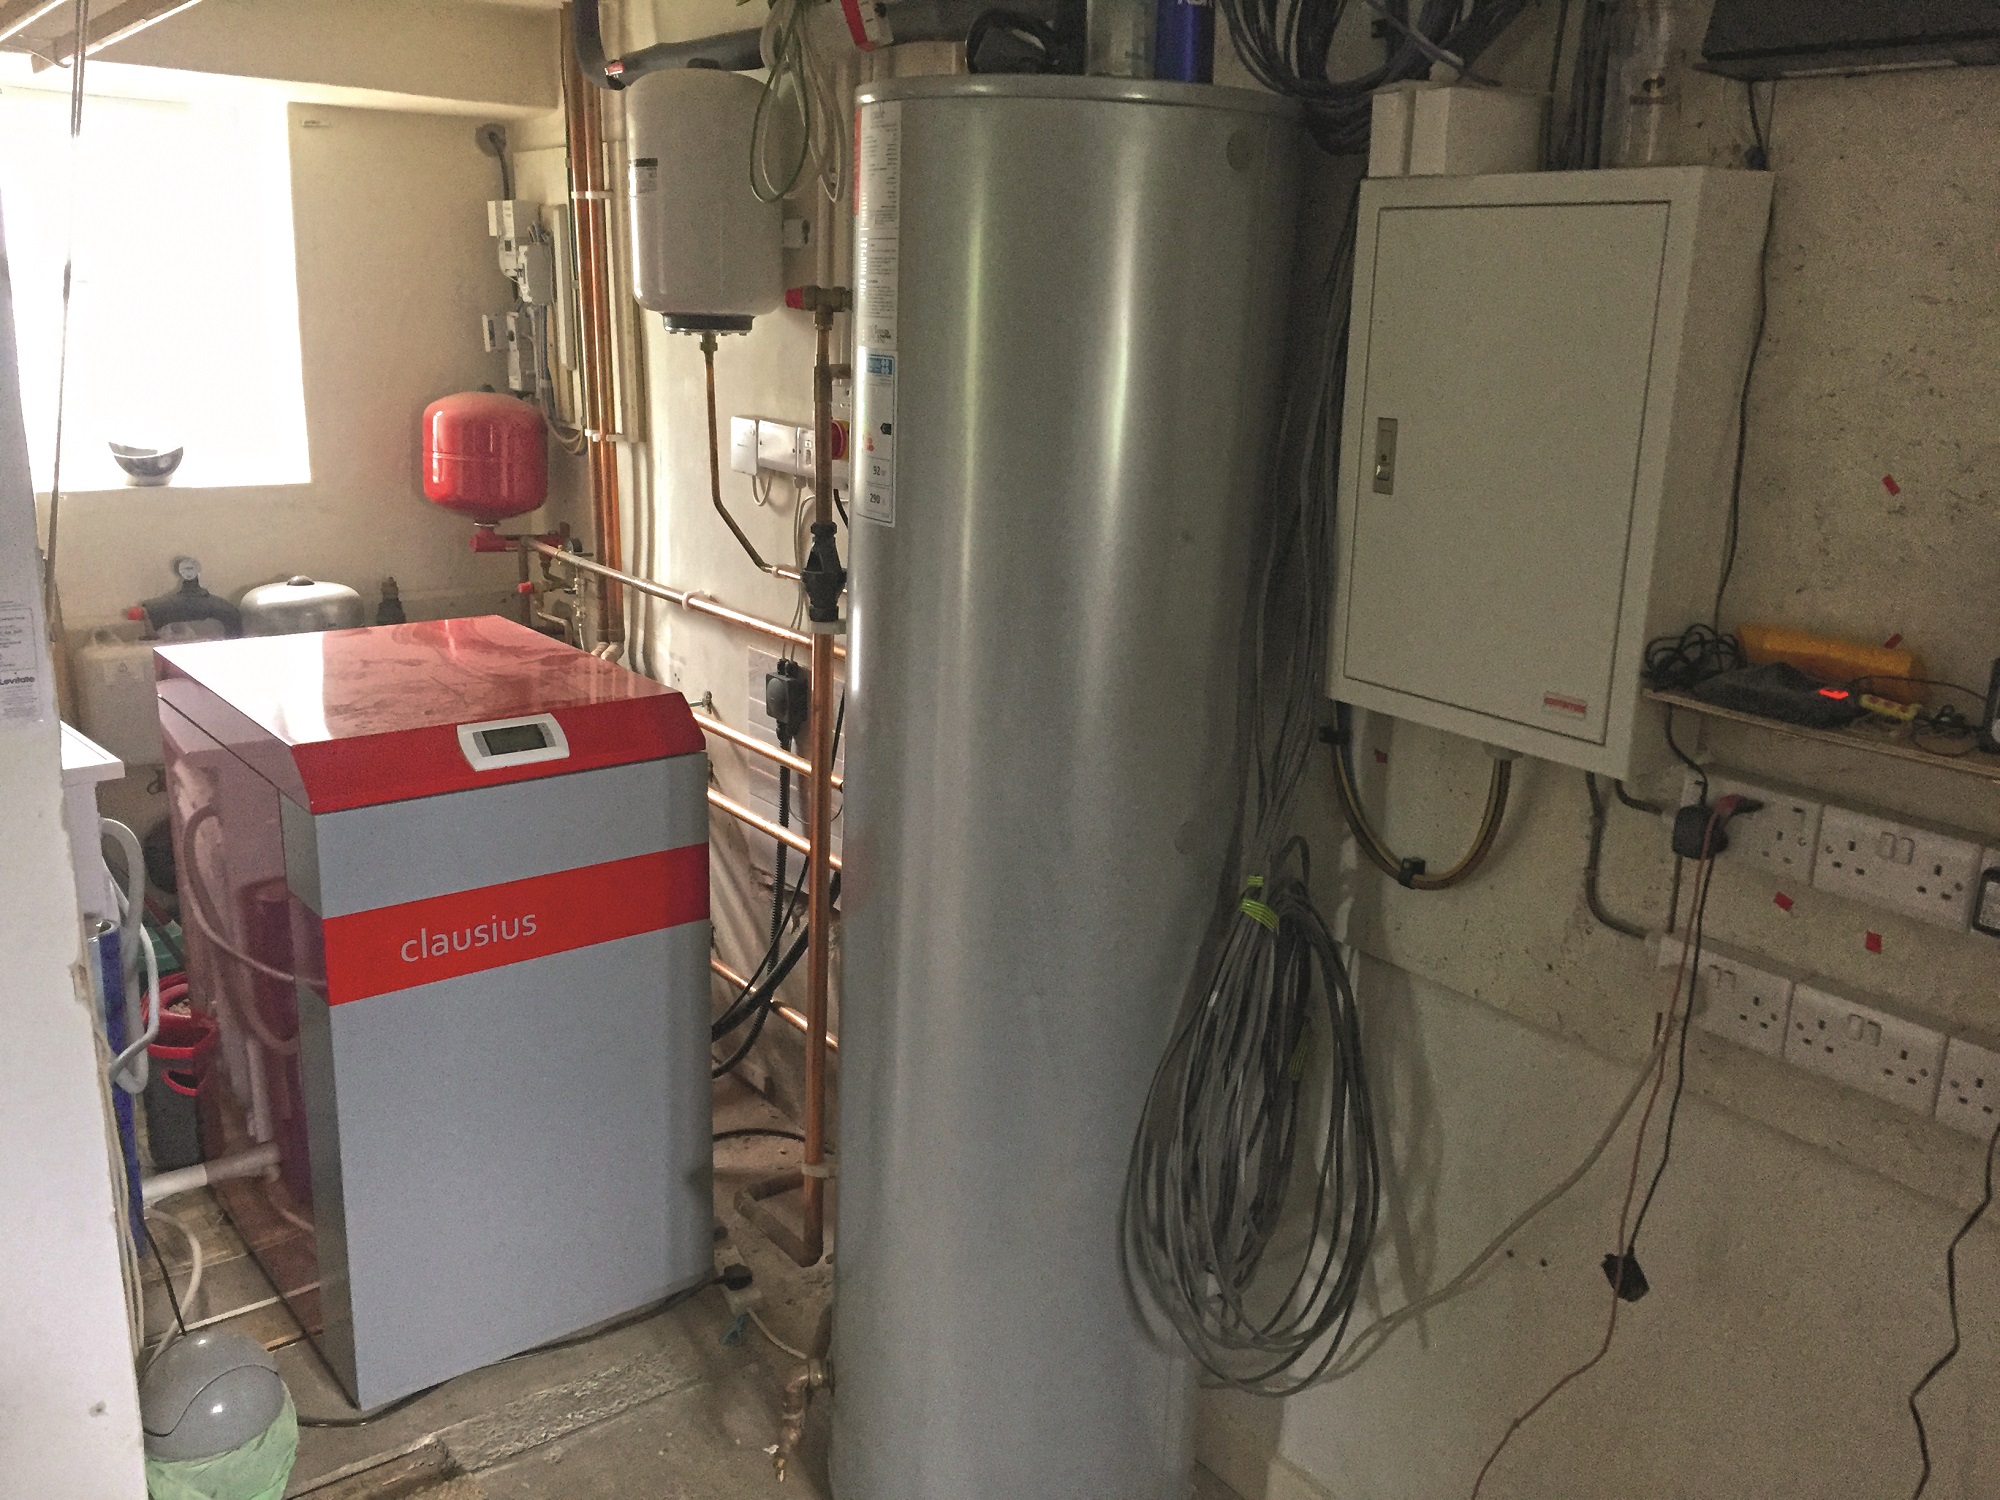
The plant room houses the ground source heat pump and has been sized accordingly, so that it’s easy to maintain
It is going to be quite a bit larger than anticipated but we have plenty of space. This is definitely something to be aware of if planning a similar installation.
Once installed, the ground loop was filled, and we were ready for commissioning. We now have the system up and running, heating about half of the house for now and providing limitless amounts of hot water.
The heating currently feeds three underfloor zones; the granite floor in the kitchen is a pleasure to walk on. Another four will be added during phase three of our project.
In addition, there is a radiator circuit for upstairs, which will also be added to later in the project. We even have a heating loop embedded in the cob of the staircase.
We couldn’t lift the historic quarry tiled floor of the hall, so have run a length of UFH pipe through the cob to use its thermal mass as a heat emitter for that part of the house.
Although it hasn’t yet been tested during really cold weather the efficiency of the heat pump has been very impressive, with a COP well over 4.
