Underfloor Heating: Electric Systems
If the sheer luxury of walking around the house barefoot on a cold winter’s day tempts, underfloor heating provides the solution. It’s a must-have alternative to radiators for many self-builders and renovators, since installation is easily factored in to a build.
Dry underfloor heating is a straightforward system, consisting of electrically-heated cables or wires laid on to the subfloor with minimal impact on the floor height. This makes it ideal for small areas or single rooms such as a chilly conservatory, bathroom or kitchen.
“As kitchens are becoming more of a living space rather than a functional room, underfloor heating is now being seen as an essential element in ensuring ultimate comfort levels,” says Beth Boulton, head of marketing at Topps Tiles. “The heat provided by UFH is evenly dispersed across the entire room and will take the chill off underfoot, whether you have a tiled or wood surface.”
Unlike wet underfloor heating, the dry type is simple to retrofit in an existing building and can be added to at a later stage, for example in an extension or shower room, without too much disruption.
Planning
There’s a dry UFH system suited to every subfloor and floor covering, but it’s essential you get the right one. The heat output of the UFH must be suitable for the heat loss in the room, and the correct insulation must be used. A firm that supplies a full design service with heat loss survey will be able to solve that headache for you, or you can supply your own heat loss calculations to the UFH company to work from.
“As a guideline we usually supply our cables at heat outputs of 120-150W per m2 for undefloor heating in new domestic buildings and 170 – 200W per m2 for underfloor heating in conservatories and areas with high heat loss, but of course every situation is different,” says Barry Guest, director at Warmtiles.
DIY options
If you decide to buy off-the-peg DIY products, you’ll need to carefully calculate the quantity of cable or mat required. The Discount Floor Heating website includes a guide to measuring around kitchen units, for example, to calculate the amount of cable needed. There’s also a metric room calculator at Handy Heat.
Follow fitting instructions carefully. “Our systems provide even heat if laid correctly; but if you lay them incorrectly beneath solid fitments or furniture with no air movement they can become thermally blocked and overheat, it could be dangerous,” says David Perl, managing director, R&D Marketing.
Although many dry UFH systems are simple enough for a DIYer to lay, a qualified electrician must make the electrical connections to comply with Building Regs.
Sub-floor
Fitting dry UFH is straightforward, but it still pays to do your homework first. The sub floor and the finished floor surface both have a bearing on the type of dry UFH you choose and the method for fitting.
Cables can be buried in the screed of a concrete sub-floor, but it’s easier and more usual to lay them on top of the screed. If the sub-floor is suspended timber, insulation can be fitted between the joists and the heating elements laid on top, or the UFH can be fitted on top of the timber floorboards.
Insulation
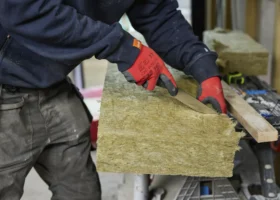
An insulation board below the UFH is a must for preventing downwards heat loss. Your choice of board will vary according to the subfloor, UFH type and floor finish. Talk to the UFH provider and to the flooring provider to pick a match that will work. A moisture barrier may also be needed.
Floor coverings
The flooring you choose affects the amount of heat that reaches the surface and warms the room. Tiles allow the heat through easily, while thick wool carpets, which have a high insulation value, will hinder the transfer.
“Our products use floor rather than air sensors to accurately measure the heat and make sure it won’t damage the floor finish,” says Jed Selby, director at HandyHeat. “An engineered or vinyl floor can safely be heated to 27°C, tiles can be heated as high as you like, but carpets must be low-tog and use a special low-tog underlay to work efficiently with UFH.”
If wood flooring is to be fitted, proceed with care. “Contrary to popular myth, it is possible to use solid wood flooring over underfloor heating (as long as it is prepared for this purpose) and it is not possible to use all engineered wood flooring over underfloor heating,” says Vanessa Garrett of Broadleaf Timber.
Heating times
How long it takes to heat the space will depend on the sub-floor, insulation and floor finish. “The more insulation you have the faster and more efficient the UFH will be,” says Jed Selby. “Spend wisely on this at the start, as once the insulation is down and the floor is tiled, you can’t retrofit more insulation.”
He estimates 30 mins to an hour to heat up a room with a wood sub-floor, and several hours for an uninsulated concrete floor, though concrete does retain the heat and cools slowly. Insulating a concrete floor will speed this up. “Our carbon film systems have a thin insulation layer so warm up times will be no more than an hour on any sub-floor,” says Jed.
What about costs?
DIY cable and mat systems from R&D Marketing cost from around £29 per m2 plus VAT. Carbon underfloor heating costs from £150 for a 1m2 kit from HandyHeat, including heating elements, insulation layer, moisture barrier and programmable thermostat.
According to HandyHeat, in a well-insulated building (in line with current building regulations) the running costs are low. The company suggests that a typical new building would cost around £3-4 per m2 per annum to run, so 100m2 free floor area home would cost around £300-£400 per year to heat. Used to heat an average sized conservatory with an insulated floor at weekends and winter evenings, the cost of running UFH may be up to £8 per m2 per annum. That equates to around £80-£100 per year for a typical conservatory.
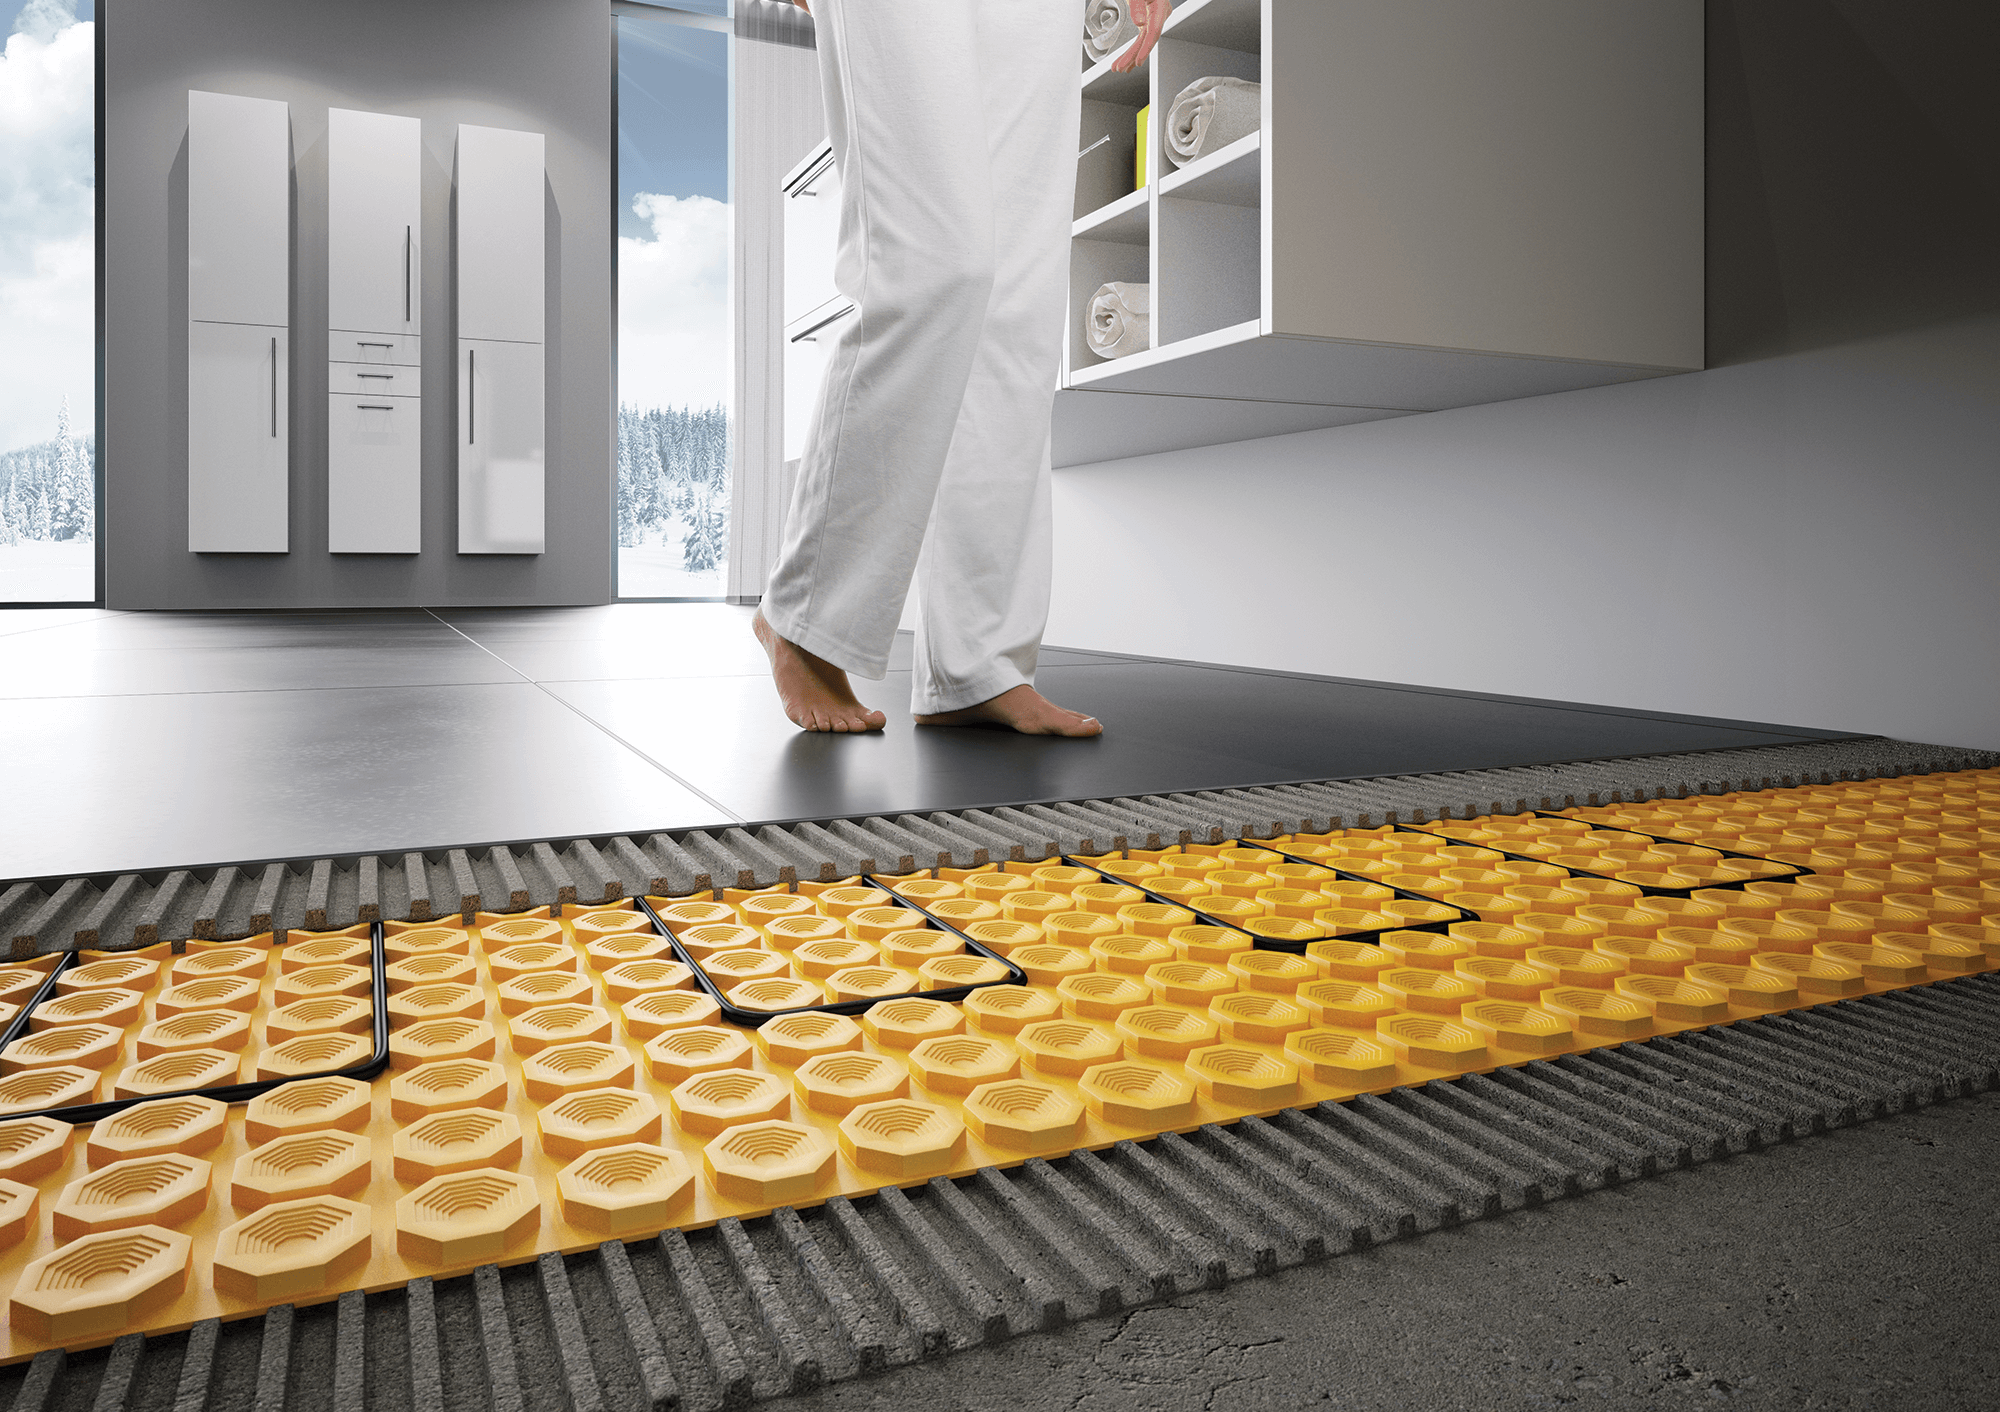
Main image: The Schluter Ditra-Heat-E is an easy-to-install undertile electric heating system













































 Login/register to save Article for later



Comments are closed.