
If you’re looking for an ultra-quick route to cladding a new home, or upgrading the exterior of an existing house, then brick slips could be the answer.
These thin slices of masonry replicate the look of conventional bricks, and can be supplied in a wide variety of styles and colours to suit both contemporary and traditional projects.
The slither of material that constitutes a brick slip is generally manufactured in one of two ways. The first is simply a modification of the process for conventional brick, which makes for a cost-effective product. Extruded clay is run down the production line but, crucially, wire-cut into slimline profiles before being kiln-fired in the normal way. This type is sometimes known as ‘preformed’ slips.
Did you know?Slip cladding is also available in the form of natural stone facing tiles, split from genuine stone to give instant character. For a cost-effective alternative that replicates the look, consider reconsituted stone slips |
The units can also be sawn from the face of standard clay bricks. This ‘traditional’ option produces what are sometimes known as ‘real brick’ slips. The method can be useful if you want bespoke units, for example where thicknesses need to be varied or if you want a cladding that’s been hewn from handmade masonry. The downside is that you’ll pay significantly more for the privilege.

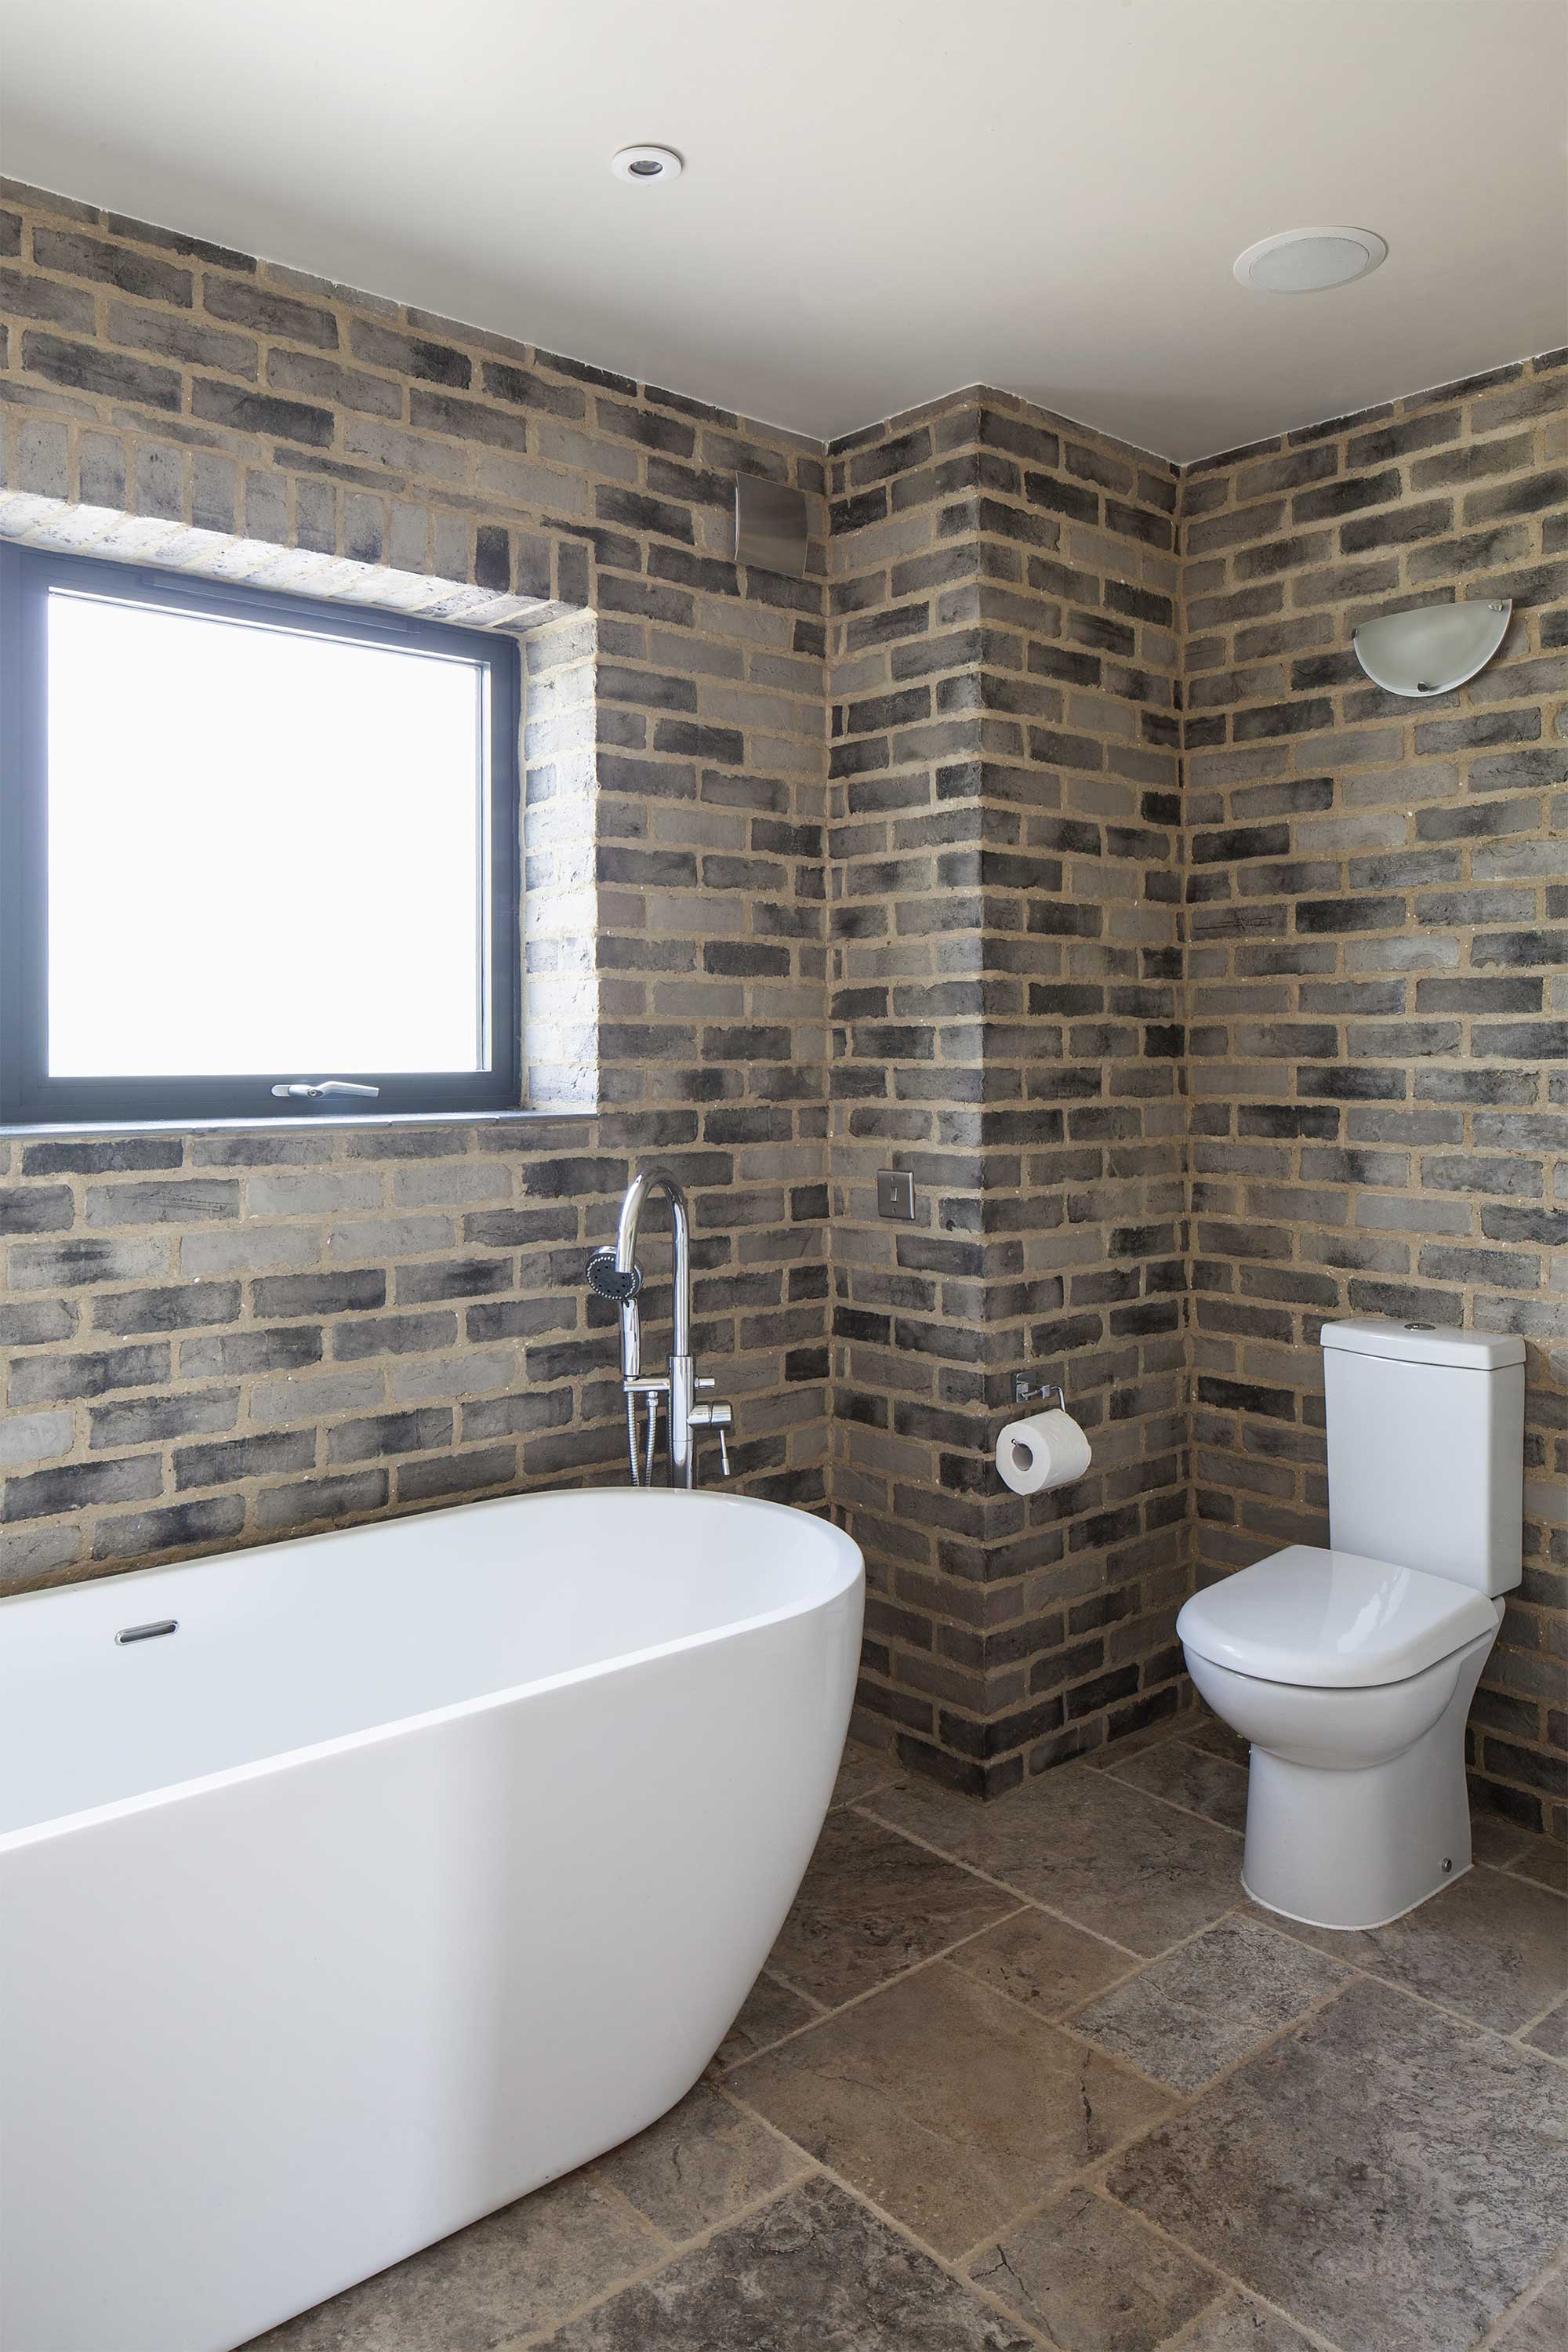
In this project, brick slips have been used to create an authentic masonry feel in the bathroom
As they’re designed to replicate the look of masonry, most slips are manufactured to match brick’s conventional metric dimensions (215mm wide and 65mm tall) – though many suppliers can accommodate special-order sizes.
Standard thicknesses include 15mm, 20mm, 25mm, 30mm, 40mm and 50mm but do vary depending on the manufacturer. Corner units are available to create a seamless stretcher-bond effect.
Brick slips are usually supplied as individual units to be fitted to a backing board on site. The process is reminiscent of tiling: horizontal lines are set out to aid positioning; a special adhesive is then applied (either to the substrate in manageable sections or to the back of each tile, as per the manufacturer’s instructions); and the slips are finally set in place, usually starting with corner units.
Depending on the system, you might need to manually gauge the mortar lines with spacer units. Alternatively, the backing board may already be contoured to suit – as with Wetherby Building Systems’ profiled steel mesh and Wienerberger’s Corium galvanised steel section. In some cases, pointing between the slips is a case of wet-brushing the existing adhesive, but most systems – for example where you’re using a profiled mounting system – tend to require a fresh application of a proprietary pointing mortar.
Learn more: Choosing External Wall Cladding
You can also purchase cladding panels that are already decked out with the brick finish – cutting down time on site. Interlocking prefabricated boards are available, too, which ensures accurate alignment. The manufacturing process provides an extra level of quality control over pointing.
One of the most common applications of brick slips is as a finish for external wall insulation. As with conventional slips, the units can either be bonded to the substrate (in this case rigid insulation slabs that have been mechanically fixed to the wall) on site, or supplied as pre-insulated cladding panels. Both options are fantastic for upgrading existing solid-wall homes to achieve modern standards of energy efficiency, while preserving a traditional brick exterior.
The system is also popular for new builds, particularly where a masonry finish is desired for construction methods such as timber frame, insulating concrete formwork, solid wall and structural insulated panels. This can also give you the opportunity to reduce wall thickness in comparison to conventional brick and block – so it’s possible to gain valuable internal floorspace.
Prices start from around £20 per m2 for the slips on a supply-only basis (you typically need around 60 tiles per m2) – which is comparable to normal brick. However, the exact cost will depend on the system you use and the type of brick specified; handmade or specialist products often carry a hefty price tag.
You’ll also need to budget for the backing board or insulation, adhesive and specialist pointing mortar – as well as the labour for installation. This is likely to put your final costs higher than using, say, traditional render.
Up-front costs will be higher than for conventional brick, then, but you can recoup some of that through labour savings. What’s more, as the slips are lightweight, the structure may require less support – so you might be able to save money at the foundation stages.
Photo: The Corium brick slip system from Wienerberger is available in a range of textures and colours


You can also just tile brick slips onto the wall, you don’t need a backing system. The systems make it quicker if you’re doing the full external of the property but they do cost extra so if you have time then use a cement fibreboard instead with 10mm spacers to save costs (the time is the compromise though!).
If used on a smaller area, like as a feature wall then the backing systems usually end up taking more time as well as costing more, so you’re best to just tile them on.